
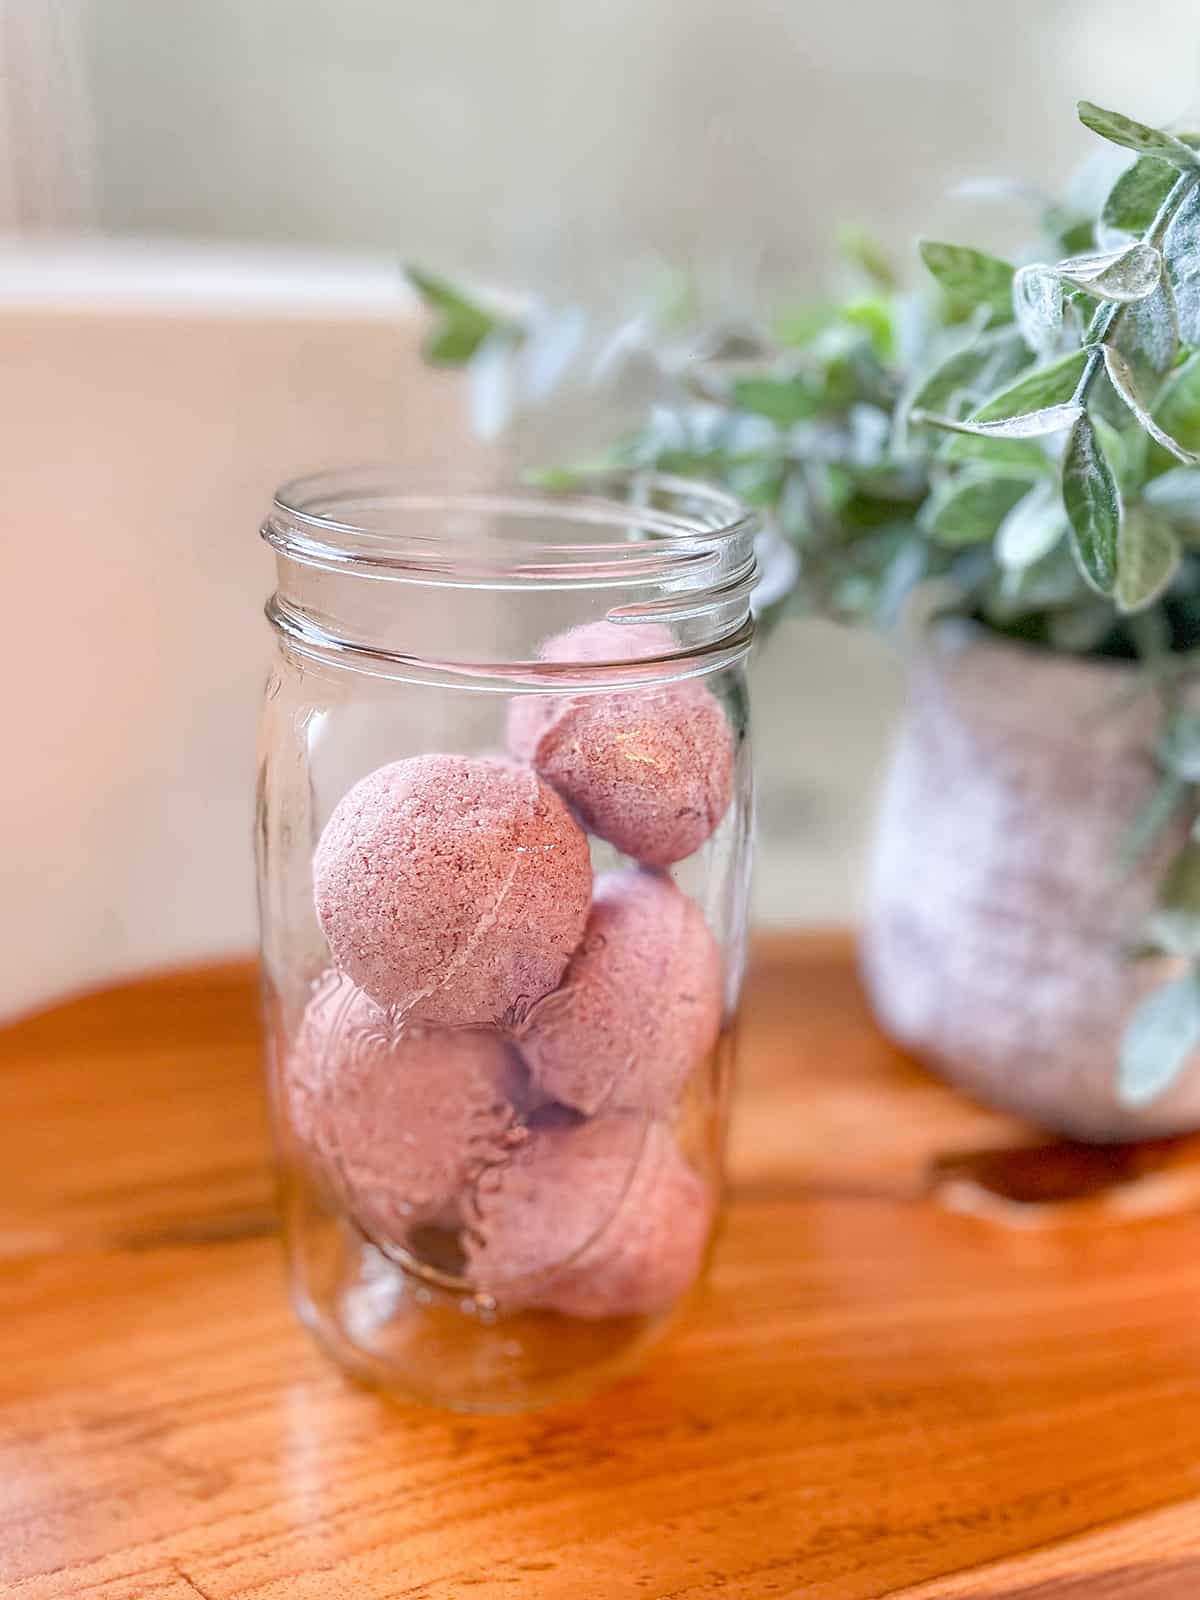
These easy DIY natural bath bombs smell amazing and with leave the skin feeling soft and hydrated. I primarily made these for my toddler so the recipe is kid-safe and uses all organic ingredients! It’s also incredibly simple. If I’d known how easy bath bombs are to make, I probably would’ve given this a try much sooner! Ingredients: 1 Cup + 1 Tsp. Baking Soda 3/4 Cup Citric Acid 2 Tbsp.
The post Easy DIY Natural Bath Bombs appeared first on Katie's Bliss.
]]>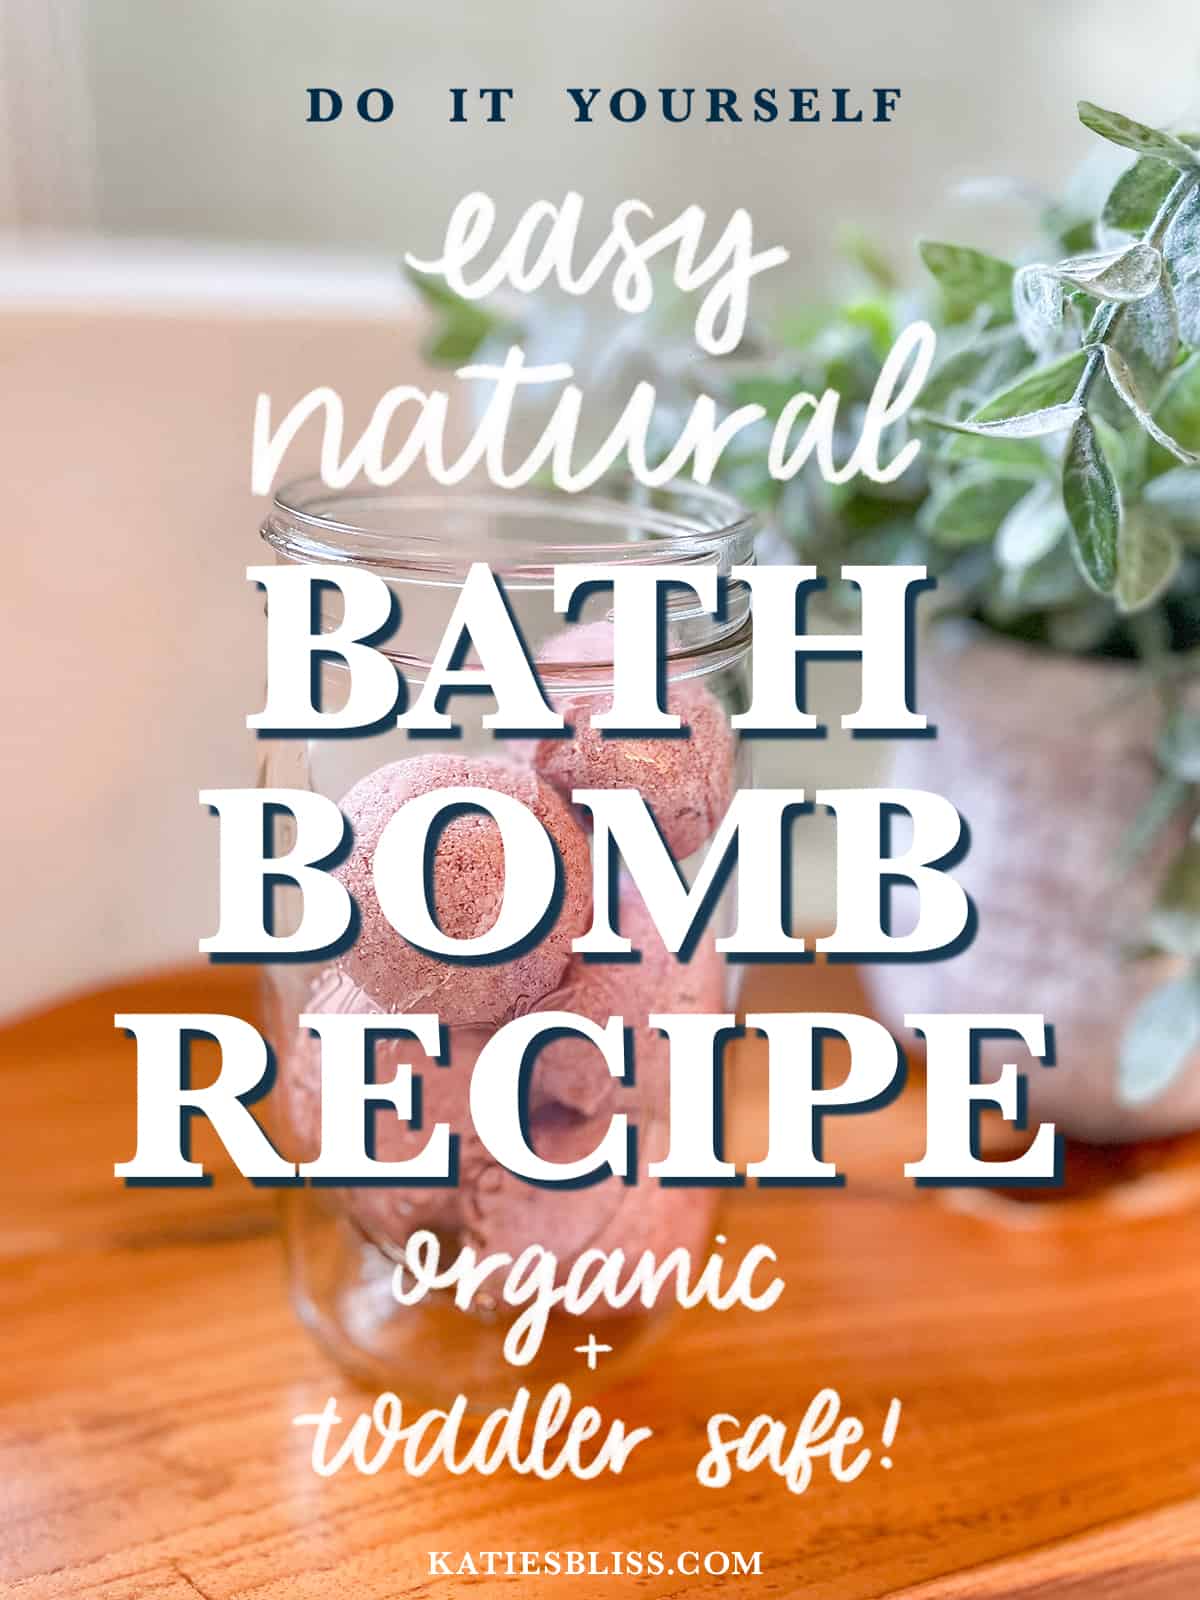
These easy DIY natural bath bombs smell amazing and with leave the skin feeling soft and hydrated. I primarily made these for my toddler so the recipe is kid-safe and uses all organic ingredients! It’s also incredibly simple. If I’d known how easy bath bombs are to make, I probably would’ve given this a try much sooner!
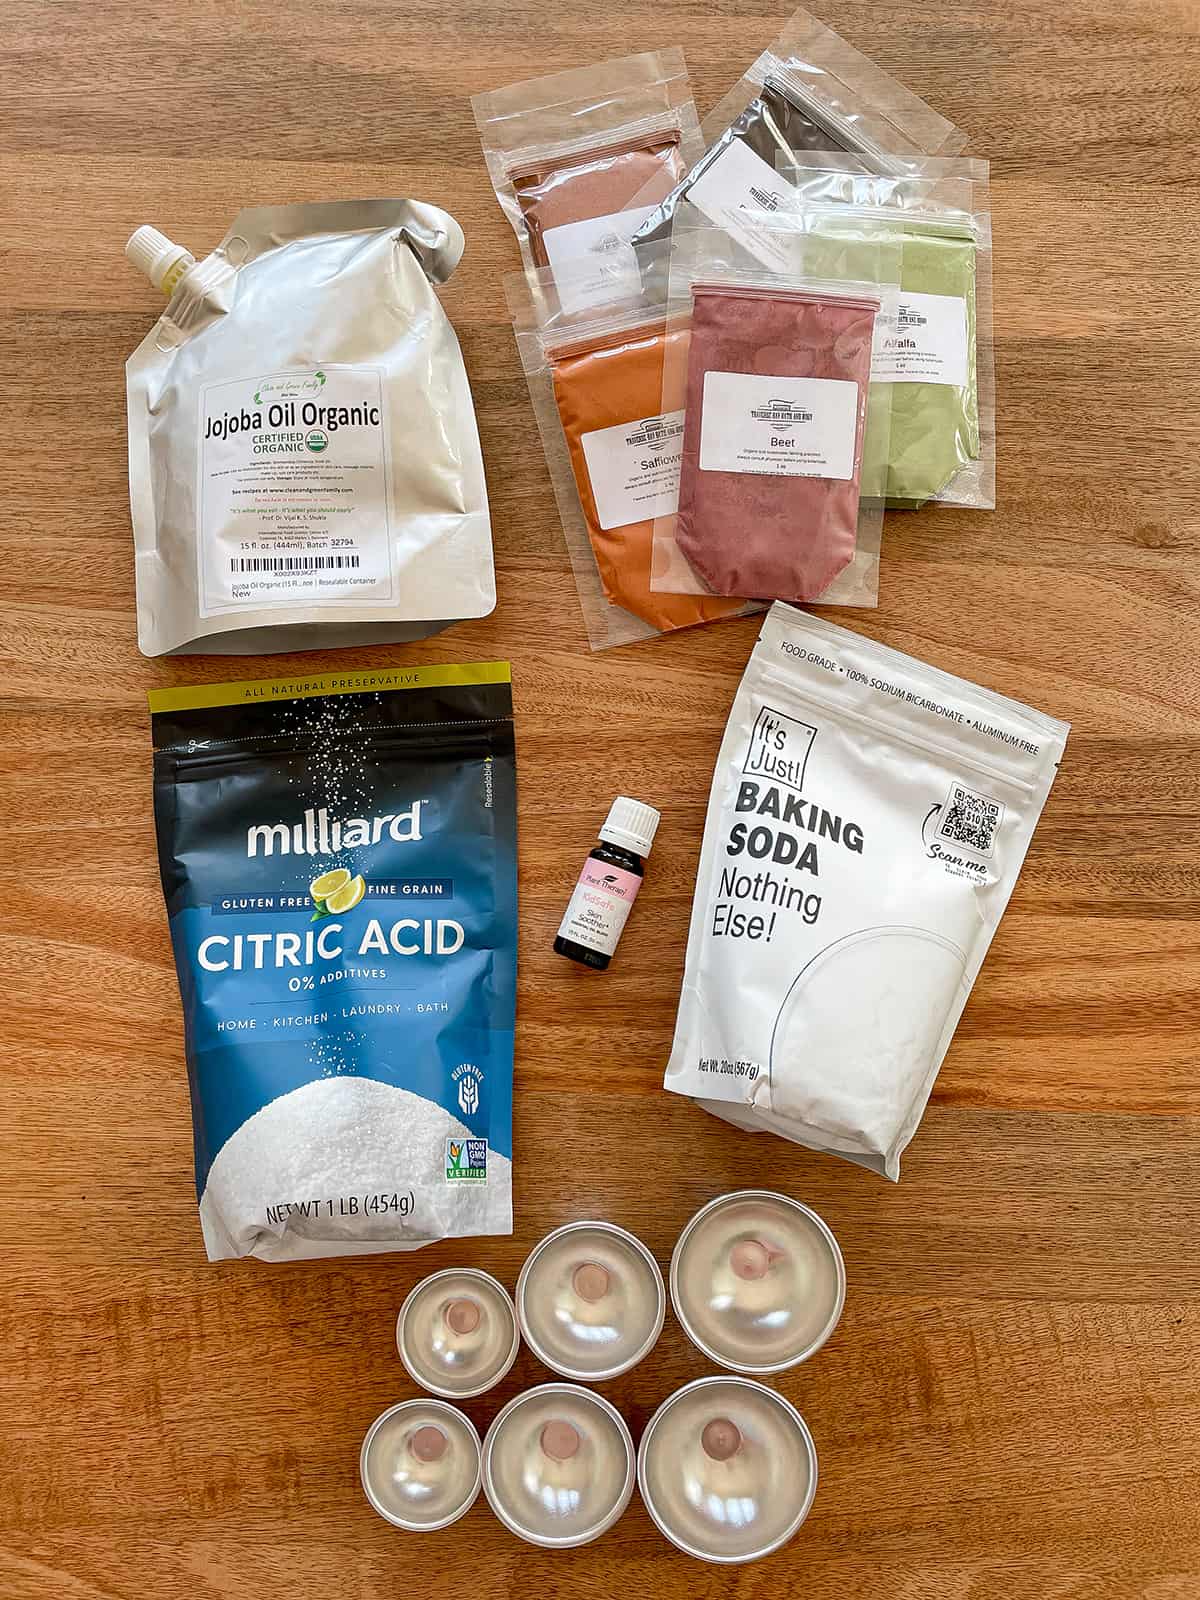
Ingredients:
1 Cup + 1 Tsp. Baking Soda
3/4 Cup Citric Acid
2 Tbsp. Bentonite Clay
3 Tbsp. Jojoba Oil
1 Tbsp. Coconut Oil (Melted)
1 Tbsp. Beet Powder
10 Drops Essential Oil/s of your choice (I used this kid-safe skin soother blend)
spray bottle with water
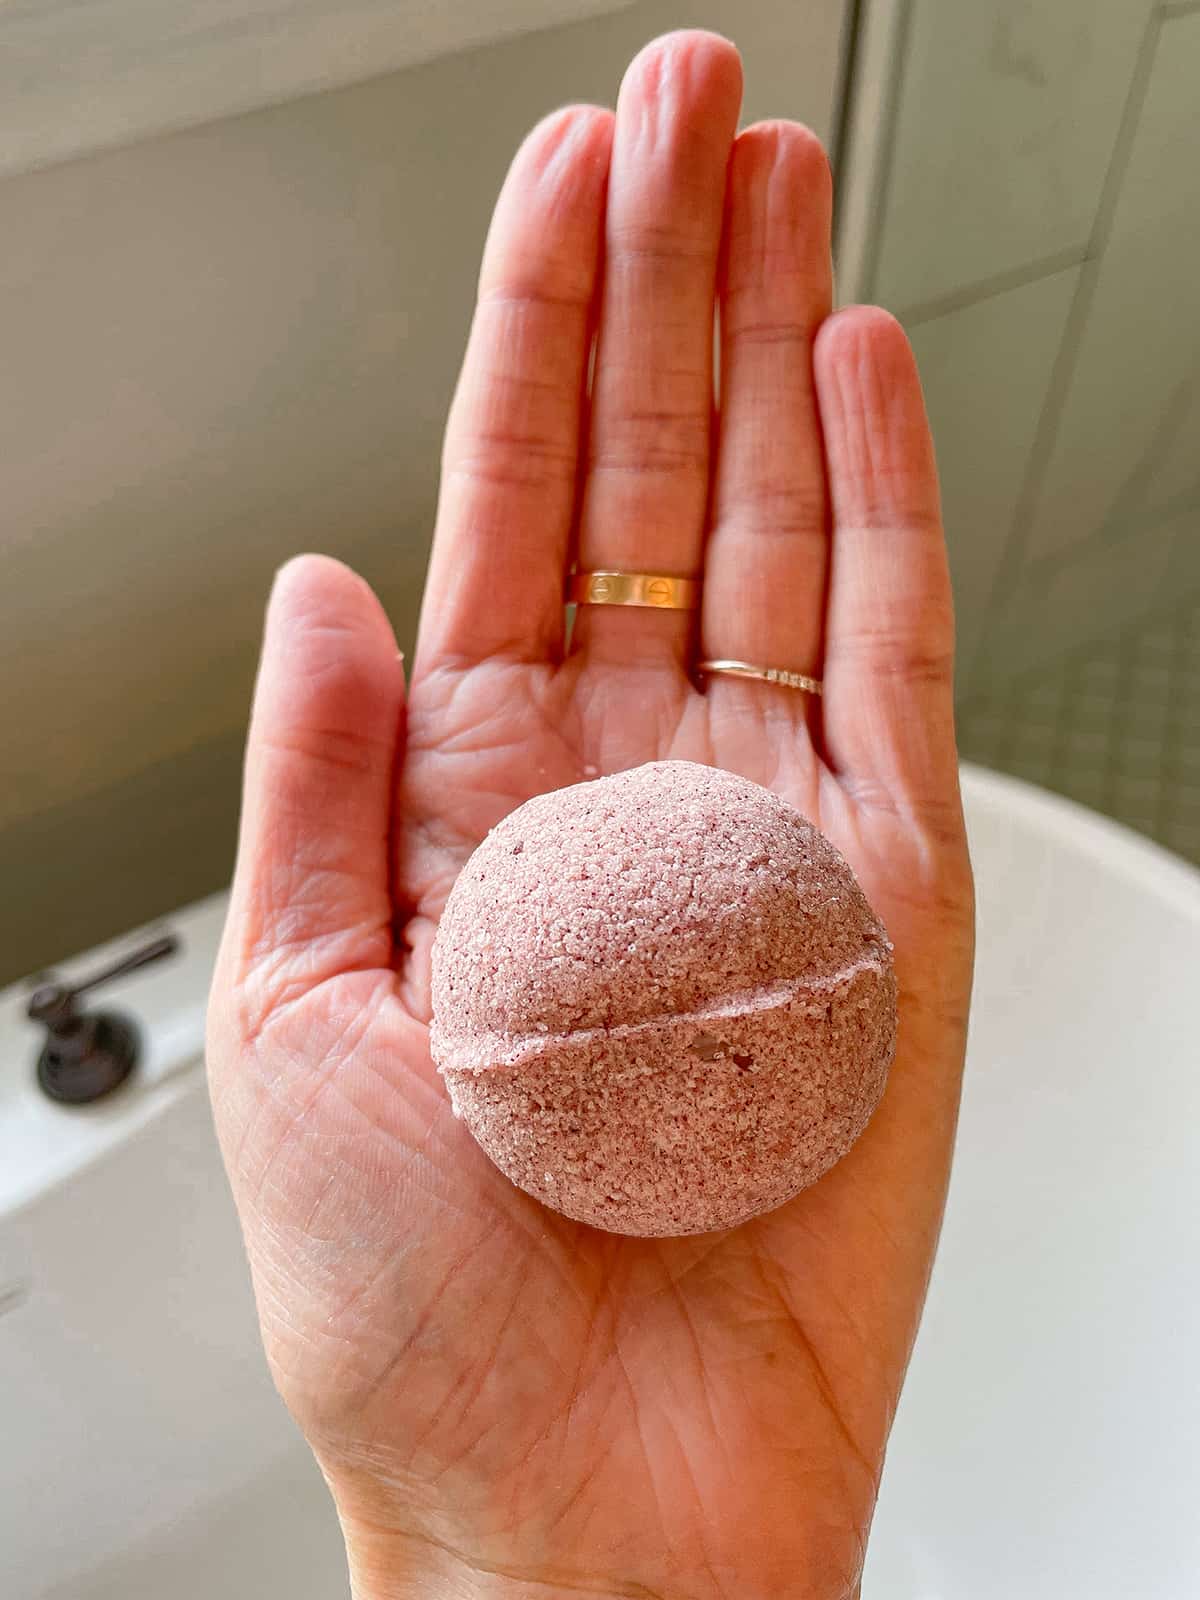
Round Molds (I bought a set of 3 sizes and used the 1.8in molds)
Instructions:
In a large bowl mix the dry ingredients: 1 cup baking soda with the citric acid, bentonite clay and beet powder.
In a smaller bowl add liquid ingredients: jojoba oil, coconut oil, and essential oil, mixing well. Add 1 tsp. baking soda to your liquid mixture and continue mixing until well combined.
Add the liquid mixture to the large bowl of dry ingredients.
Mix with a spoon or your hands until combined, rubbing mixture with your hands until colors and scent are consistent throughout.
With a spray bottle filled with water, spray the mixture 4-5 times, then continue mixing and rubbing between your hands.
Continue to repeat this process of spraying and mixing 4-5 times until consistency is similar to wet sand.
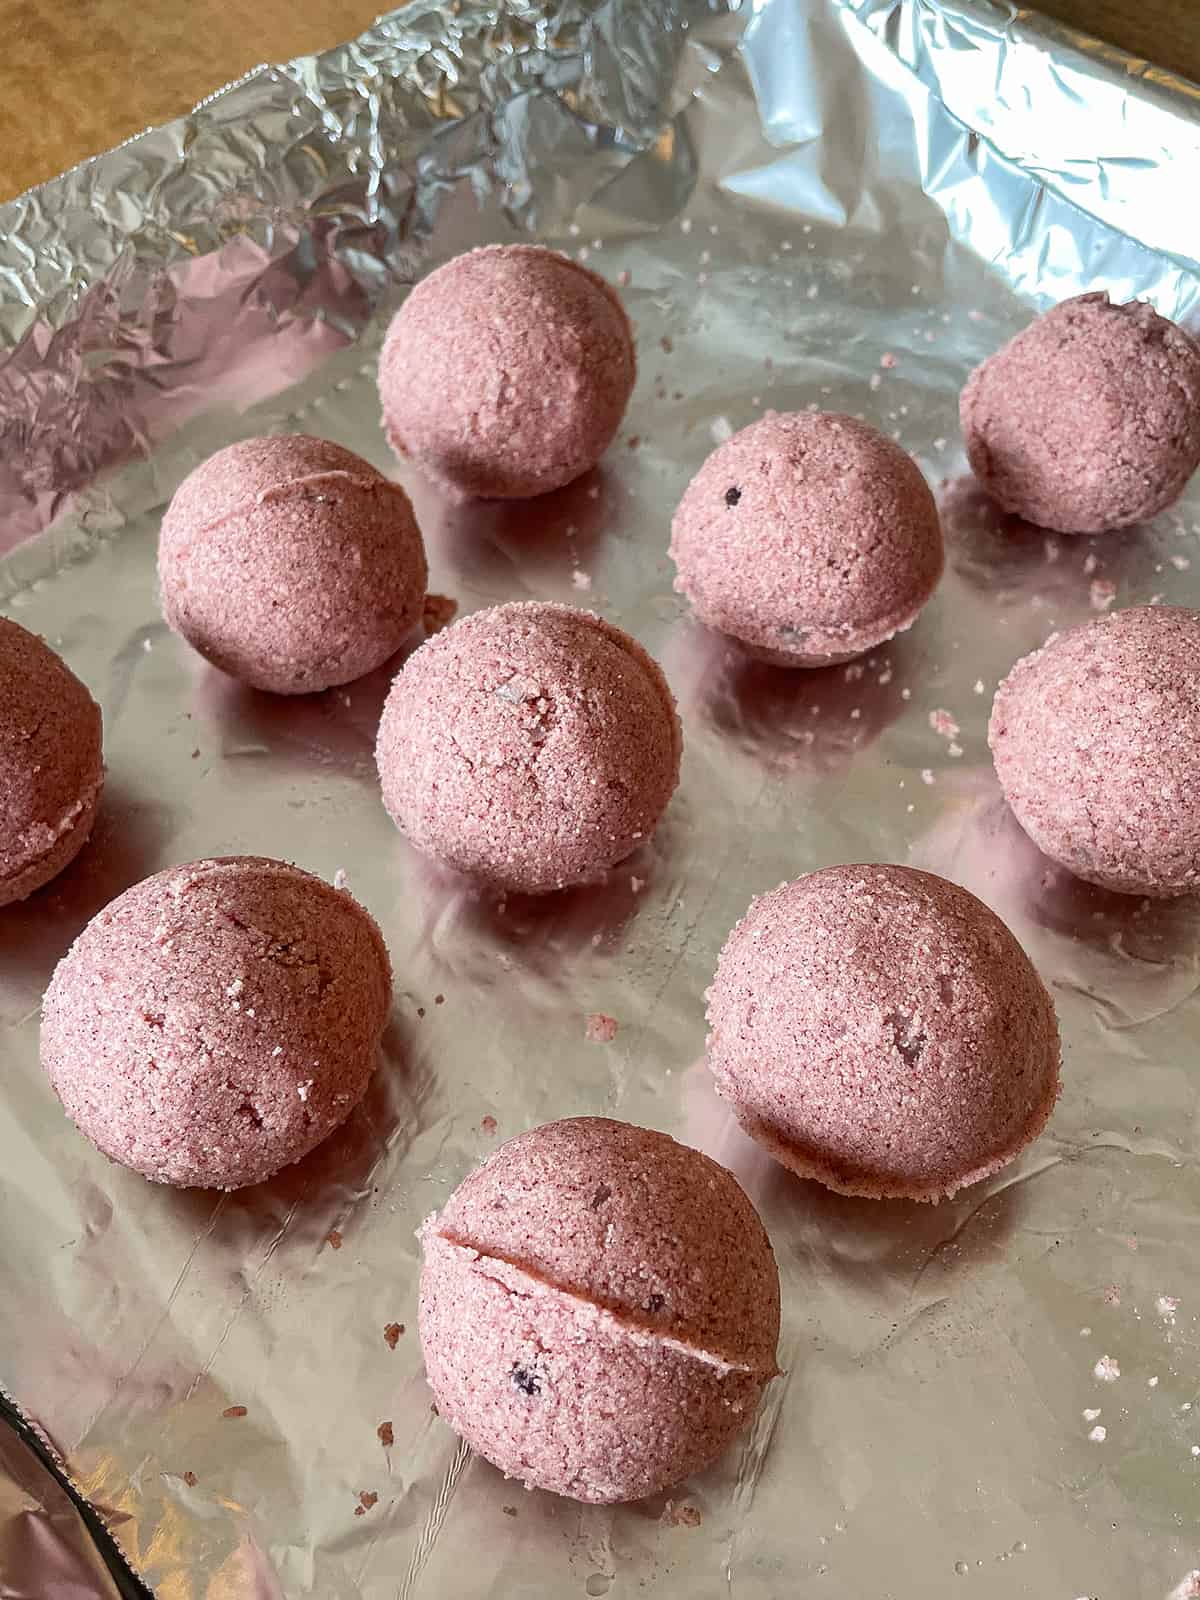
Tightly pack mixture into molds. Add more as necessary, continuing to press until bath bomb cannot be packed any tighter.
Immediately remove from mold and let dry on baking sheet with tin foil/parchment for at least 24 hours.
Verdict:
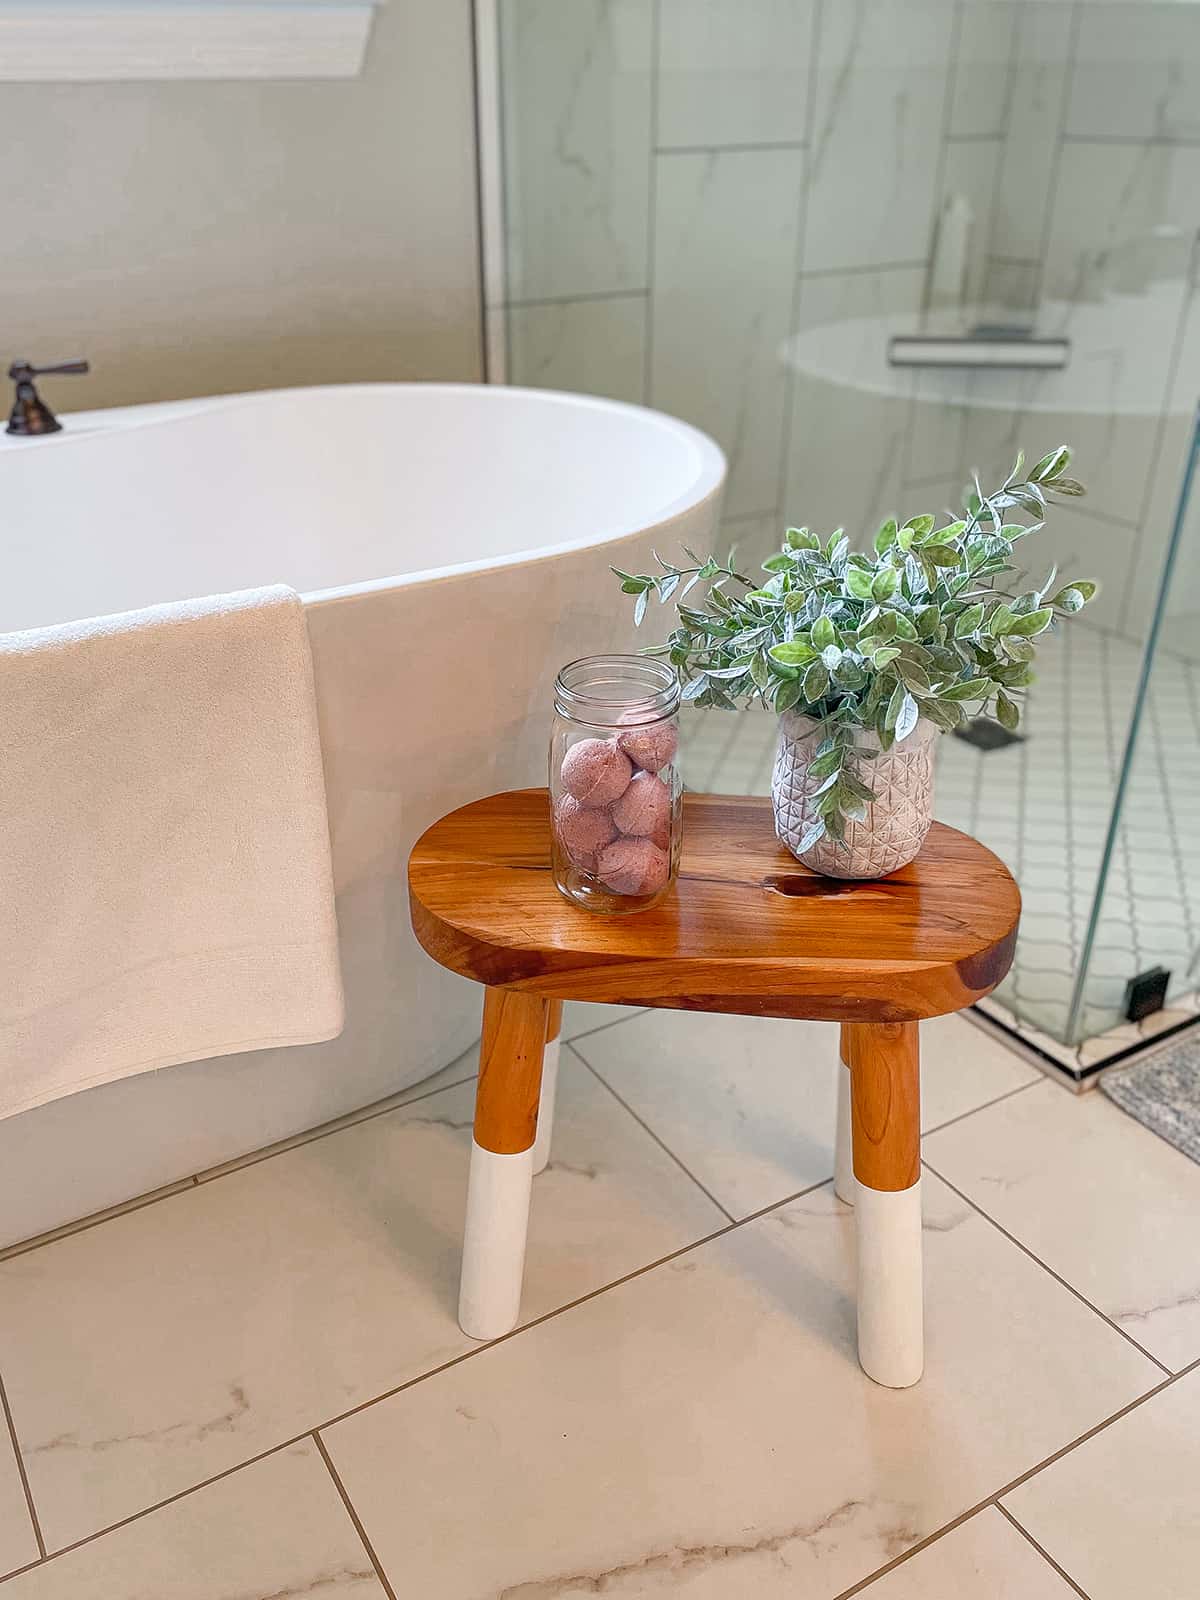
Nate LOVES these bath bombs. Using the 1.8 inch molds was definitely the right call. I felt like the bombs were the perfect size for a kiddo’s bath and didn’t overpower the water or leave him smelling like he was dunked in essential oils.
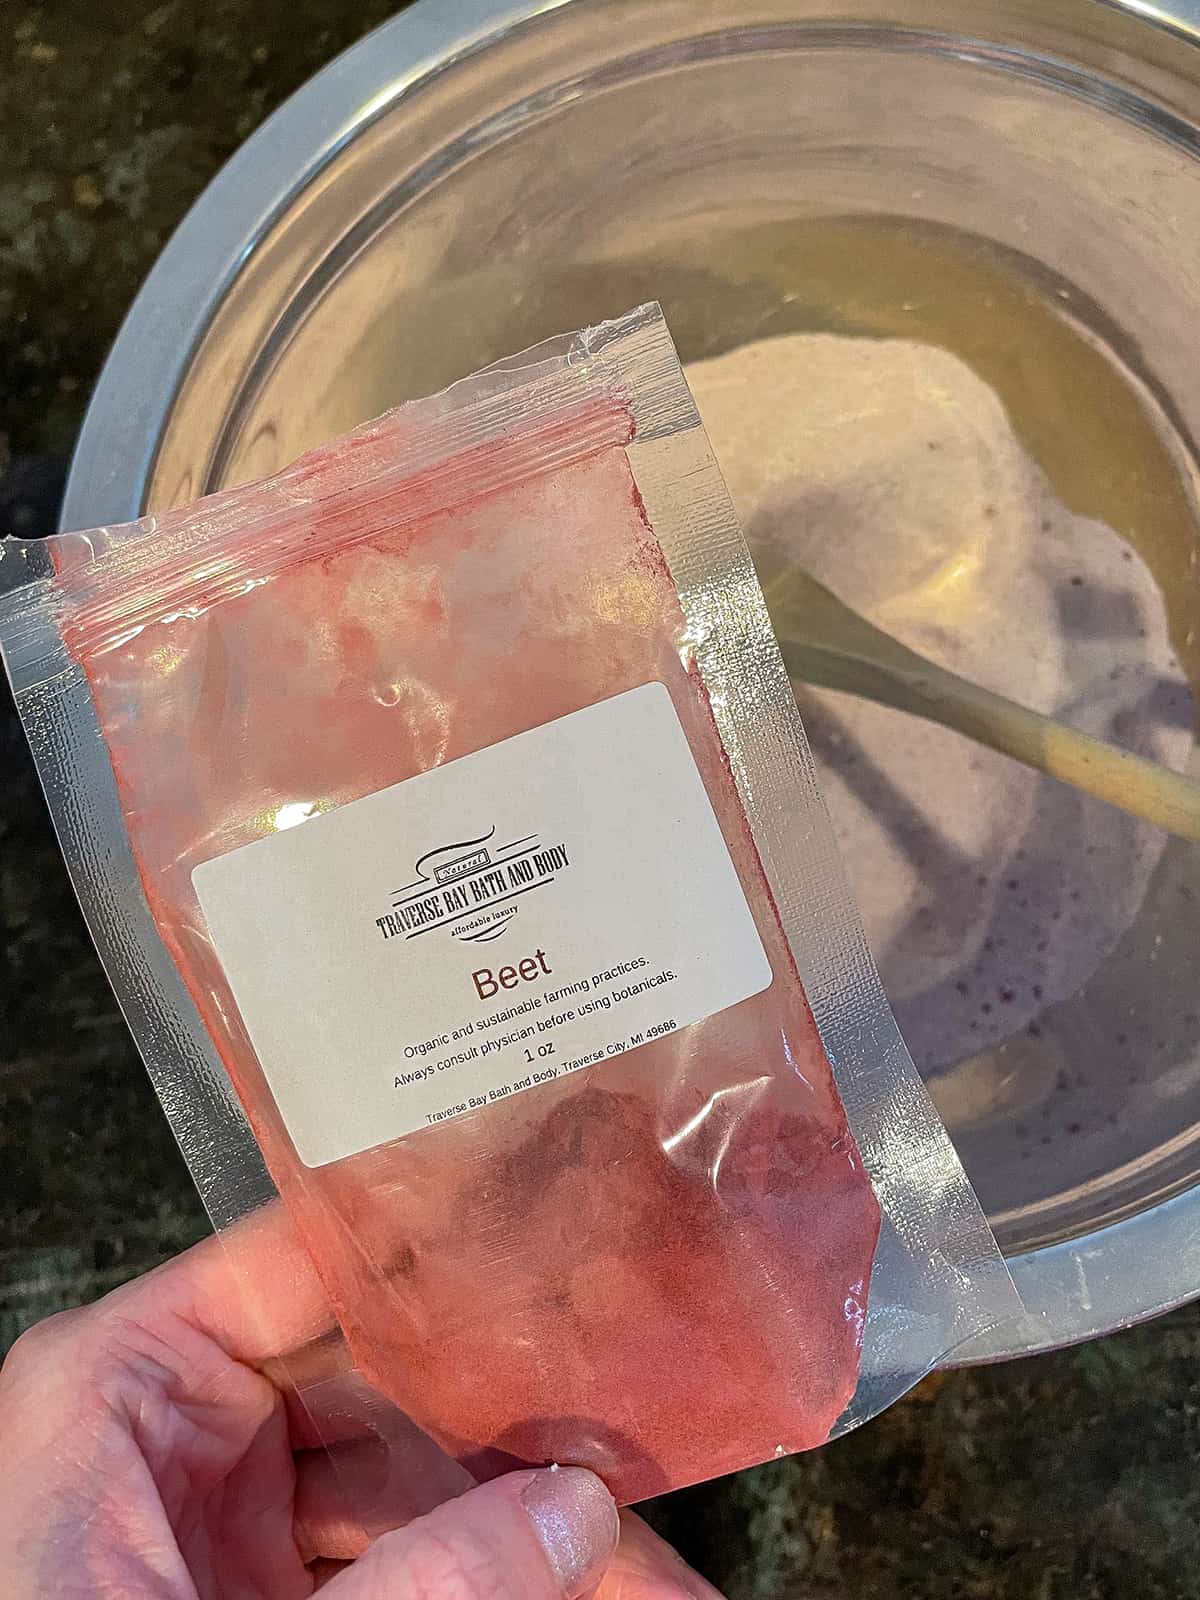
ALSO! The beet powder did not stain the tub or his skin. Even though I’d seen multiple bath bomb recipes where it had been used as natural coloring, I was still slightly worried, but thankfully it wasn’t an issue at all.
The post Easy DIY Natural Bath Bombs appeared first on Katie's Bliss.
]]>
99.9% of the time when you see me wearing makeup these are the products I’ve used! I’m a creature of habit when it comes to cosmetics. Since my skin is prone to product-related breakouts, when I find something I love I continue to repurchase it. It’s a big reason why I rarely experiment with new primers, foundations and concealers– all the ones you see here I’ve been using for at least
The post My Everyday Makeup Routine + Favorite Cosmetics appeared first on Katie's Bliss.
]]>
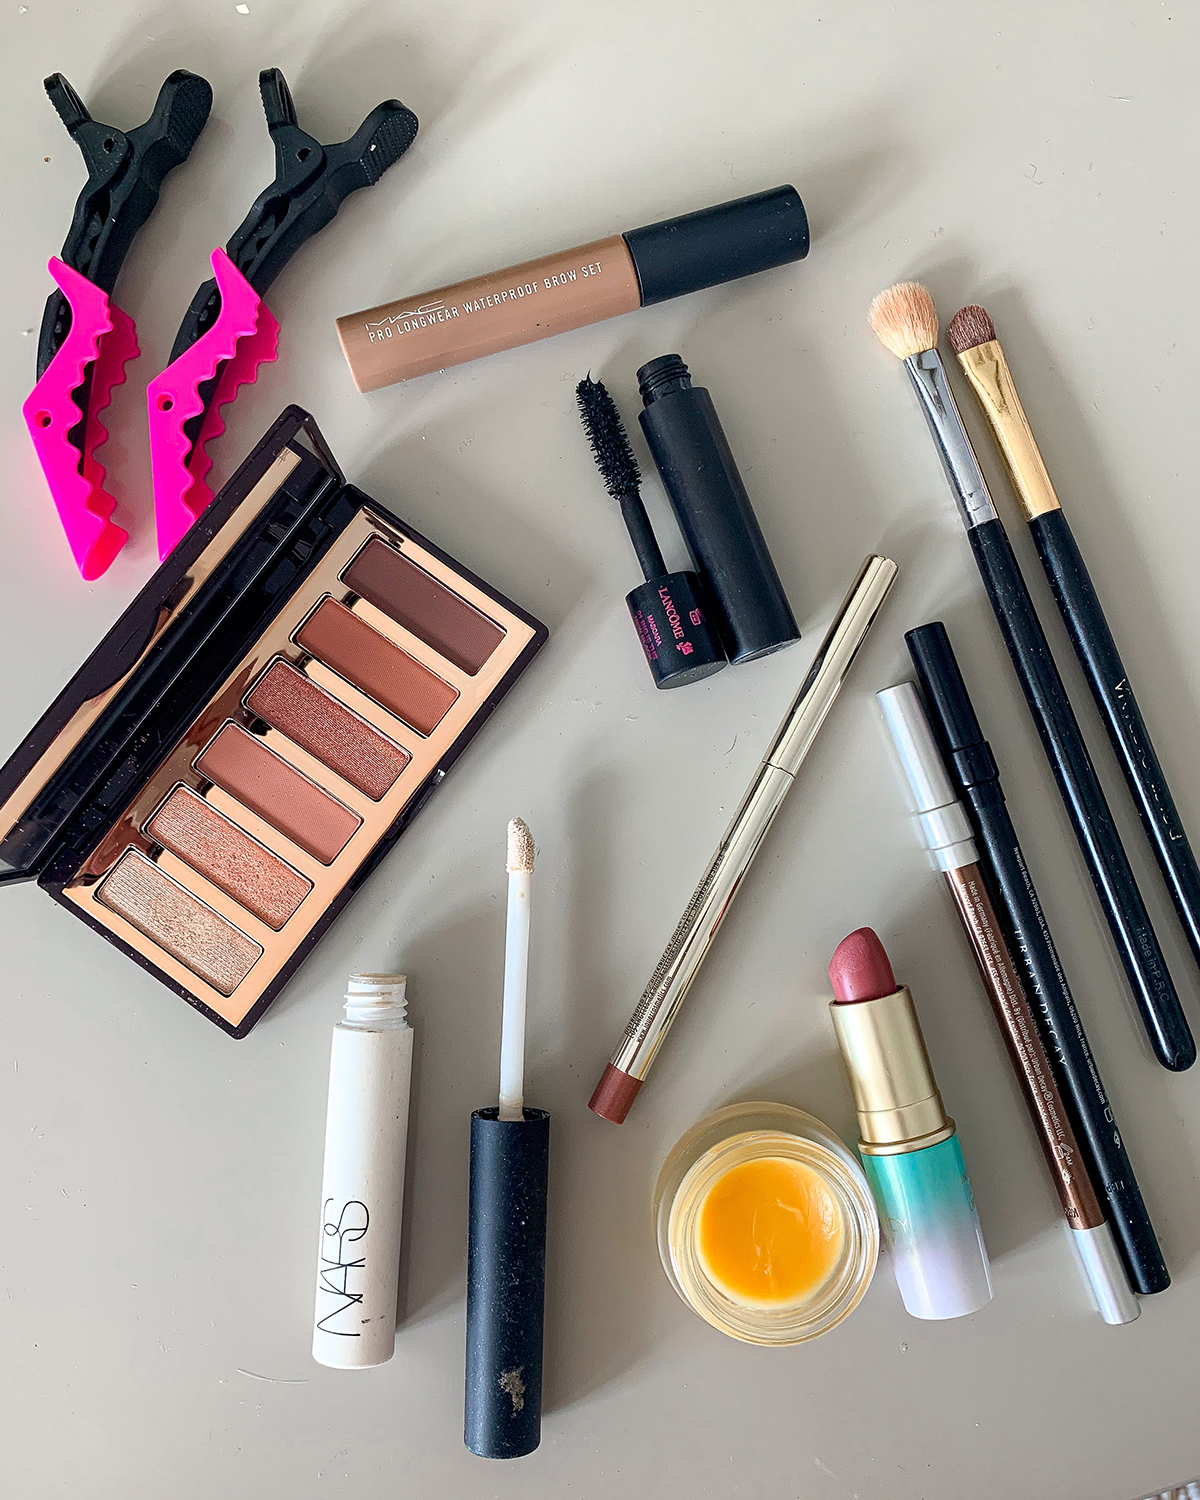
99.9% of the time when you see me wearing makeup these are the products I’ve used! I’m a creature of habit when it comes to cosmetics. Since my skin is prone to product-related breakouts, when I find something I love I continue to repurchase it. It’s a big reason why I rarely experiment with new primers, foundations and concealers– all the ones you see here I’ve been using for at least 6+ months. My foundation has been my go-to for nearly 2 years!
This is pretty much my exact daily routine. Sometimes if I’m in a time crunch I’ll skip the cheek contour and eyeshadow, but other than that this is what I always wear. A lot of these products I actually had my makeup artist use on me for my wedding day— that’s when ya know something’s good!


2021 updated favorites
I still love and use most of the below, however here are a few new products I’ve incorporated into my everyday routine!
Erborian CC Creme (shade Clair) – I love wearing this on days when I don’t feel like applying a full coverage foundation. It tones down redness, has SPF and lightly covers flaws. It also feels great and wear like a moisturizer!
Revitalash Hi-Def Brow Gel (shade Soft Brown) – this is my new go-to brow gel. It keeps unruly hairs in place and adds just a touch of color and definition.
NARS Radiant Creamy Concealer – this was my favorite concealer for years! I recently picked it back up again and remembered why I was obsessed. Great coverage and won’t crease or crack.
Hourglass Ambient Lighting Bronzer (shade Luminous Bronze Light) – this is a new favorite bronzer that I’ve been loving! I actually wear it often as a blush. It’s the prettiest peachy bronze and give skin a sunkissed glow!
Charlotte Tilbury Pillow Talk Lip Liner – another all-time favorite that I’ve been using regularly again! This lip liner is the perfect nude pink.
It Cosmetics Ombre Radiance Bronzer + Mega Fan Brush – I love this bronzer/highlighter and brush duo so much! The brush gives the perfect application.
SKIN & LIP PREP
Clinique Dramatically Different Moisturizing Lotion
Tula Rose Glow & Get it Cooling & Brightening Eye Balm (use code KATIESBLISS for 15% off)
Charlotte Tilbury Wonderglow Face Primer
FACE PRODUCTS
La Mer The Luminous Lifting Cushion Foundation SPF 20 + Refill
Shade: Petal
I apply using this foundation brush— make sure to dampen it first! I typically use water or Clinique Moisture Surge Face Spray.
SHISEIDO Synchro Skin Self-Refreshing Concealer
Shade: 201-Light
I apply this to any blemishes, red spots and my under eyes and then I blend it out using a damp beauty sponge.
Urban Decay Naked Skin Color Correcting Fluid
Shade: Pink
I apply this to my under eyes to brighten the skin and give my eye area a youthful glow.
Fenty Beauty By Rihanna Pro Filt’r Instant Retouch Setting Powder
Shade: Lavender
I use this to set my concealer and apply with a beauty sponge. It never looks cakey, does any amazing job of brightening the skin and keeps my concealer from fading throughout the day.
Fenty Beauty By Rihanna Match Stix Matte Skinstick
Shade: Amber
I apply this to the hollows of my cheeks, my jawline and the outer frame of my forehead. To blend I use a damp beauty sponge.
It Cosmetics Bye Bye Pores Blush
Shade: Sweet Cheeks
Burberry Fresh Glow Highlighter
Shade: Nude Gold
I apply this to my cheekbones, underneath my brows, above my lips and along my nose!
COVER FX Dewy Finish Setting Spray
I swear this makes the skin look like an Instagram filter! It gives it the perfect natural dewy finish.
EYE PRODUCTS
Similar MAC Eye Brow Gel
Shade: Brunette or something appropriate for ash blonde hair
The brow gel I’m currently using from MAC was sadly discontinued, but the one linked above should be very similar!
Urban Decay 24/7 Glide-On Eye Pencil
Shades: Perversion (black) & Smog (bronze)
The best creamy blendable eyeliner! I use black on my upper and lower waterline to make my eyes pop and emphasize my lashes. Then I take the bronze and apply is to my upper lash line below my eyeshadow.
NARS Pro-Prime Smudge Proof Eyeshadow Base
Helps eyeshadow last all day and prevents creasing.
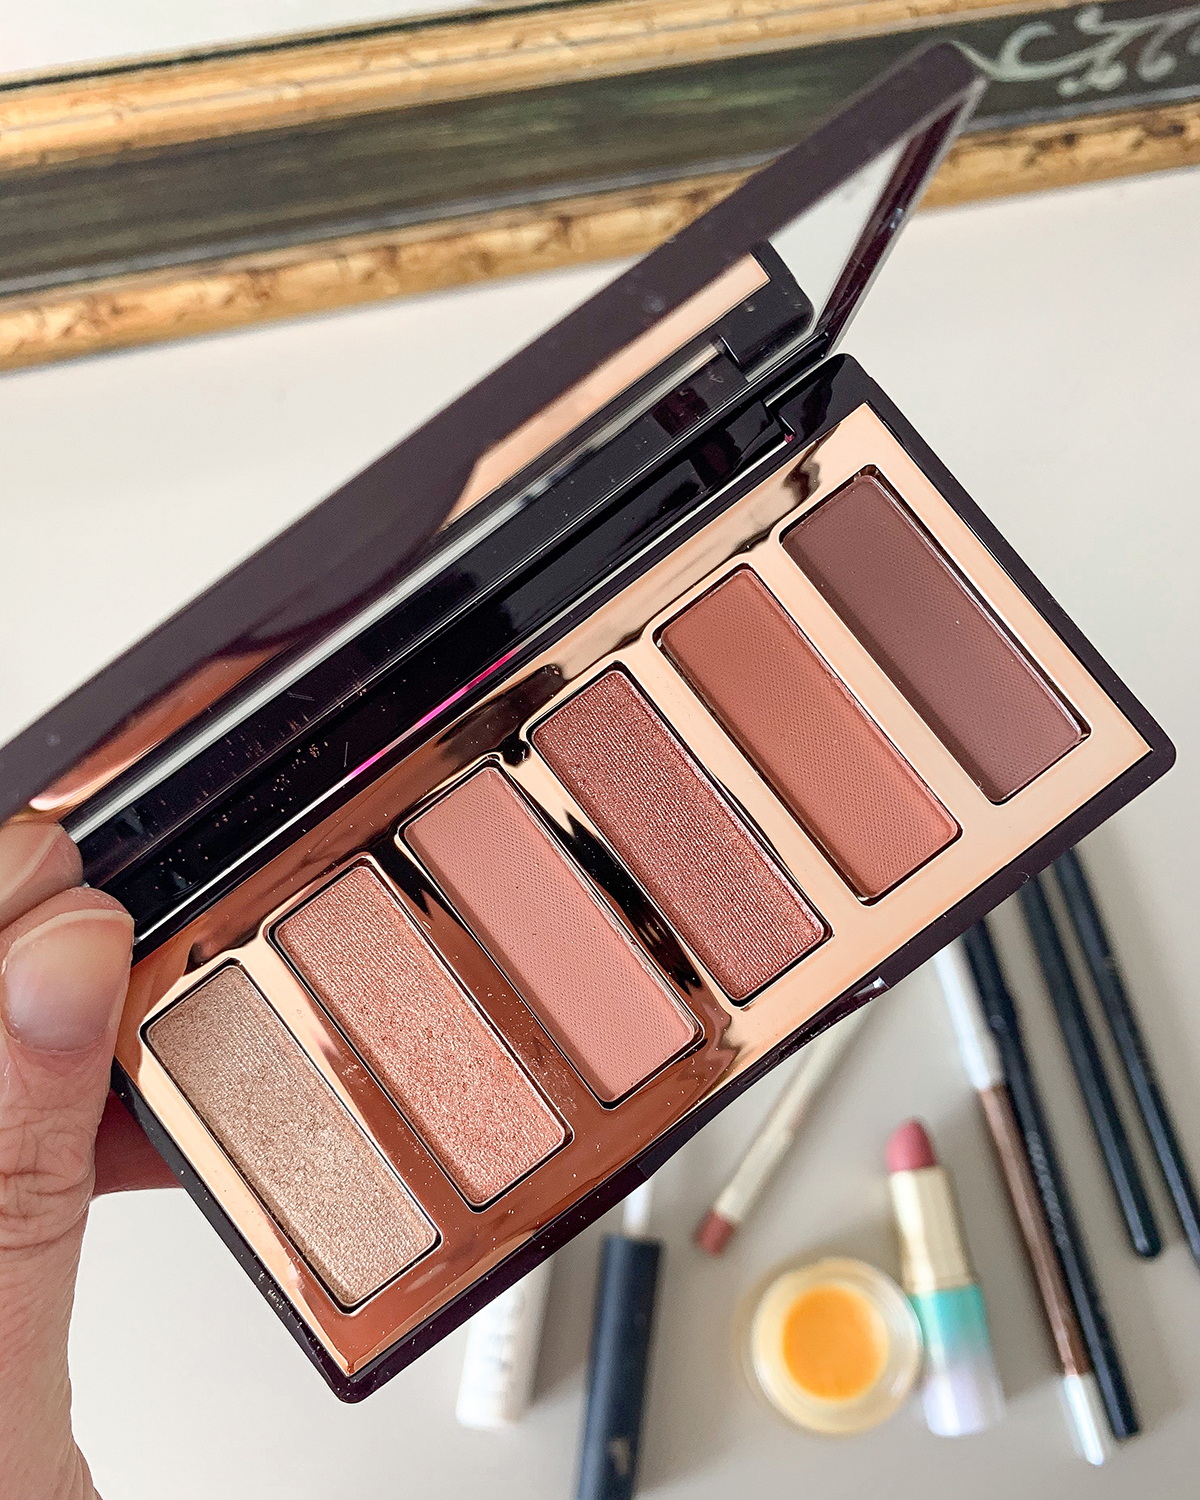
Charlotte Tilbury Darling Eyeshadow Palette
This palette has the prettiest rosy champagne tones + a mix of mattes. You could easily use it create a dark nighttime look as well!
Lancome Monsieur Big Mascara
Shade: Black
LIP PRODUCTS
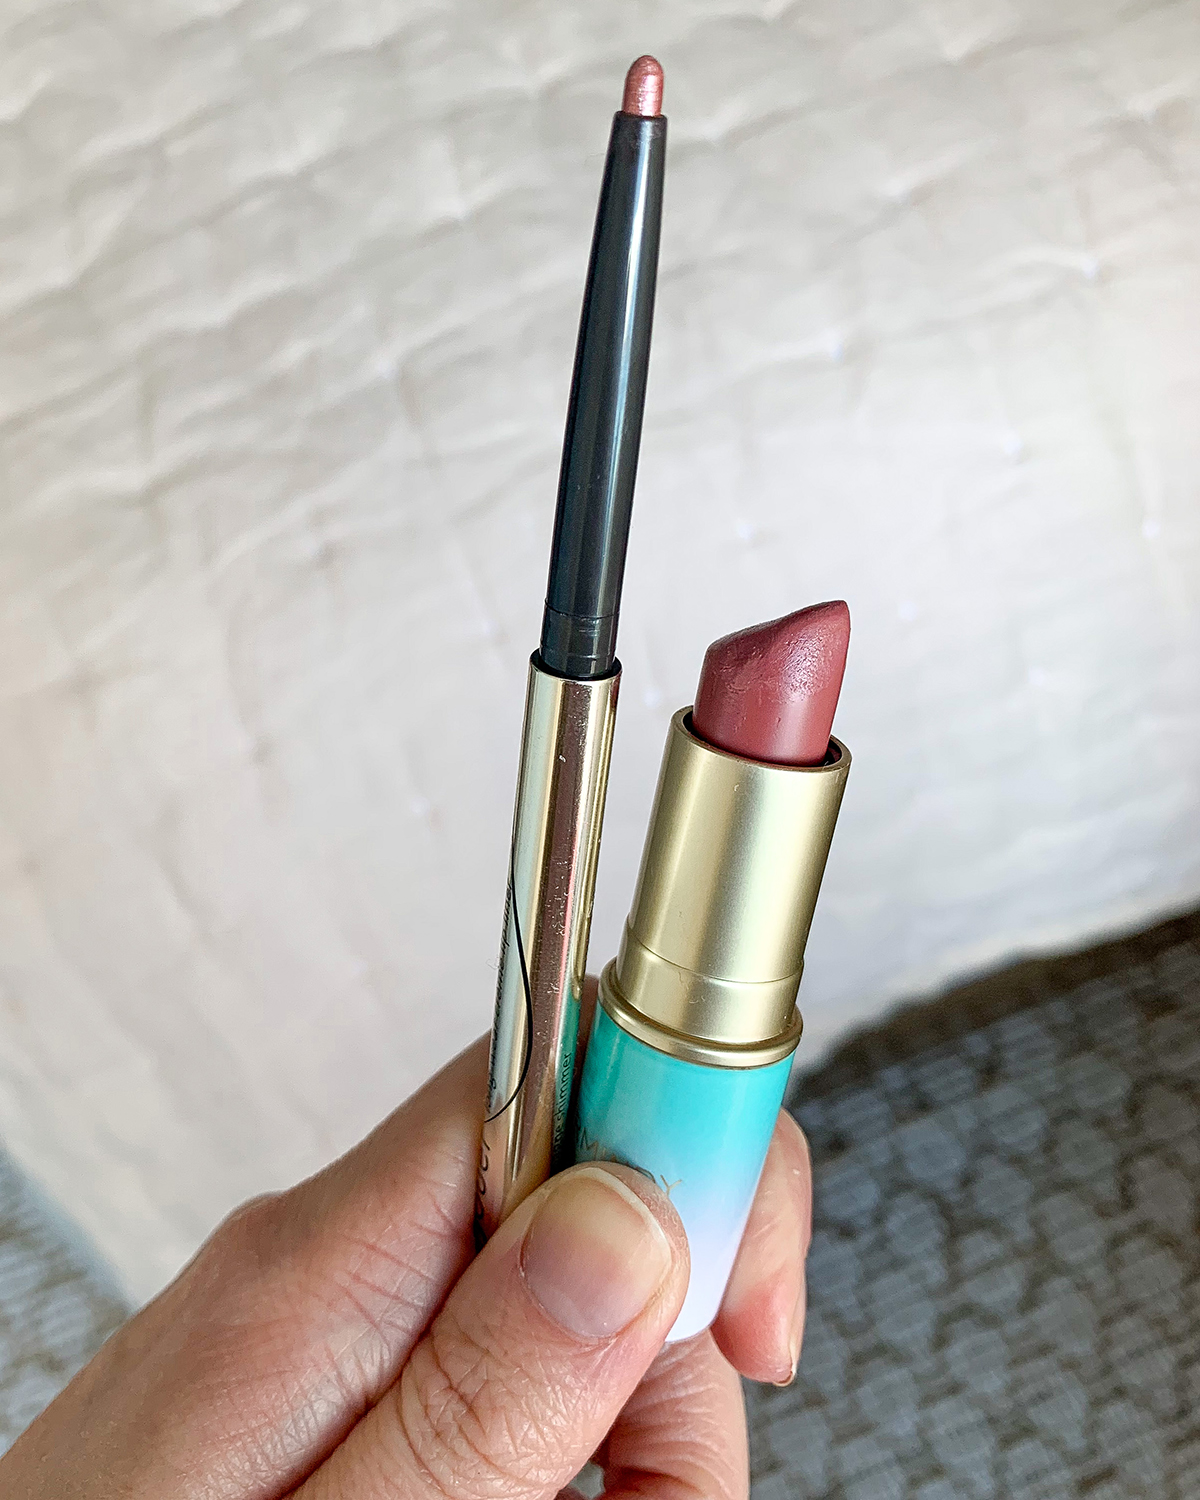
Jouer Long-Wear Crème Lip Liner
Shade: Pink Champagne Shimmer
Carmindy Beauty Universal Love Hydrating Lipstick
The perfect universal rosy lipstick! I’m obsessed with the non-drying formula. I can wear it all day!
TOOLS
Alligator Hair Clips (pack of 6 for $6.99)
Foundation Brush (the best I’ve ever used!)
Beauty Sponges (pack of 5 for $8.99)
Eyeshadow Brush (flat)
I use this for apply shadow to my eyelid
Eyeshadow Brush (blending)
I use this for blending shadows in eye cream and underneath my brows
Large Powder Brush
I can’t find the exact brush I have, but the one linked above is very similar.
Bronzer + Highlight Brush
I just flip and use the other side when I apply highlighter!
The post My Everyday Makeup Routine + Favorite Cosmetics appeared first on Katie's Bliss.
]]>
It's that time of year... The weather is frigid. The only clothing I want to put on is loungewear. My motivation to get out and do fun things around the city is at a minimum. And the last thing I want to do is wash and heat style my hair. January #hibernationmode is a real thing!
I think most of y'all are pretty familiar with my hair history and maintenance routine, but here's a short refresher! I have my hair colored (just highlights) and trimmed on average every eight weeks. For the last year I've also been getting tape-in extensions, which I LOVE (you can read more about those here.)
The post 2 Easy Hair Styles I Like To Wear Between Washes appeared first on Katie's Bliss.
]]>
This is a sponsored post written by me on behalf of Pantene. All opinions are 100% mine.
It’s that time of year… The weather is frigid. The only clothing I want to put on is loungewear. My motivation to get out and do fun things around the city is at a minimum. And the last thing I want to do is wash and heat style my hair. January #hibernationmode is a real thing!
I think most of y’all are pretty familiar with my hair history and maintenance routine, but here’s a short refresher! I have my hair colored (just highlights) and trimmed on average every eight weeks. For the last year I’ve also been getting tape-in extensions, which I LOVE (you can read more about those here.)

CLICK HERE for info on our dining room shelves
My natural hair type is thick, wavy and on the dry side. Some days it’s a lot to handle, which is why I like to keep my at-home routine as minimal as possible. During a typical week I will wash my hair just twice… sometimes once if I can get away with it. When I tell people this, I usually get a mix of reactions that range from, “how is that even possible…” and “but your hair looks so clean?” and “no way, what products are you using???”
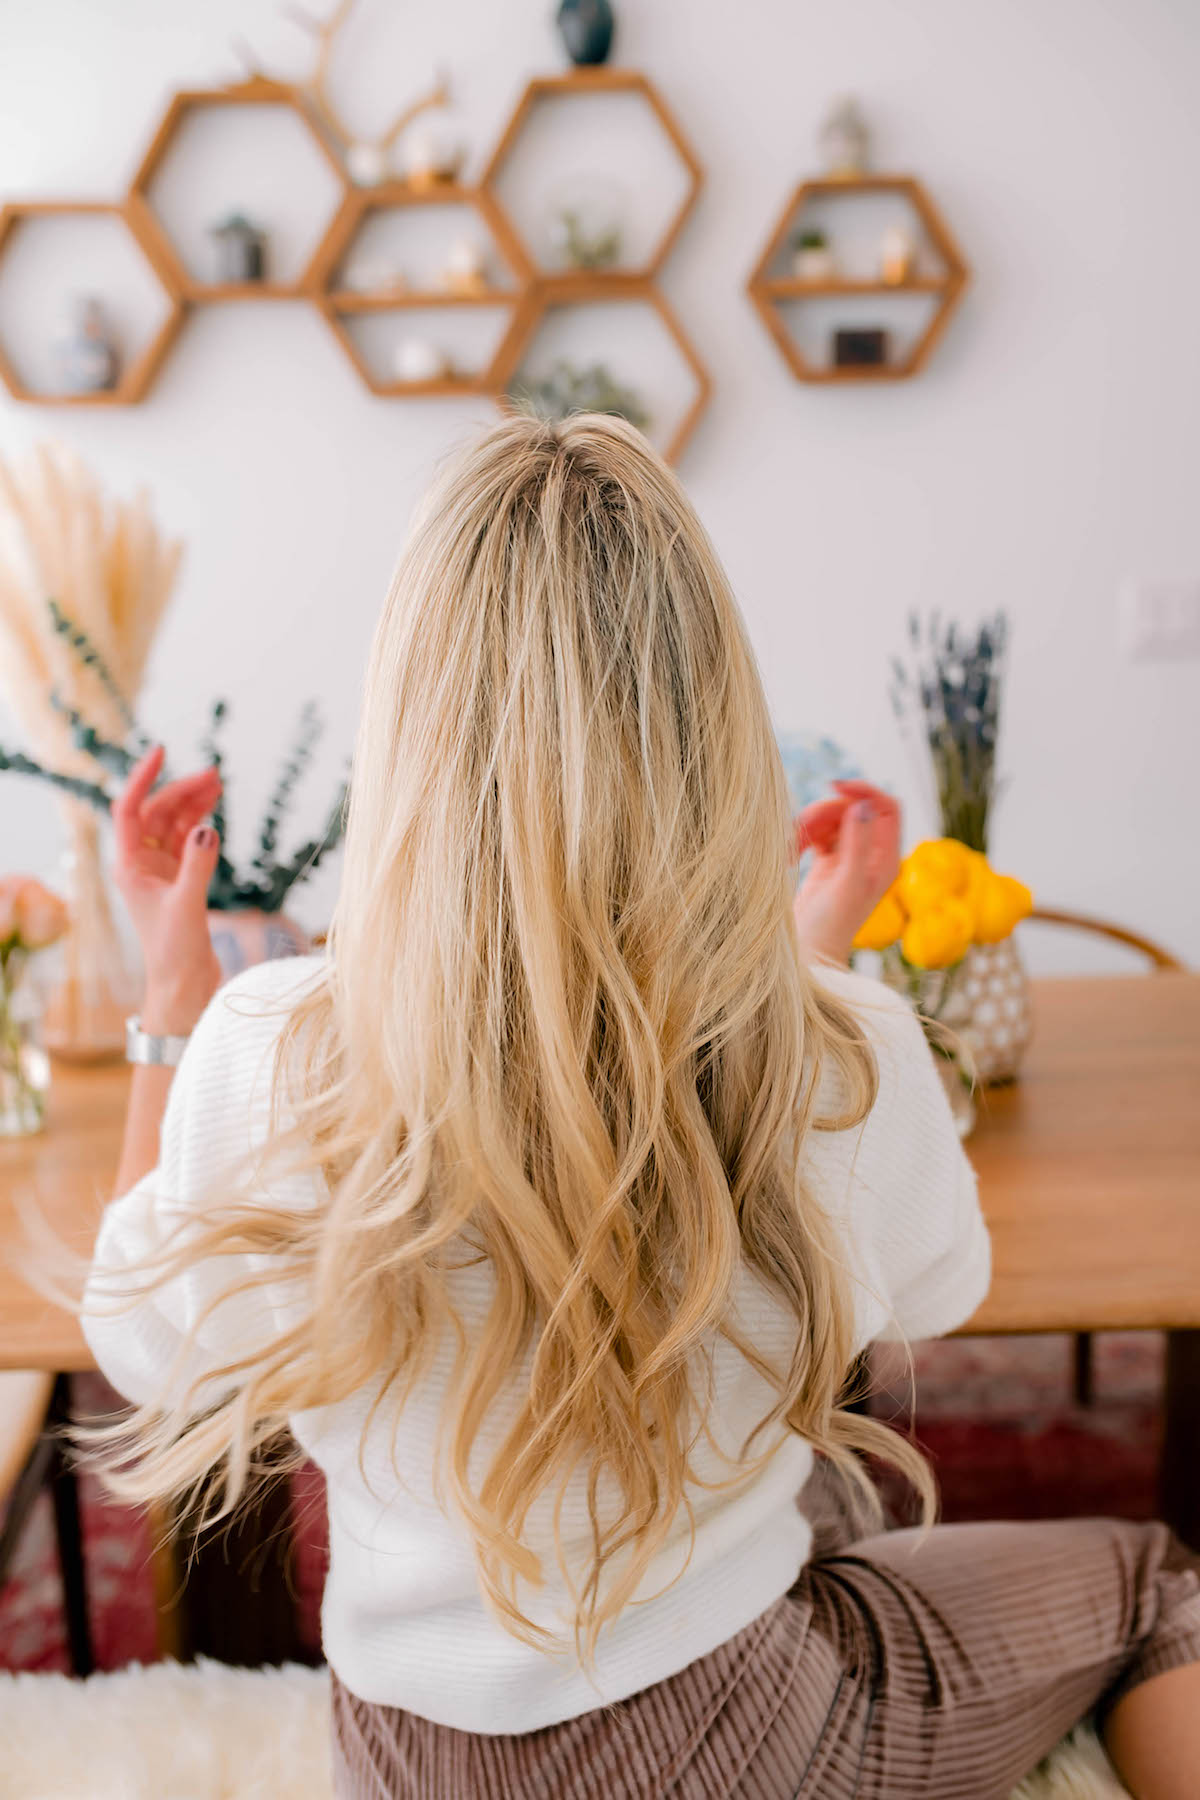
I credit two things for allowing me to become bffs with my shower cap: 1) my naturally dry wavy hair and 2) re-styling products that refresh my locks in between showers.
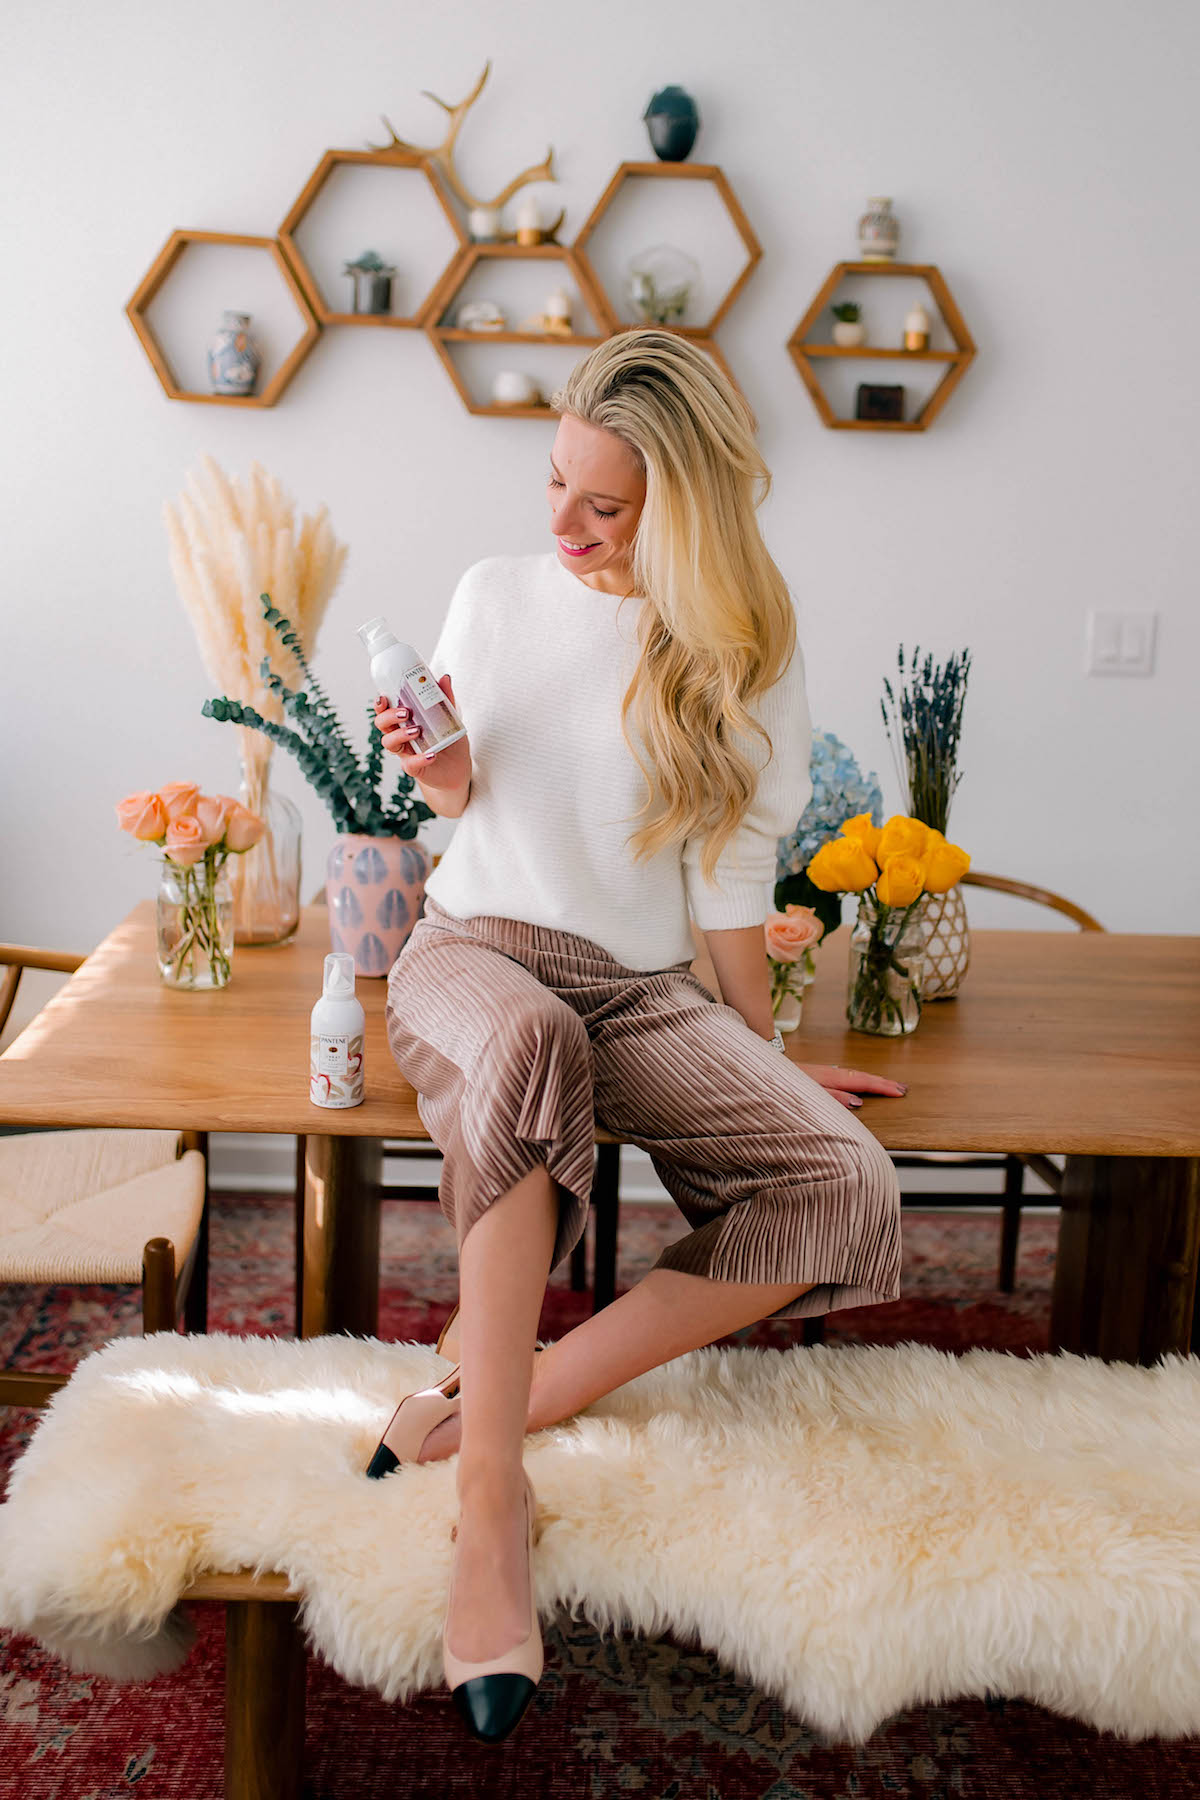
Ever heard of the Pantene Waterless Collection? This new line of products from Pantene was specifically created for reviving and styling second, third and even fourth day hair in between washes. With this line every hair day can look just as fab as it does freshly washed and styled.
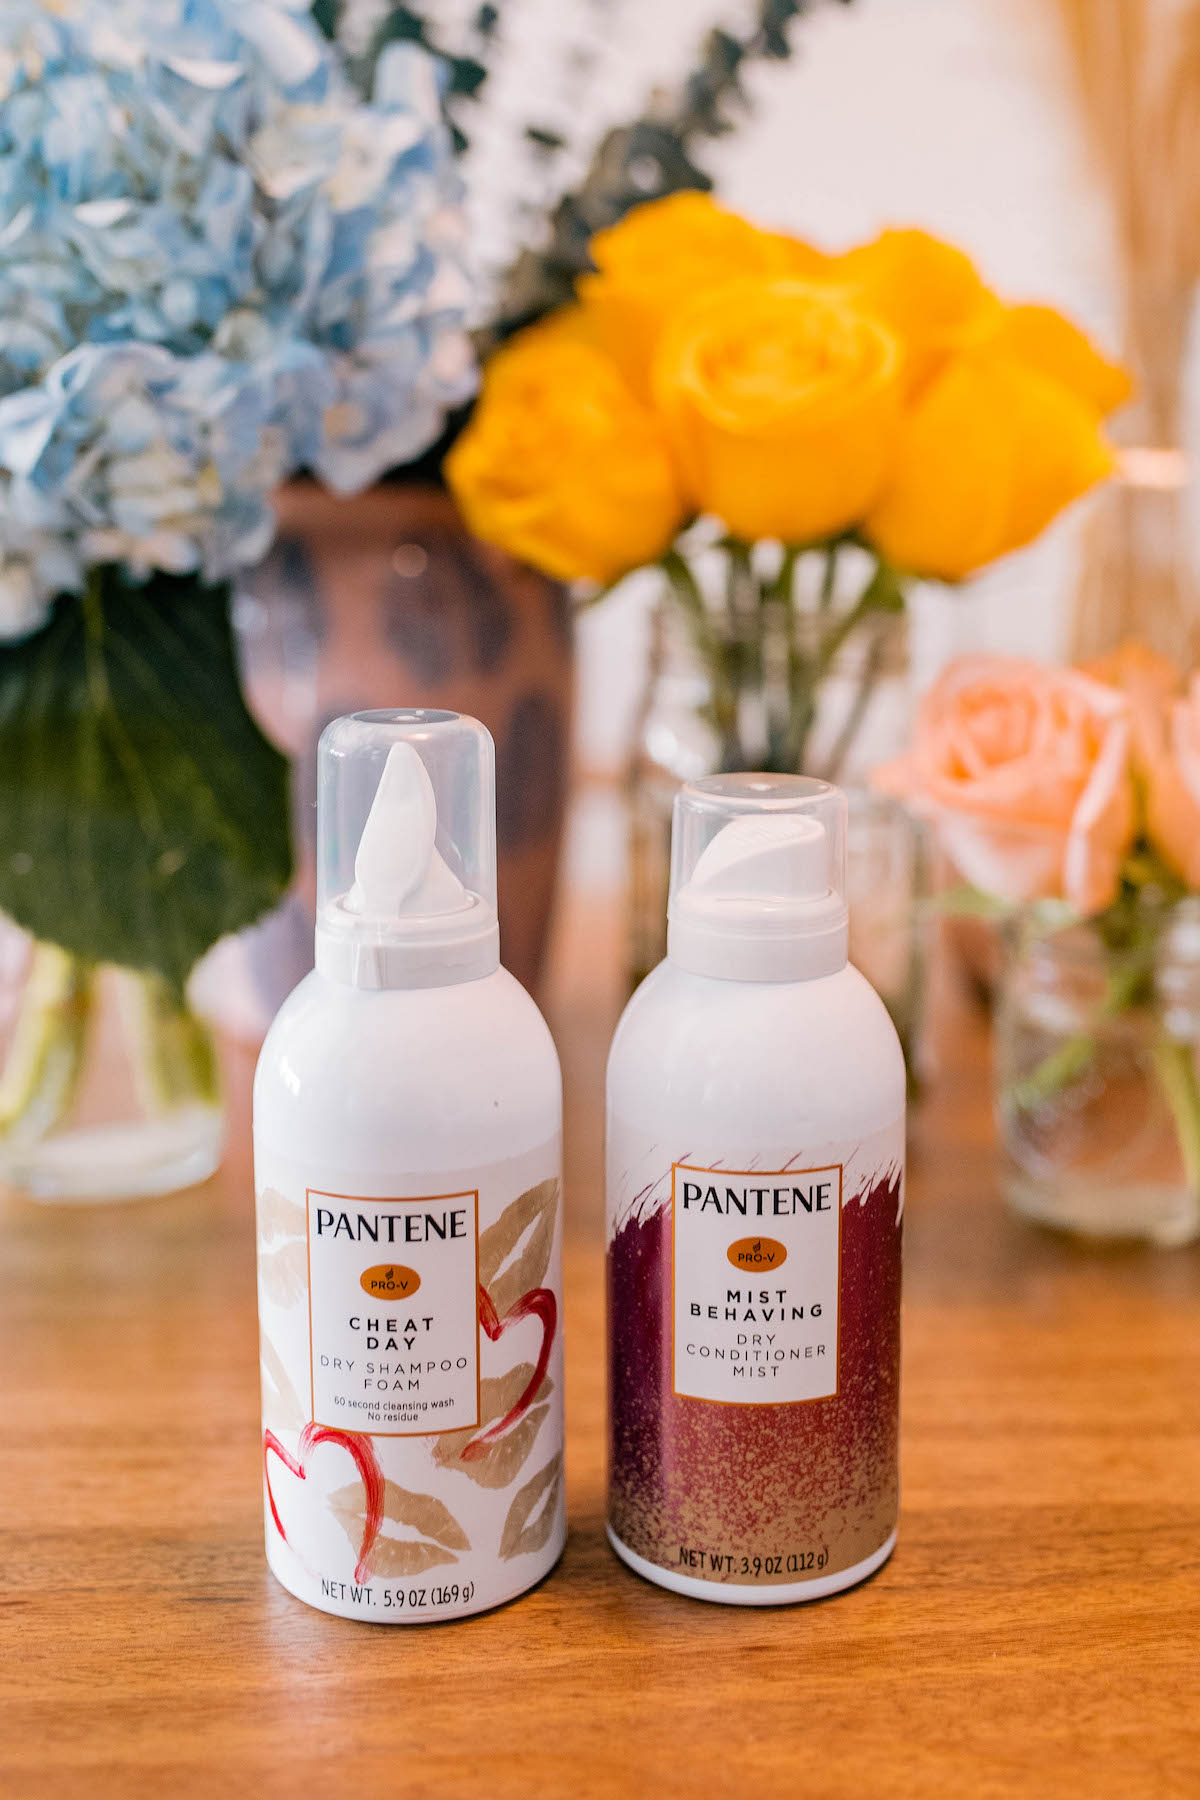
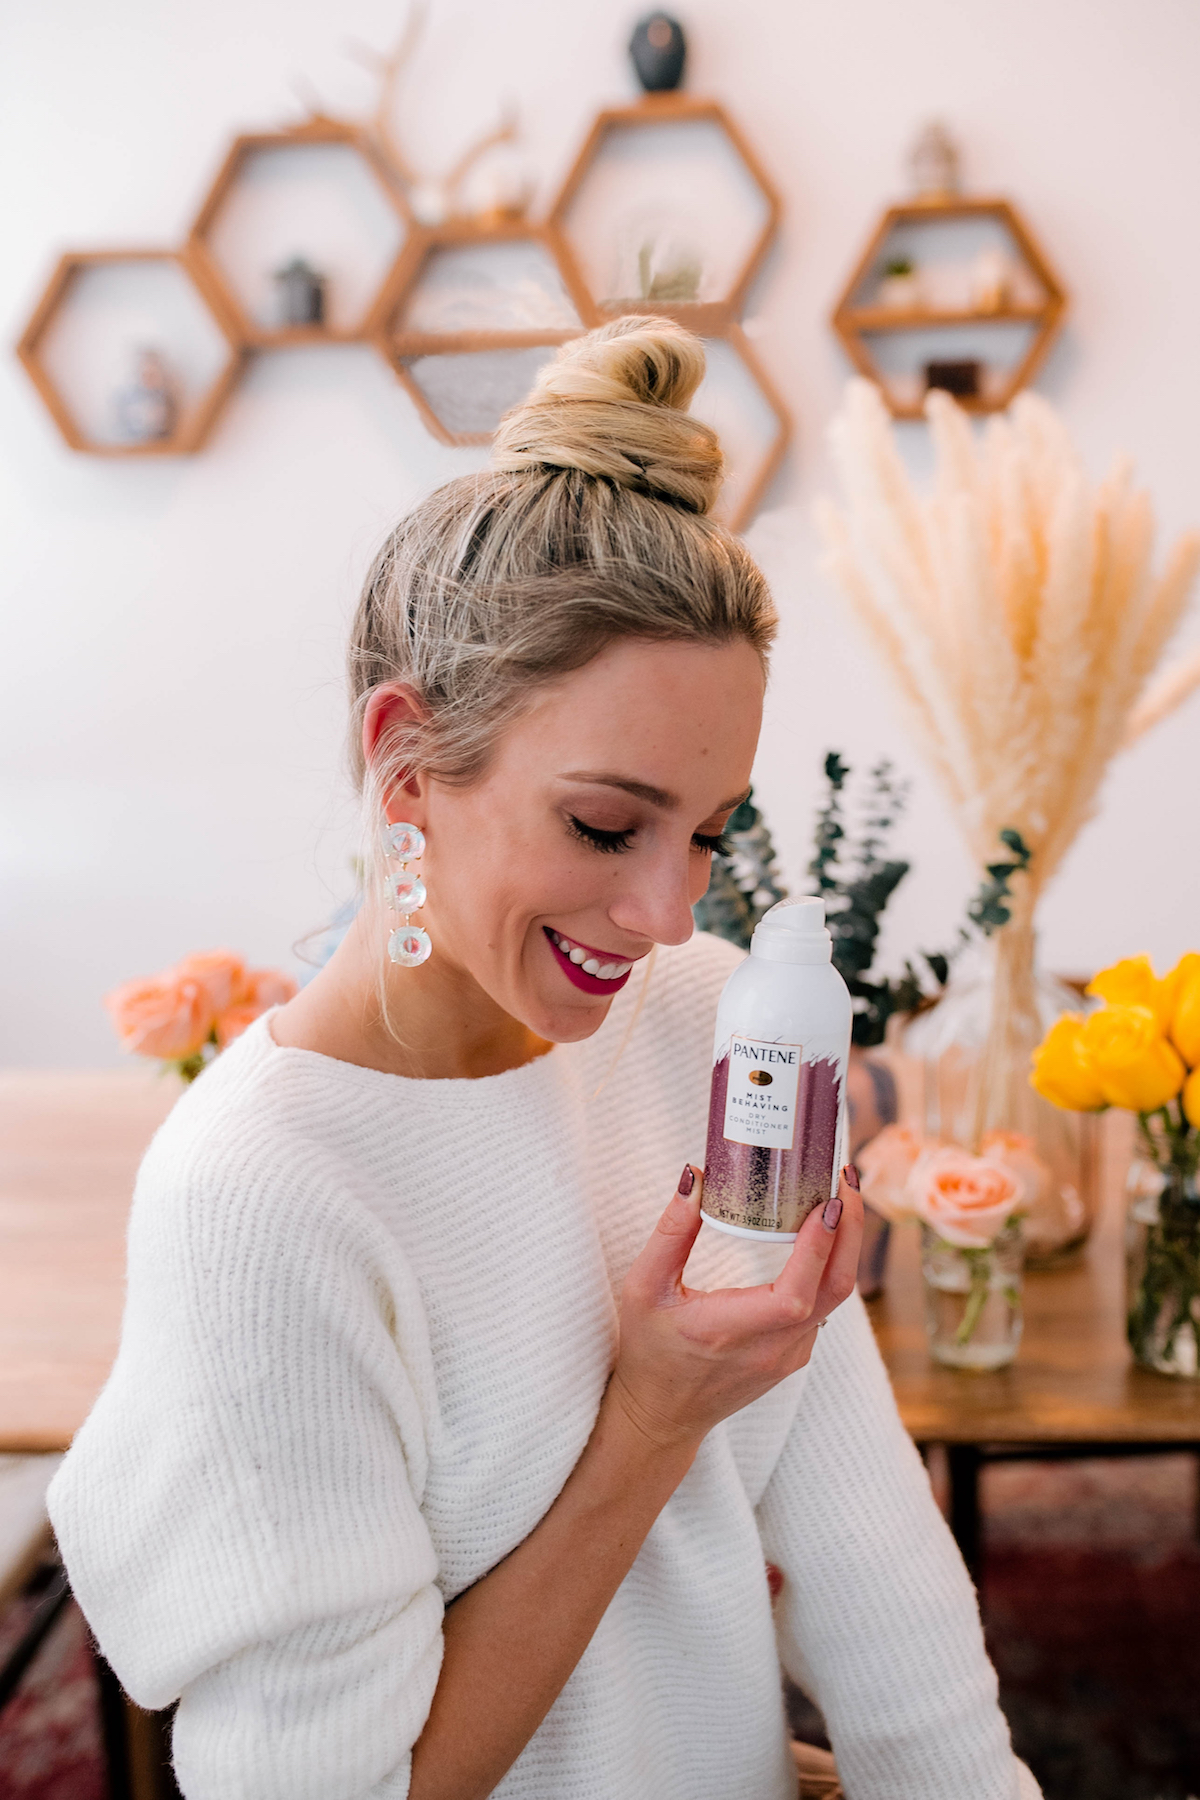
PANTENE WATERLESS COLLECTION
Pantene Cheat Day Dry Shampoo Foam | Pantene Mist Behaving Dry Conditioner Mist
Over the last few weeks I tested two different products from the collection on the days I didn’t wash my hair: Pantene Cheat Day Dry Shampoo Foam and Pantene Mist Behaving Dry Conditioner Mist. Here’s a little bit more info about each!
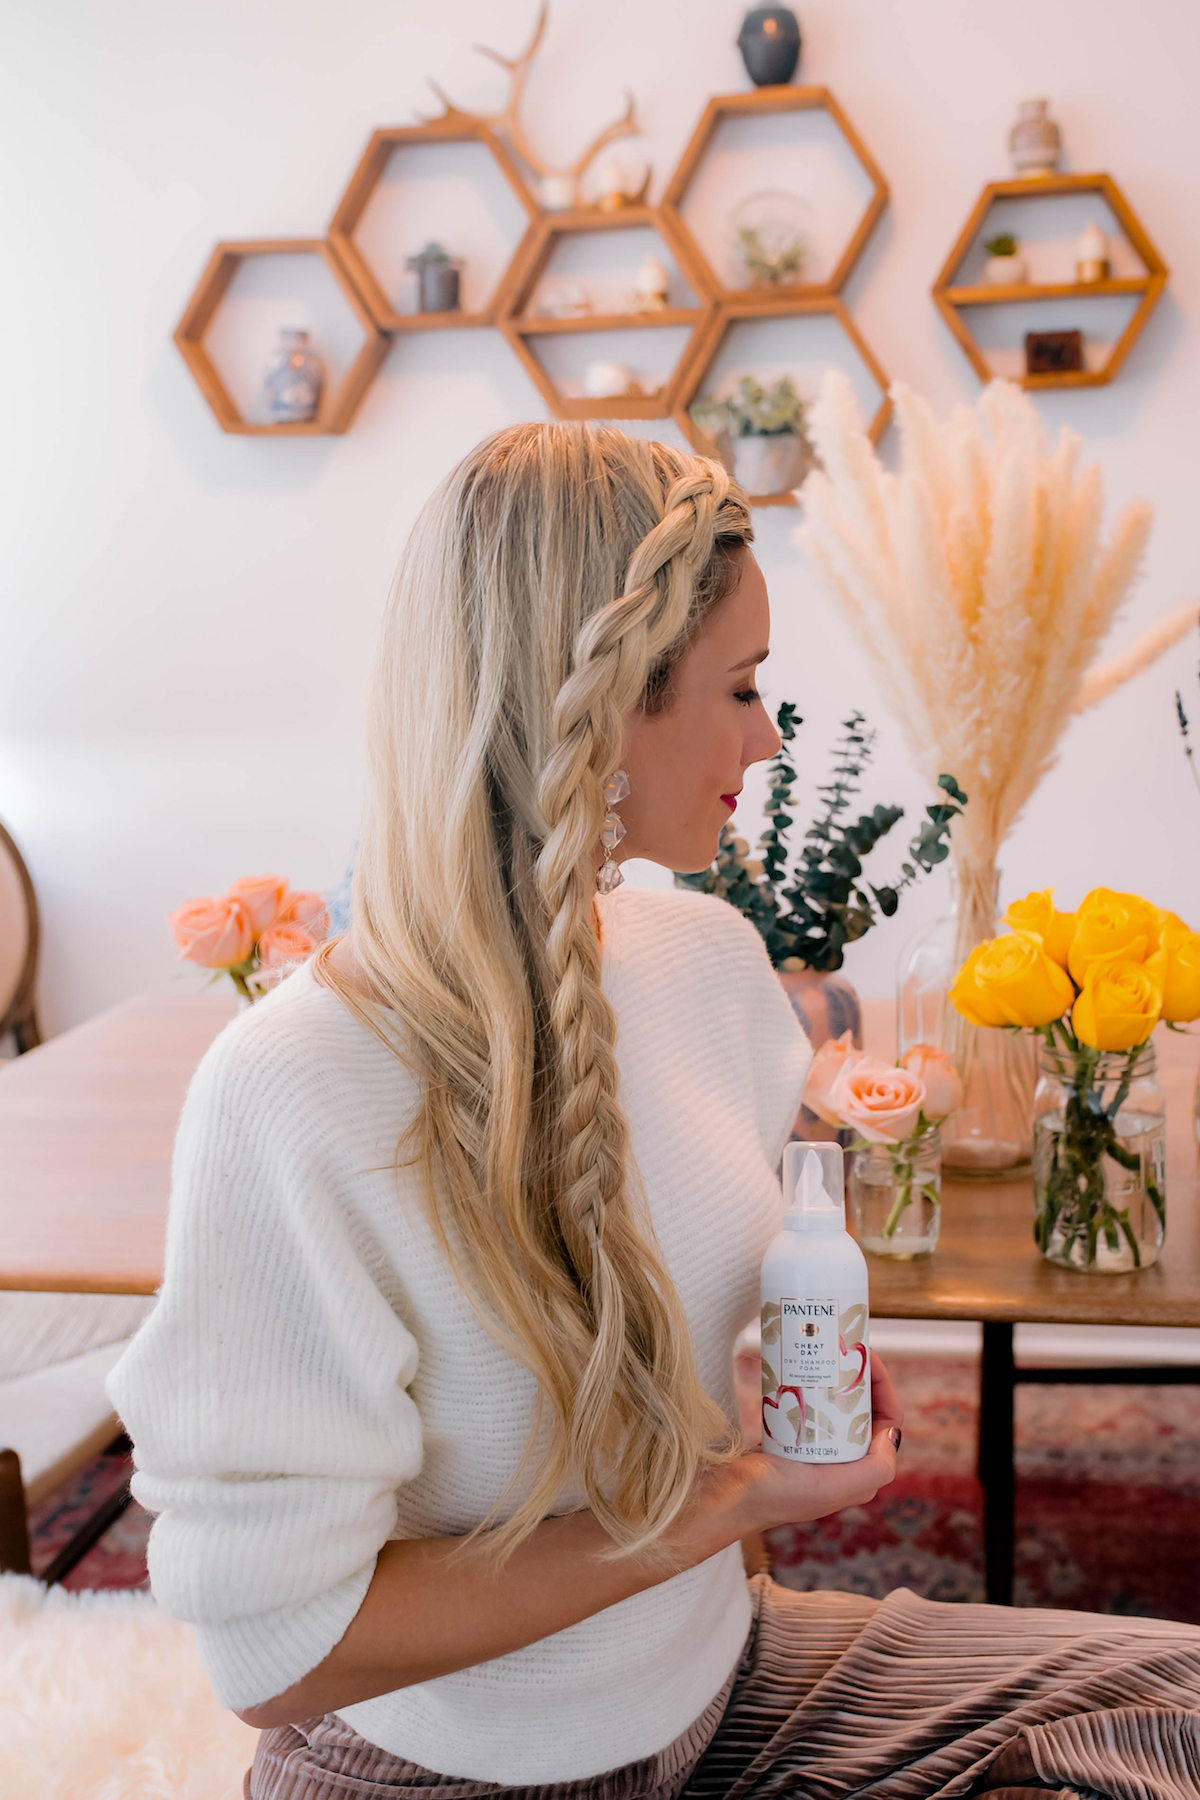
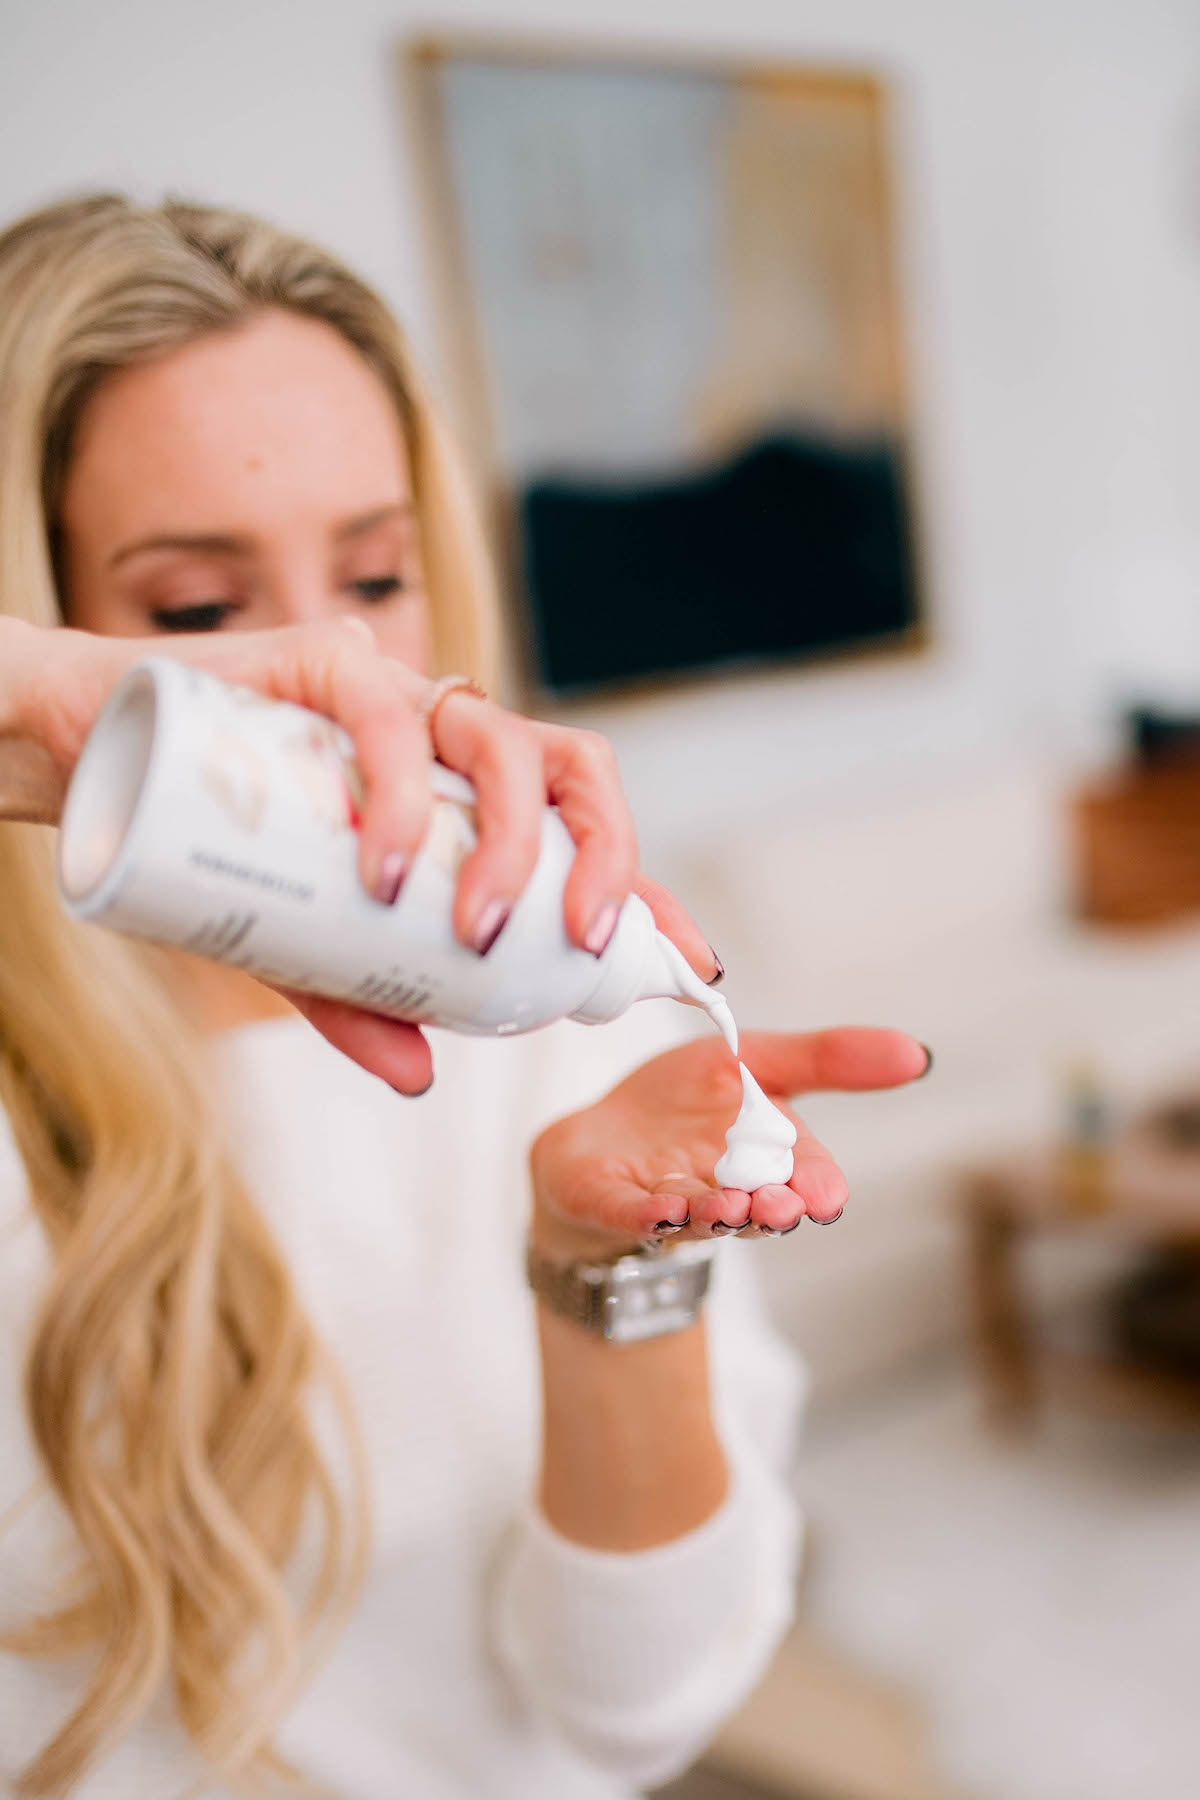
Pantene Cheat Day Dry Shampoo Foam– Gives hair a waterless wash and removes oil without leaving any residue. Can be used on all hair types and doesn’t contain any sulfates or parabens. To use, you dispense a small amount on your fingertips, section hair, and run in at the roots. It is infused with Pro-Vitamin B5 and orchid flower.
Pantene Mist Behaving Dry Conditioner Mist– Moisturizing spray that tames flyaways and frizz and will detangle even the thickest locks. Formula nourishes hair thanks to Pro-Vitamin B5, Omega-9, aloe, and jojoba oil – also paraben and sulfate-free. Just spray at the ends of your hair for a quick refresh.
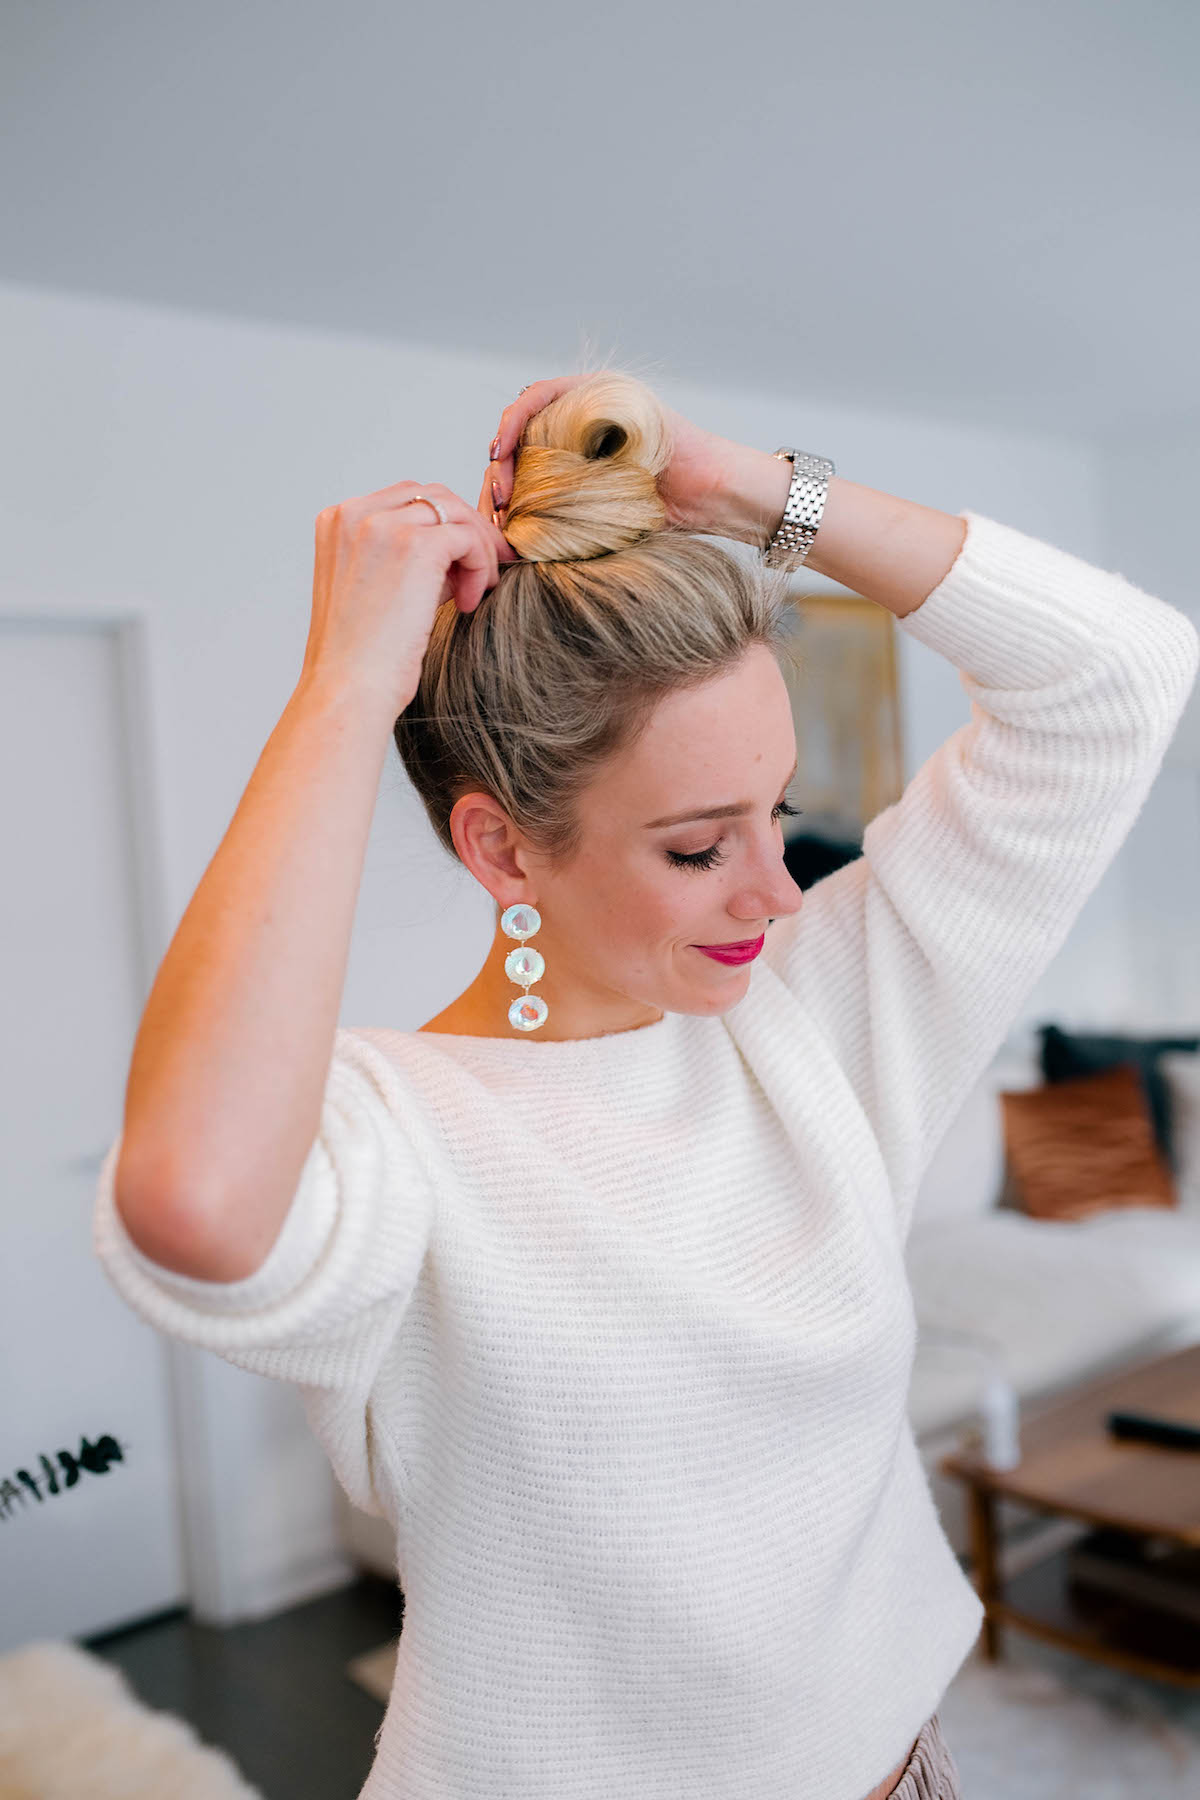
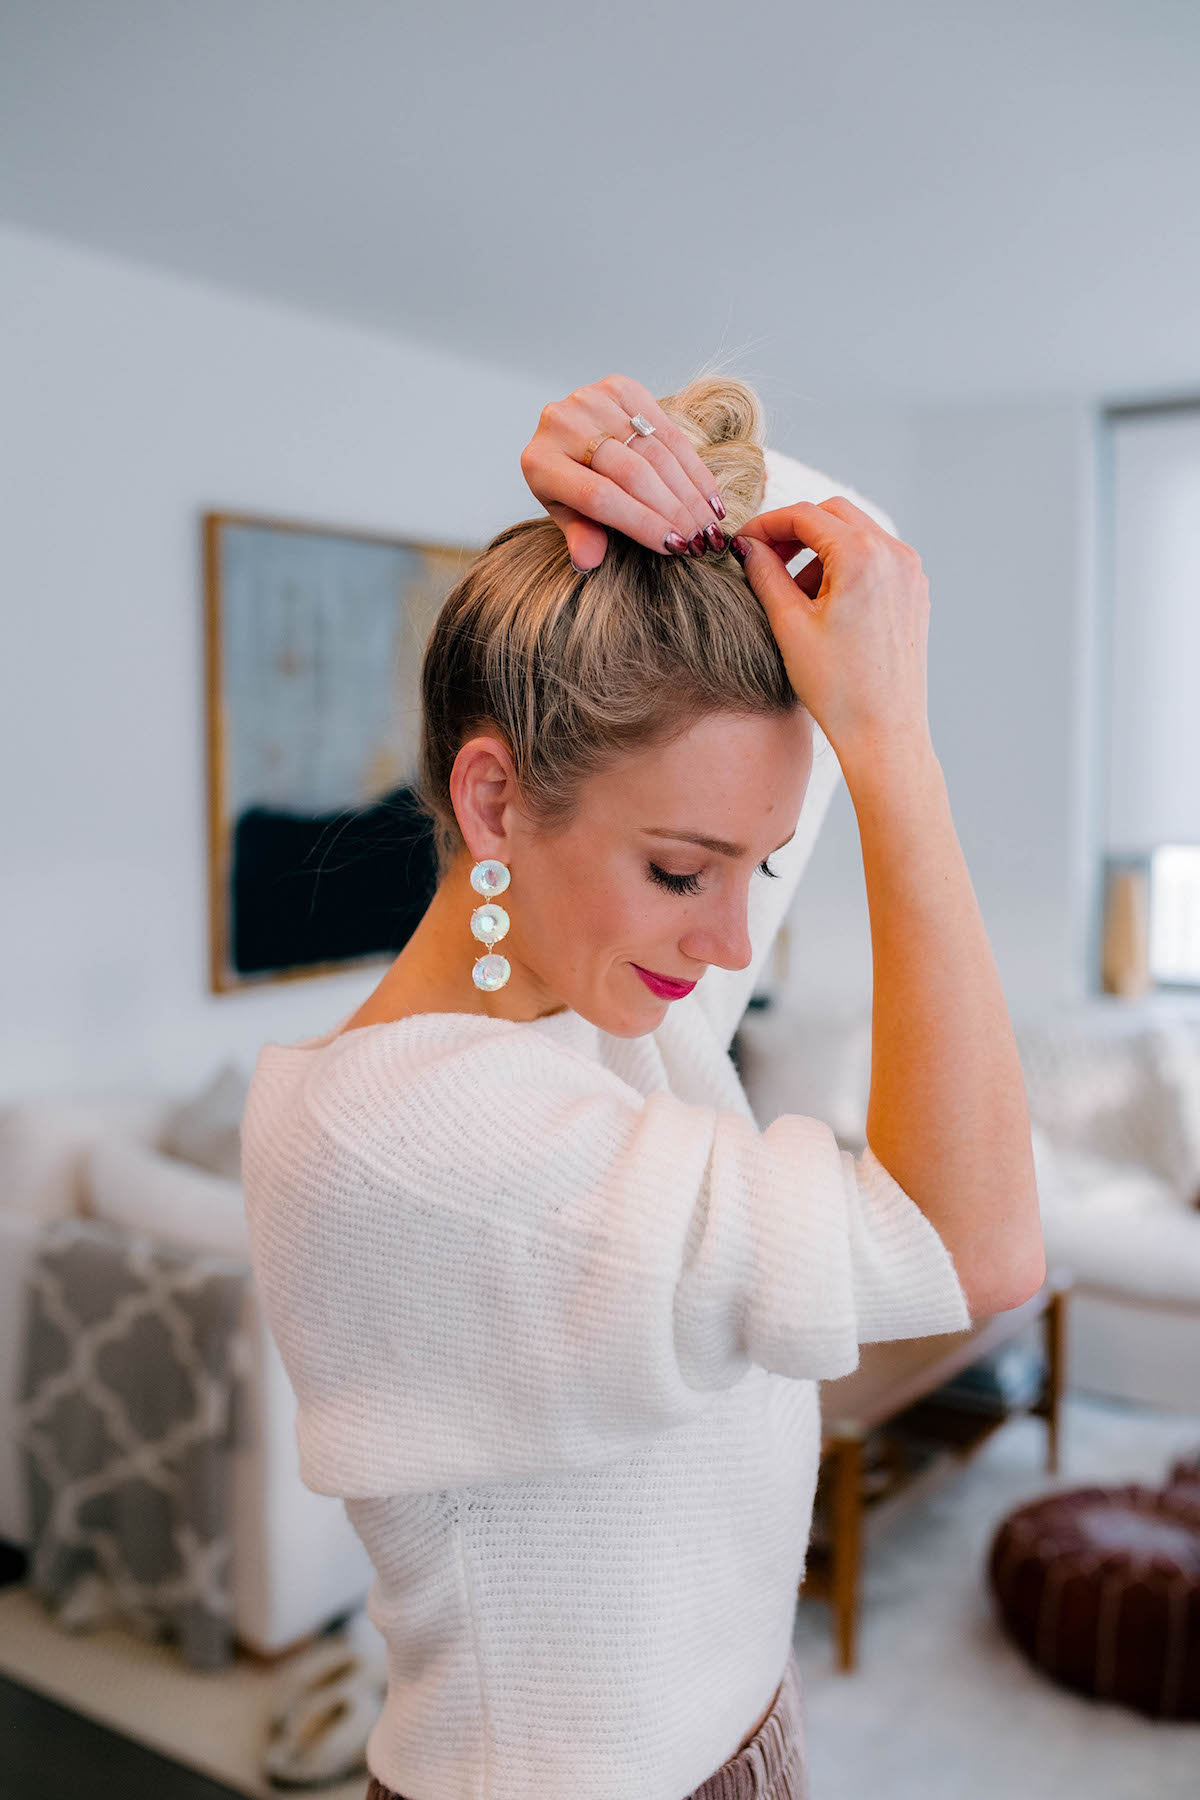
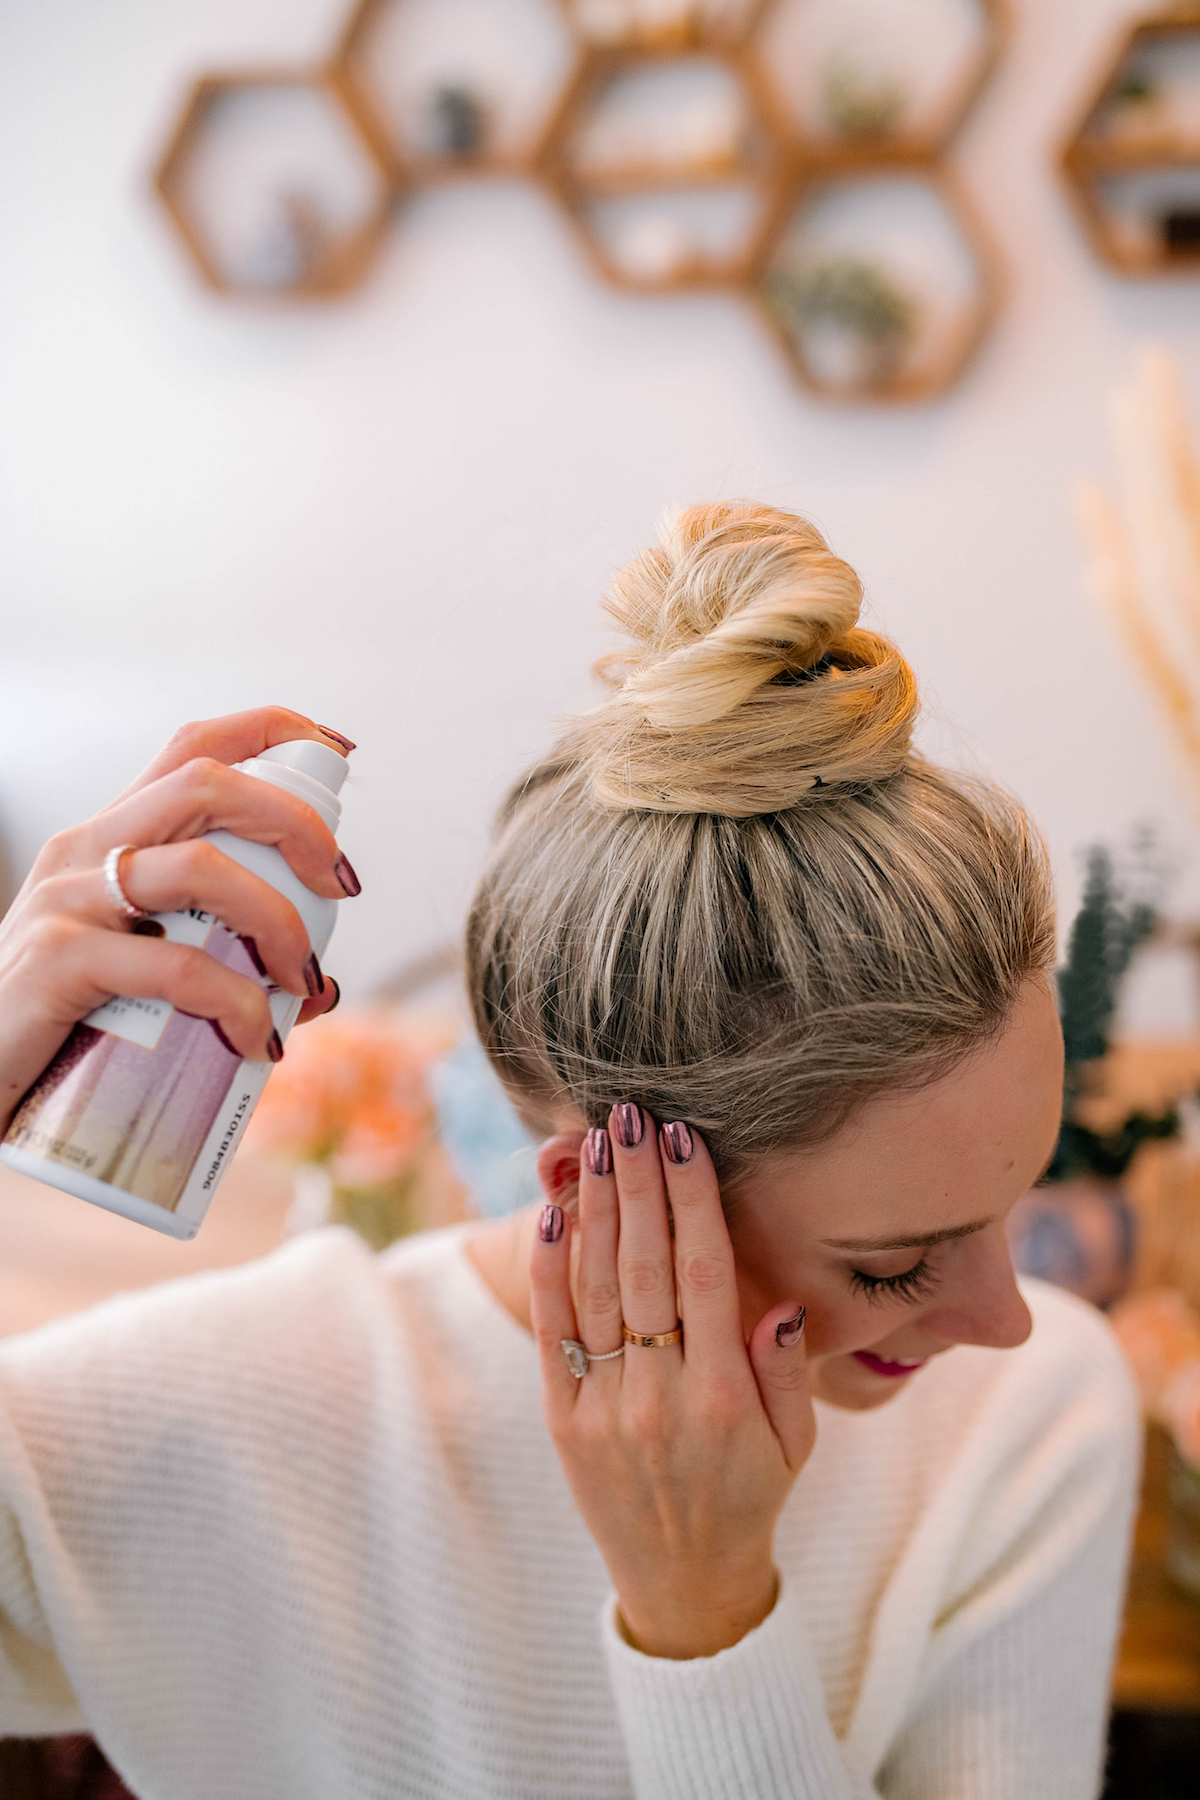
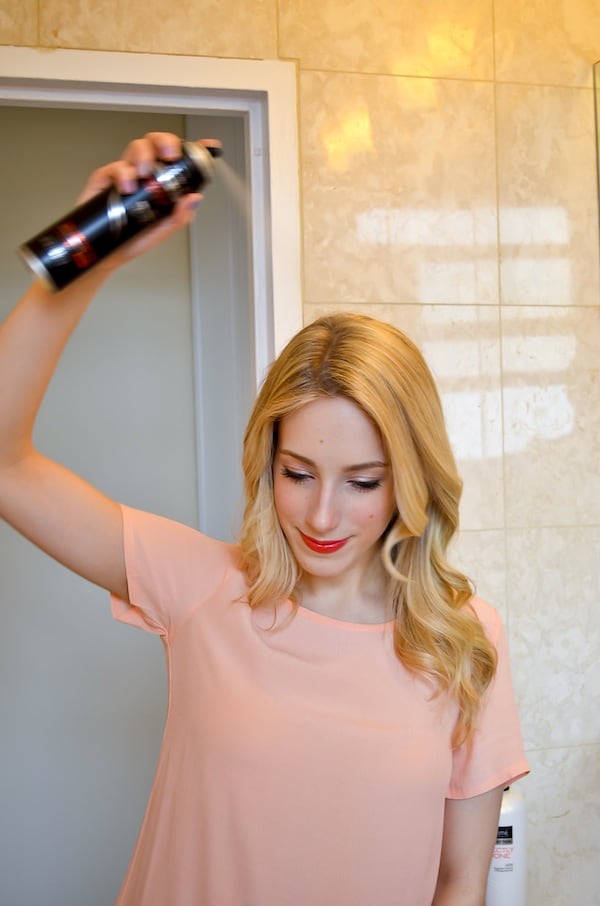
I found the dry conditioner mist most helpful on days when I wore my hair in a top knot. I’m a big fan of buns… when they’re tamed. This mist was a game changer in keeping down my flyaways and baby hairs around the frame of my face. A light spritz (make sure to shake the can first and hold 6-8 inches away) was enough to tame any uncooperative hairs and I LOVED how it didn’t leave my hair crunchy or feeling like it was coated in product.
Roots feeling a little greasy? Noticing shine on your hair? Then you need this dry shampoo foam!
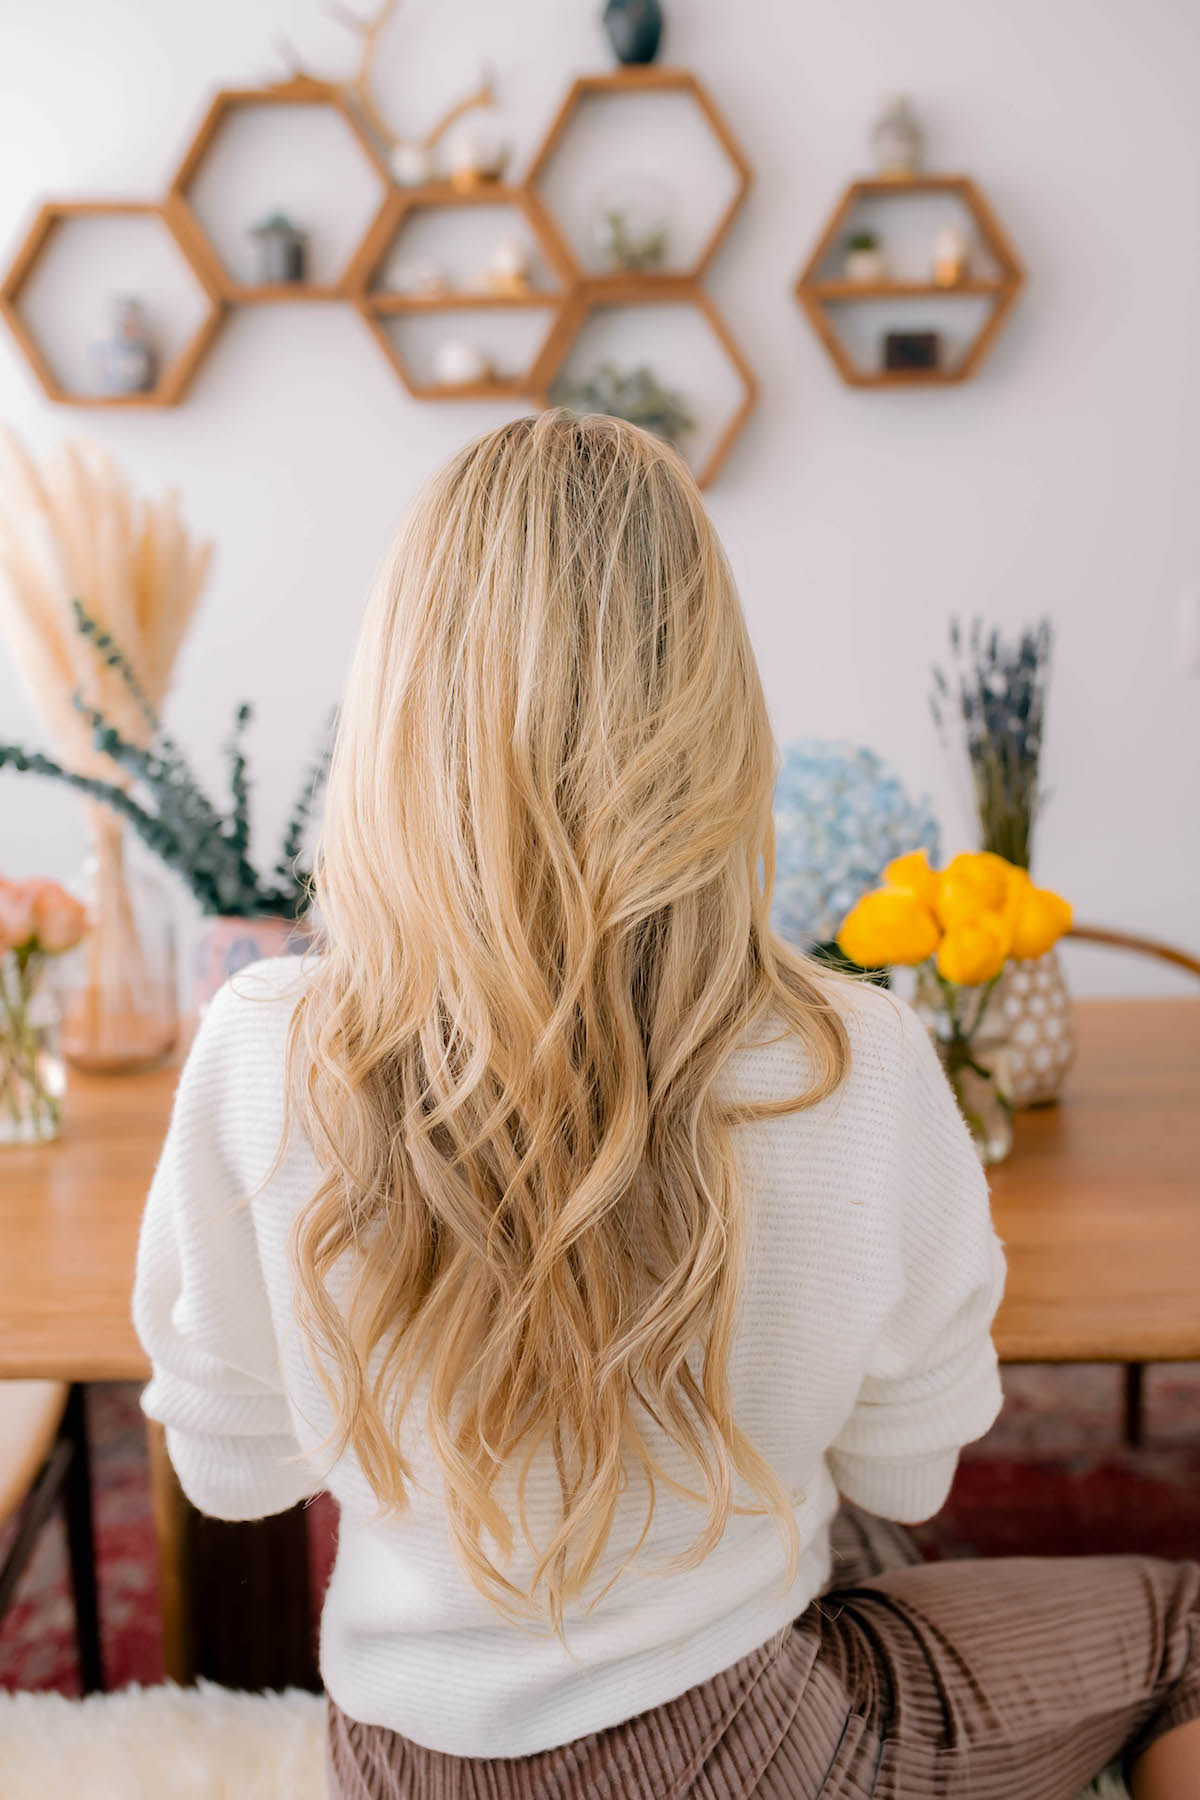
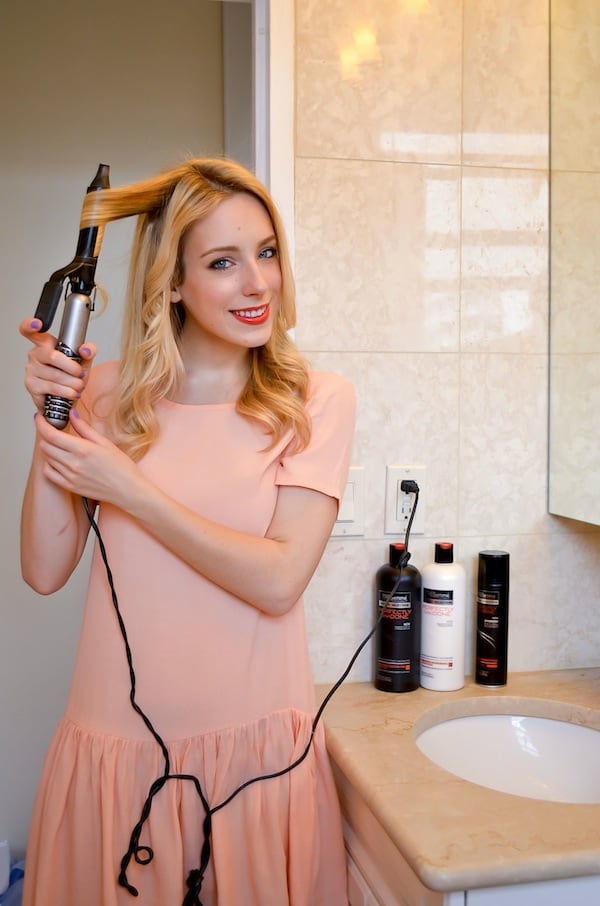
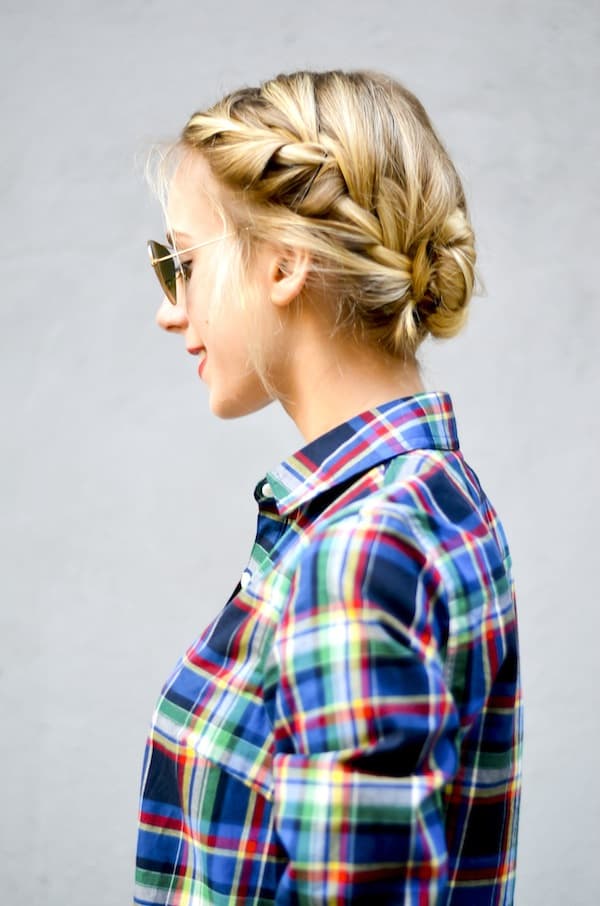
I found the dry shampoo foam most helpful on days when I was just starting to feel like my hair was getting dirty. I tend to notice grease and shine first on my front layers so to refresh these strands I’ll dispense a small pump of the foam into my fingertips and massage at the roots. It absorbs and dries nearly instantly! Next I’ll take a 3-inch section of the hair and dutch braid it down the side of my face.
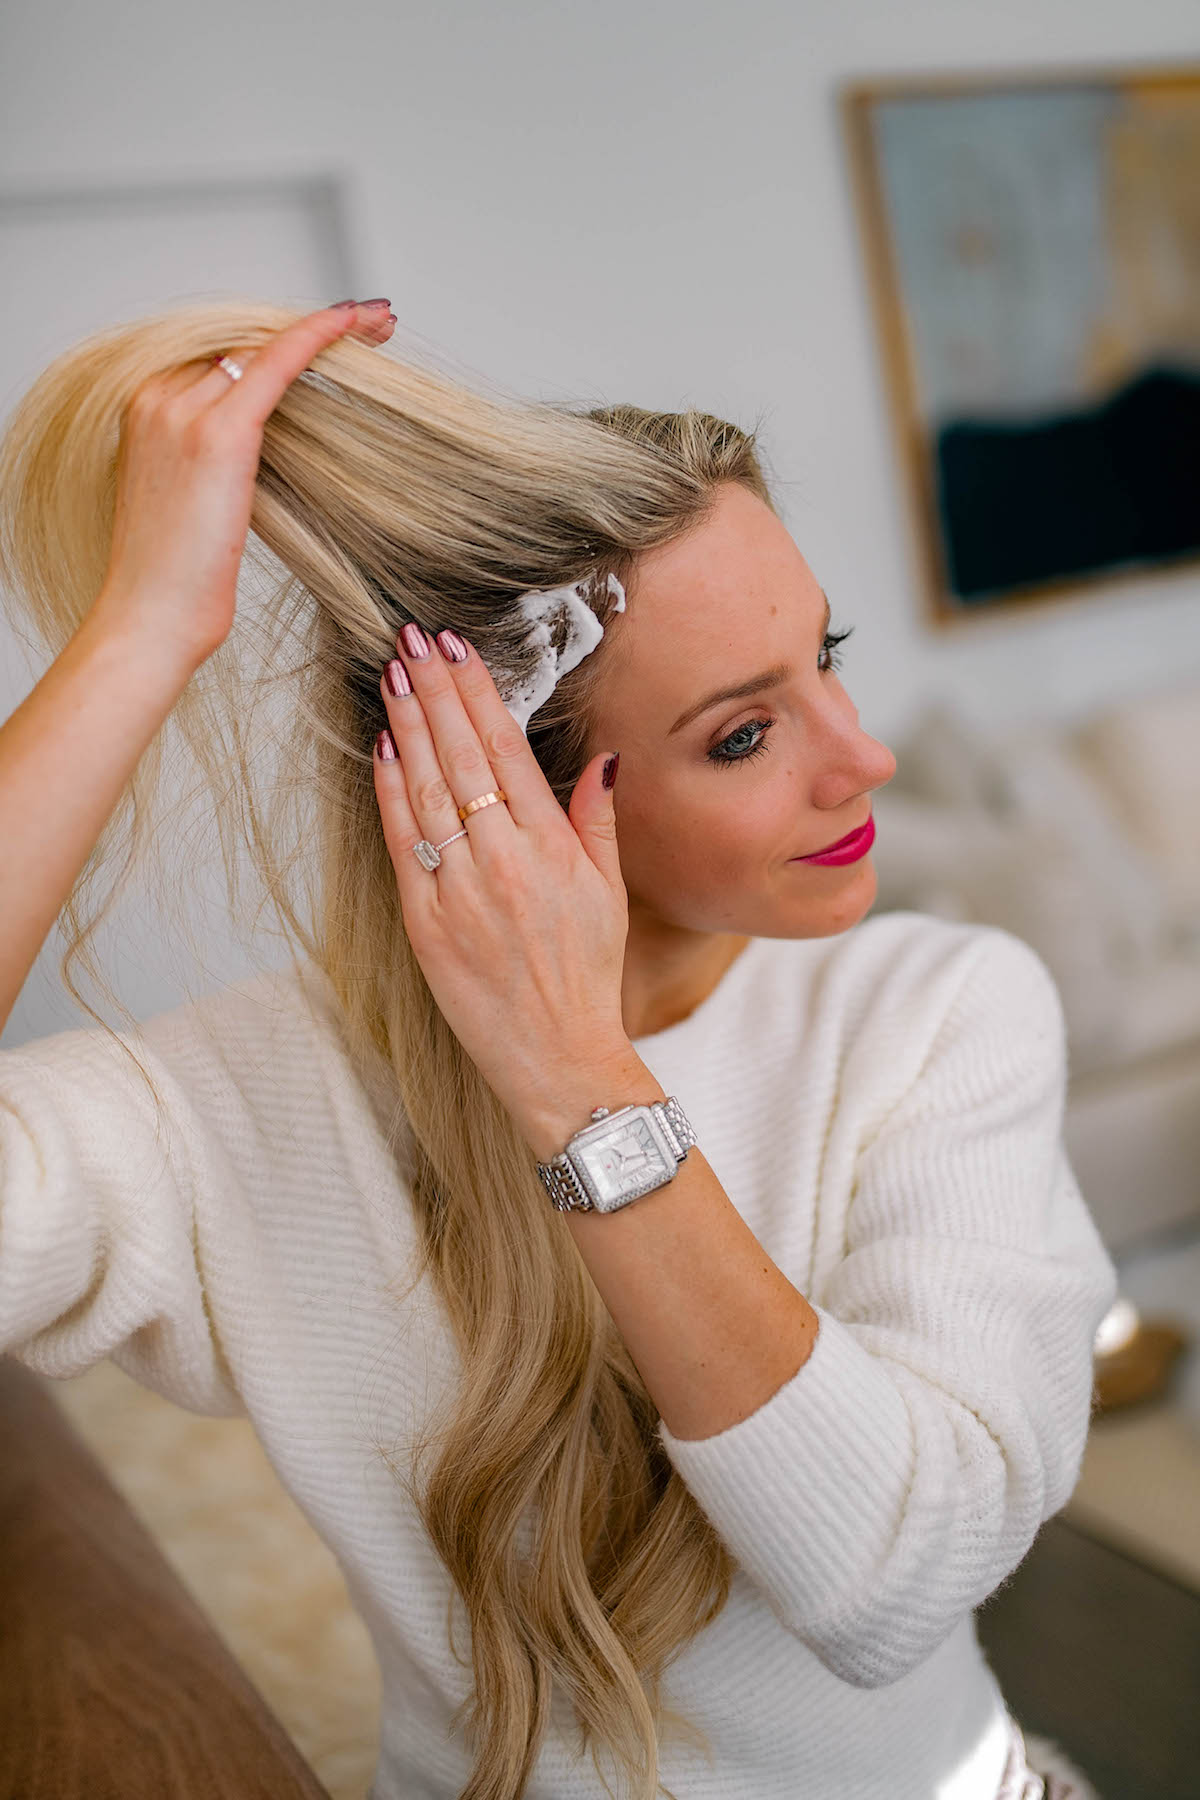
It’s funny because I’ll get so many compliments when I wear my hair like this, but little do people know the only reason I’m doing it is to hide the fact I haven’t washed my hair LOL.
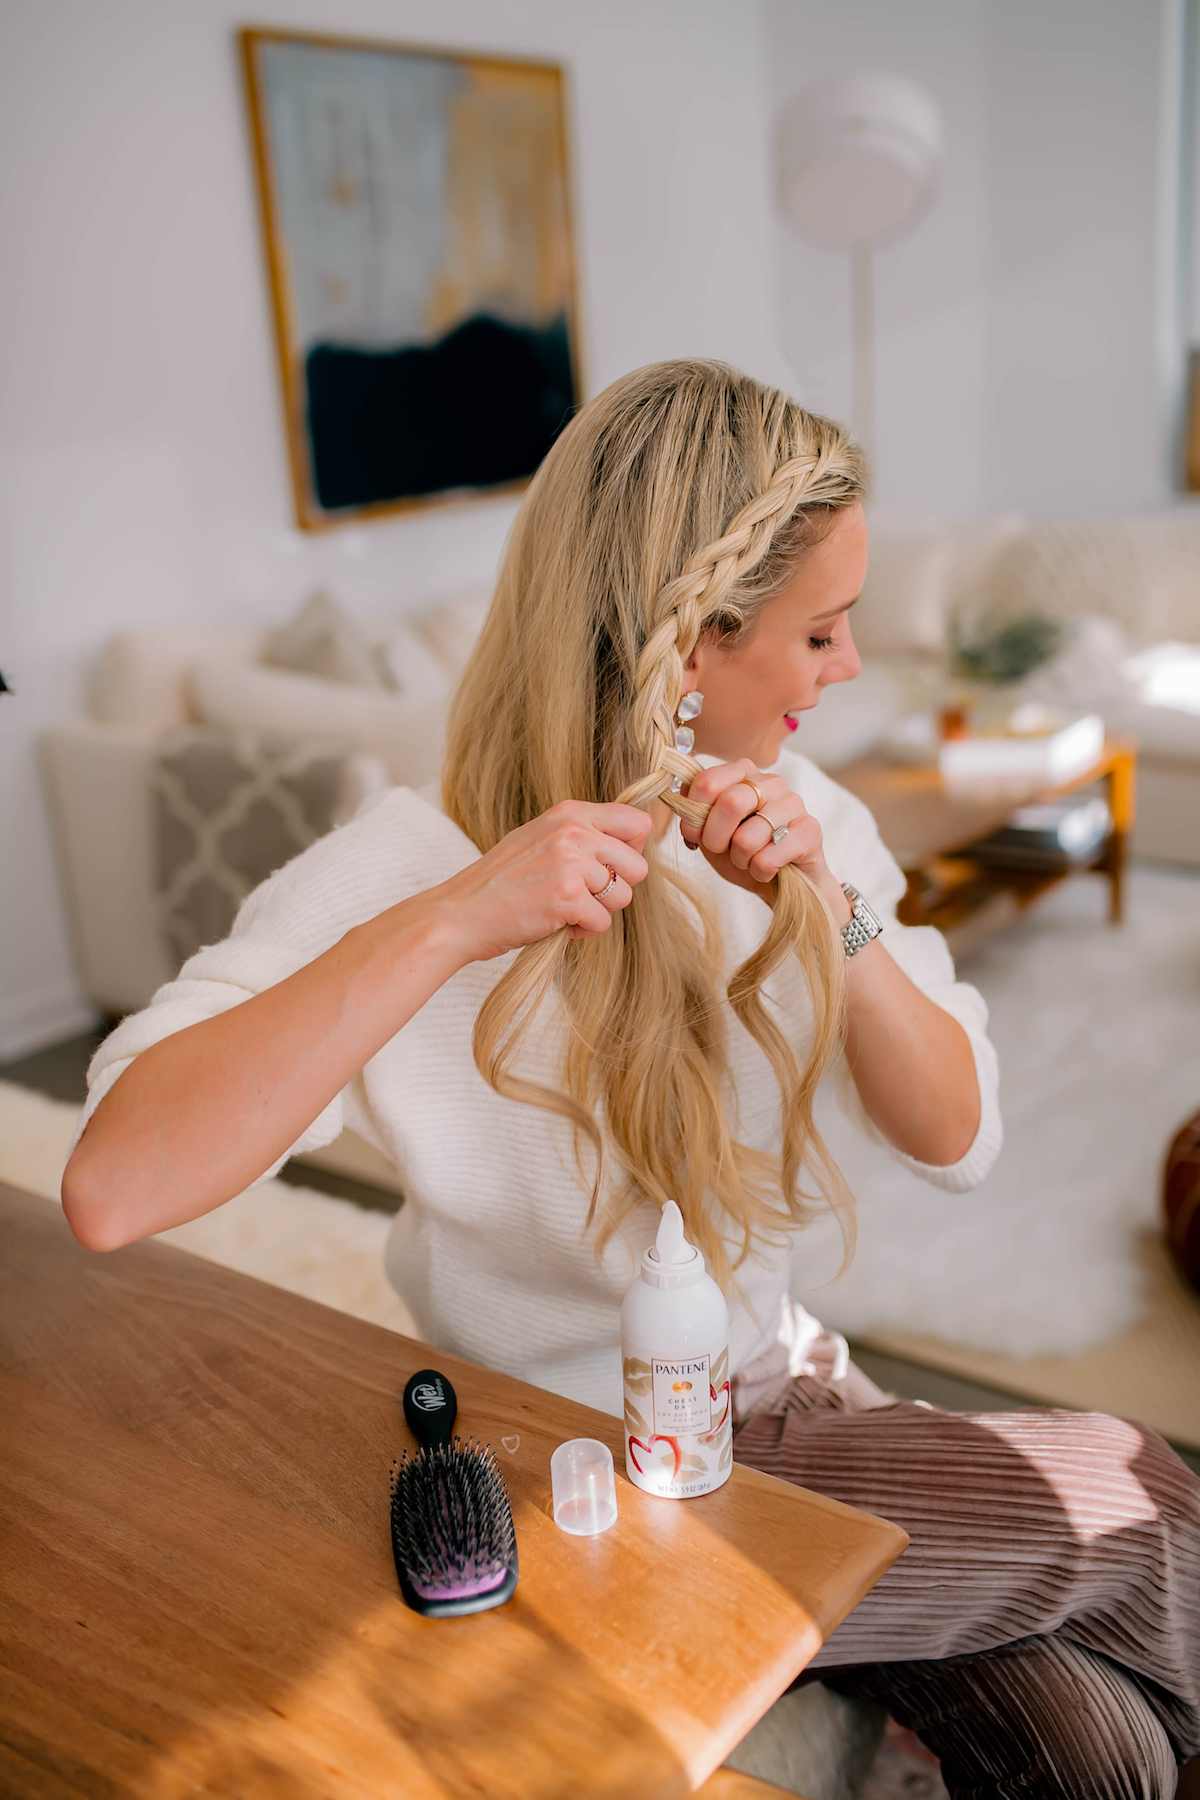
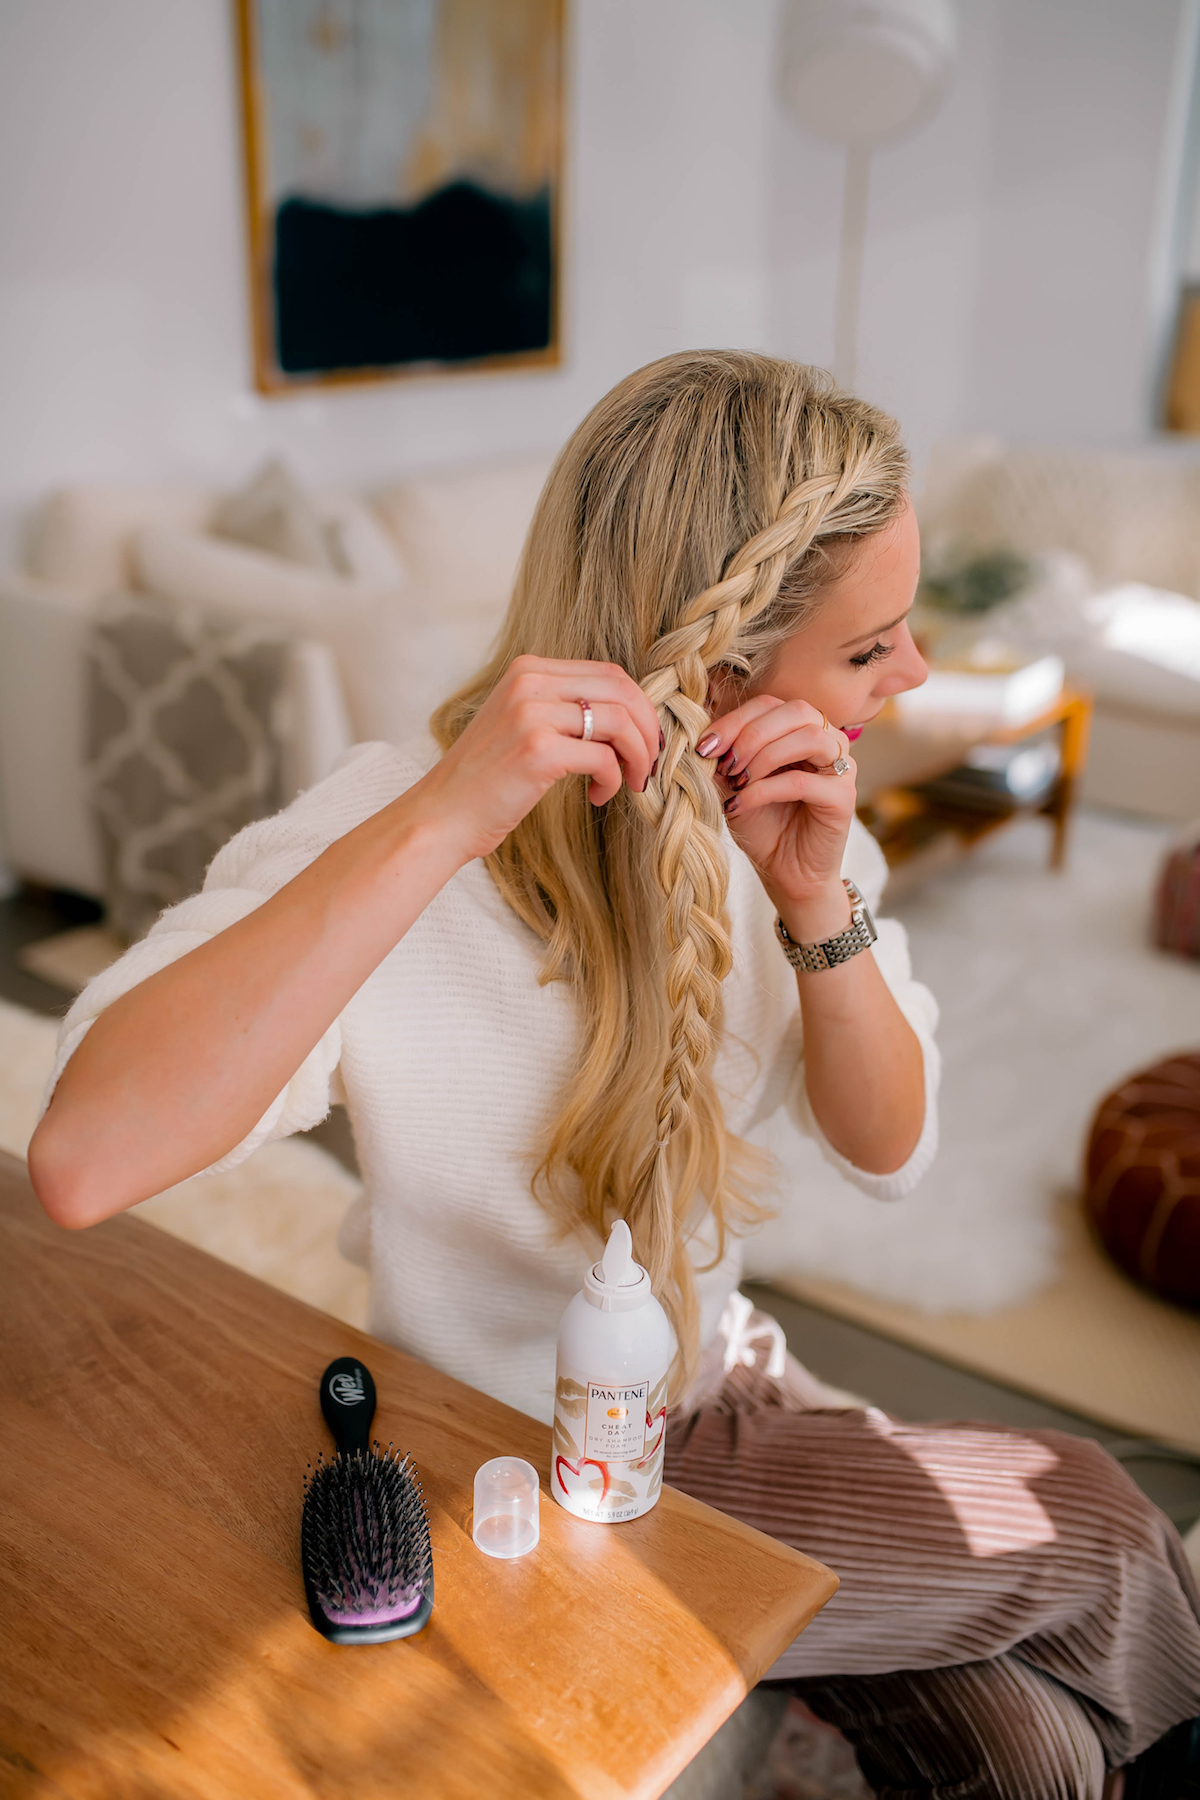
See? Not all non-wash days have to be “bad” hair days!
Frequent washes and excessive heat can be incredibly damaging to hair. I’ve personally found my own locks have become so much healthier now when I do it in a style that doesn’t require heat or freshly cleaned hair. I’ve always been a fan of going multiple days between washes, so I’m really excited that Pantene has come out with a line that encourages women to do the same.
To learn more about the Pantene Waterless Collection and to shop the products click here!

The post 2 Easy Hair Styles I Like To Wear Between Washes appeared first on Katie's Bliss.
]]>
Who wants to wear a lot of makeup when it's hot and sticky outside? Not me that's for sure! I always like to condense my beauty routine during the summer to give my skin a break. That means cutting out those extra, but not necessary products and focusing only on the steps that take me from looking like the walking dead to a functioning human. LOL! Especially now that I have a bit of a tan, I really don't feel the need for heavy makeup.
The post Easy 5 Step Summer Makeup Routine appeared first on Katie's Bliss.
]]>Big thank you to QVC for compensating me for this post, as always all opinions are my own!
Who wants to wear a lot of makeup when it’s hot and sticky outside? Not me that’s for sure! I always like to condense my beauty routine during the summer to give my skin a break. That means cutting out those extra, but not necessary products and focusing only on the steps that take me from looking like the walking dead to a functioning human. LOL! Especially now that I have a bit of a tan, I really don’t feel the need for heavy makeup.
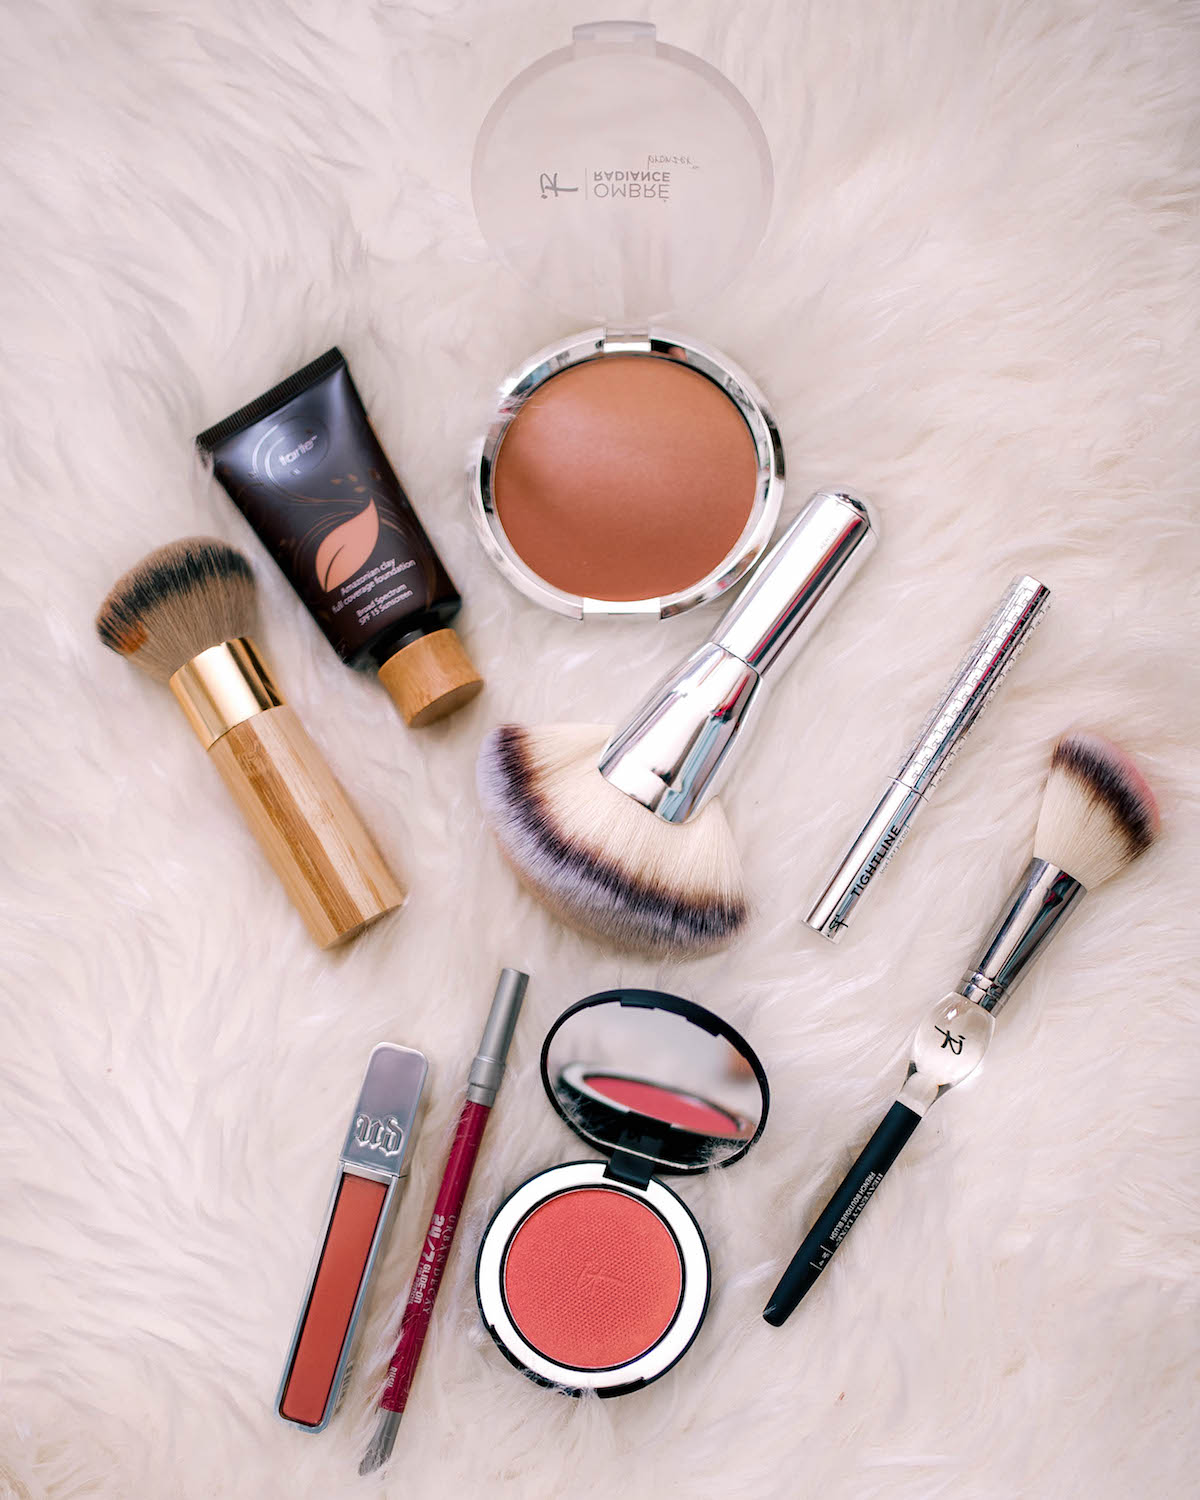
Lately I’ve been doing a very quick and easy five step routine. It takes me just a few minutes and can easily be modified based on your skin type and coverage preferences. PS all of these products were scored on QVC.com! I’ve found so many products through QVC over the last few months and feel like it’s such an underrated shopping destination for all things skincare, makeup and hair. There are new sales every week and often QVC.com will have products in stock that are sold out at other popular beauty stores.
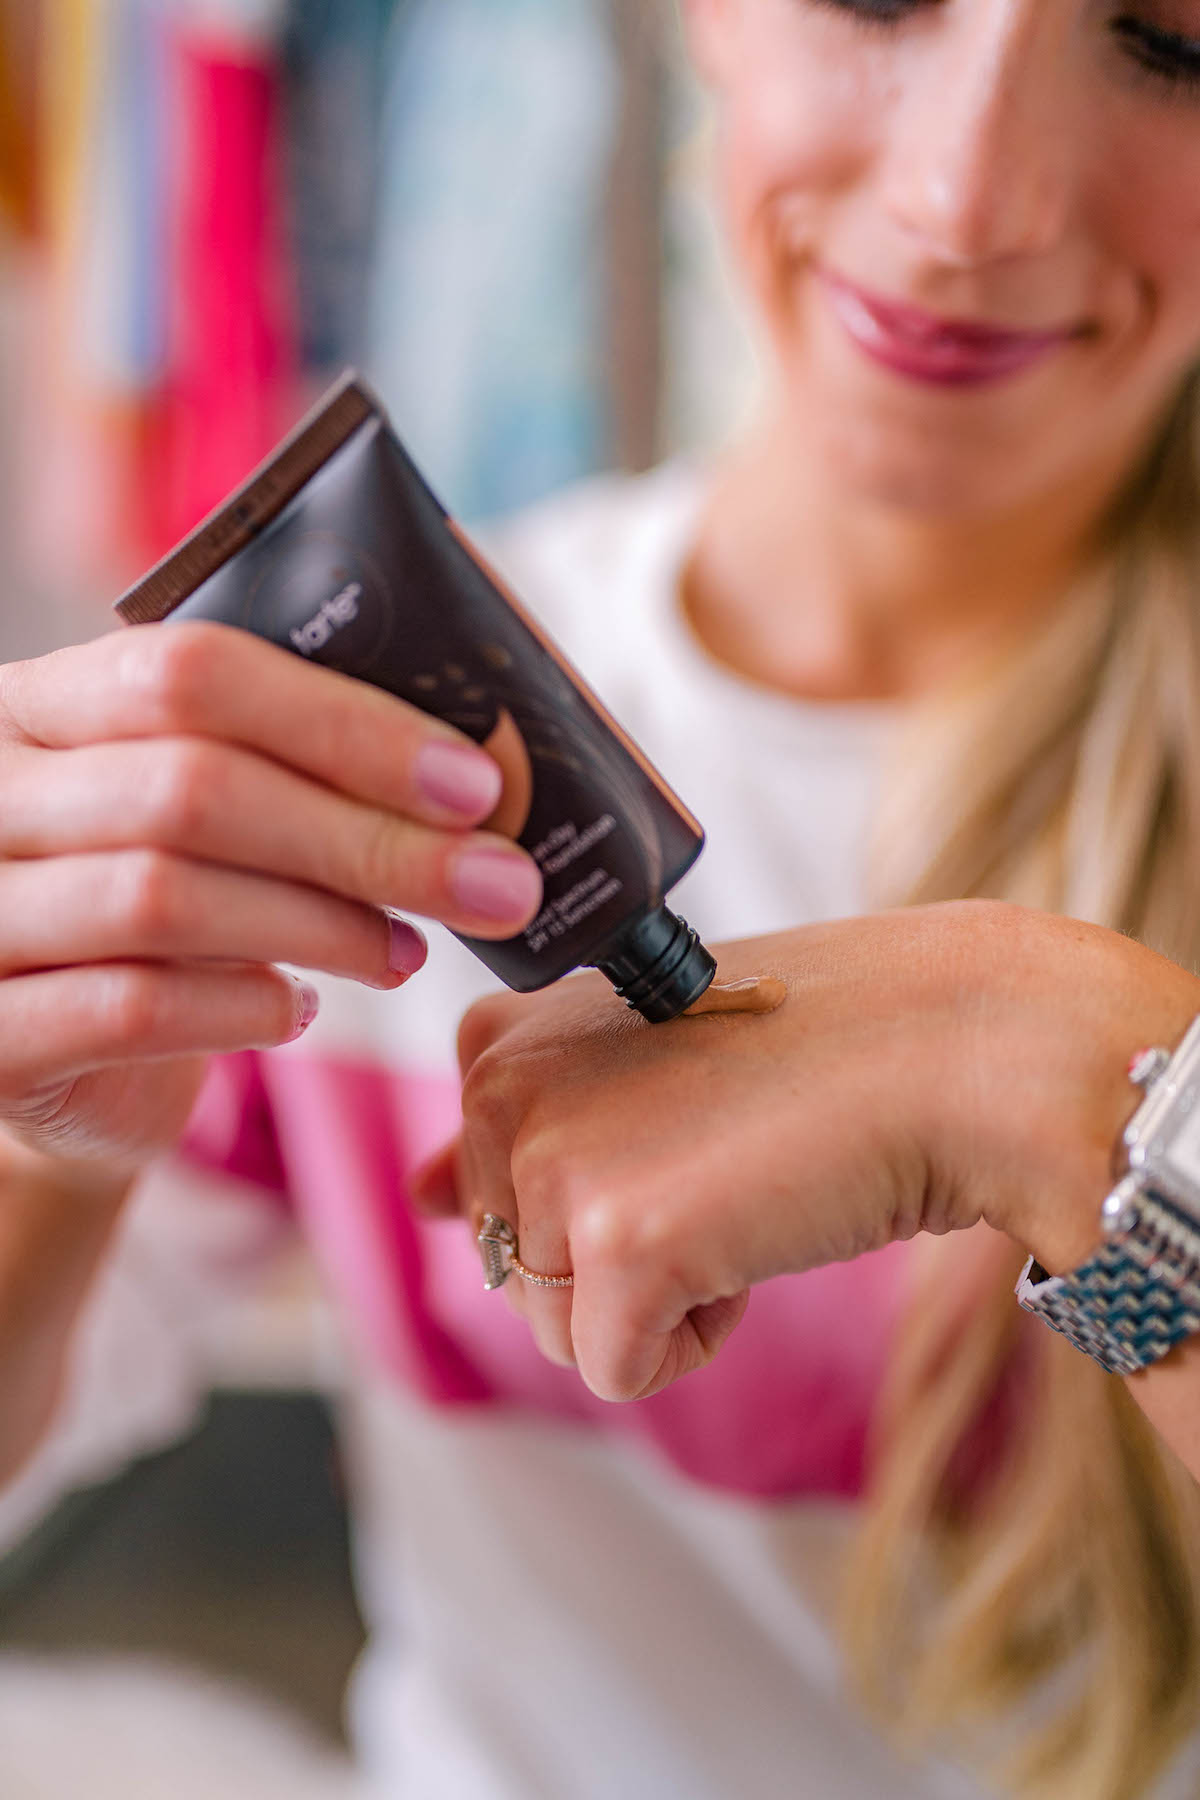
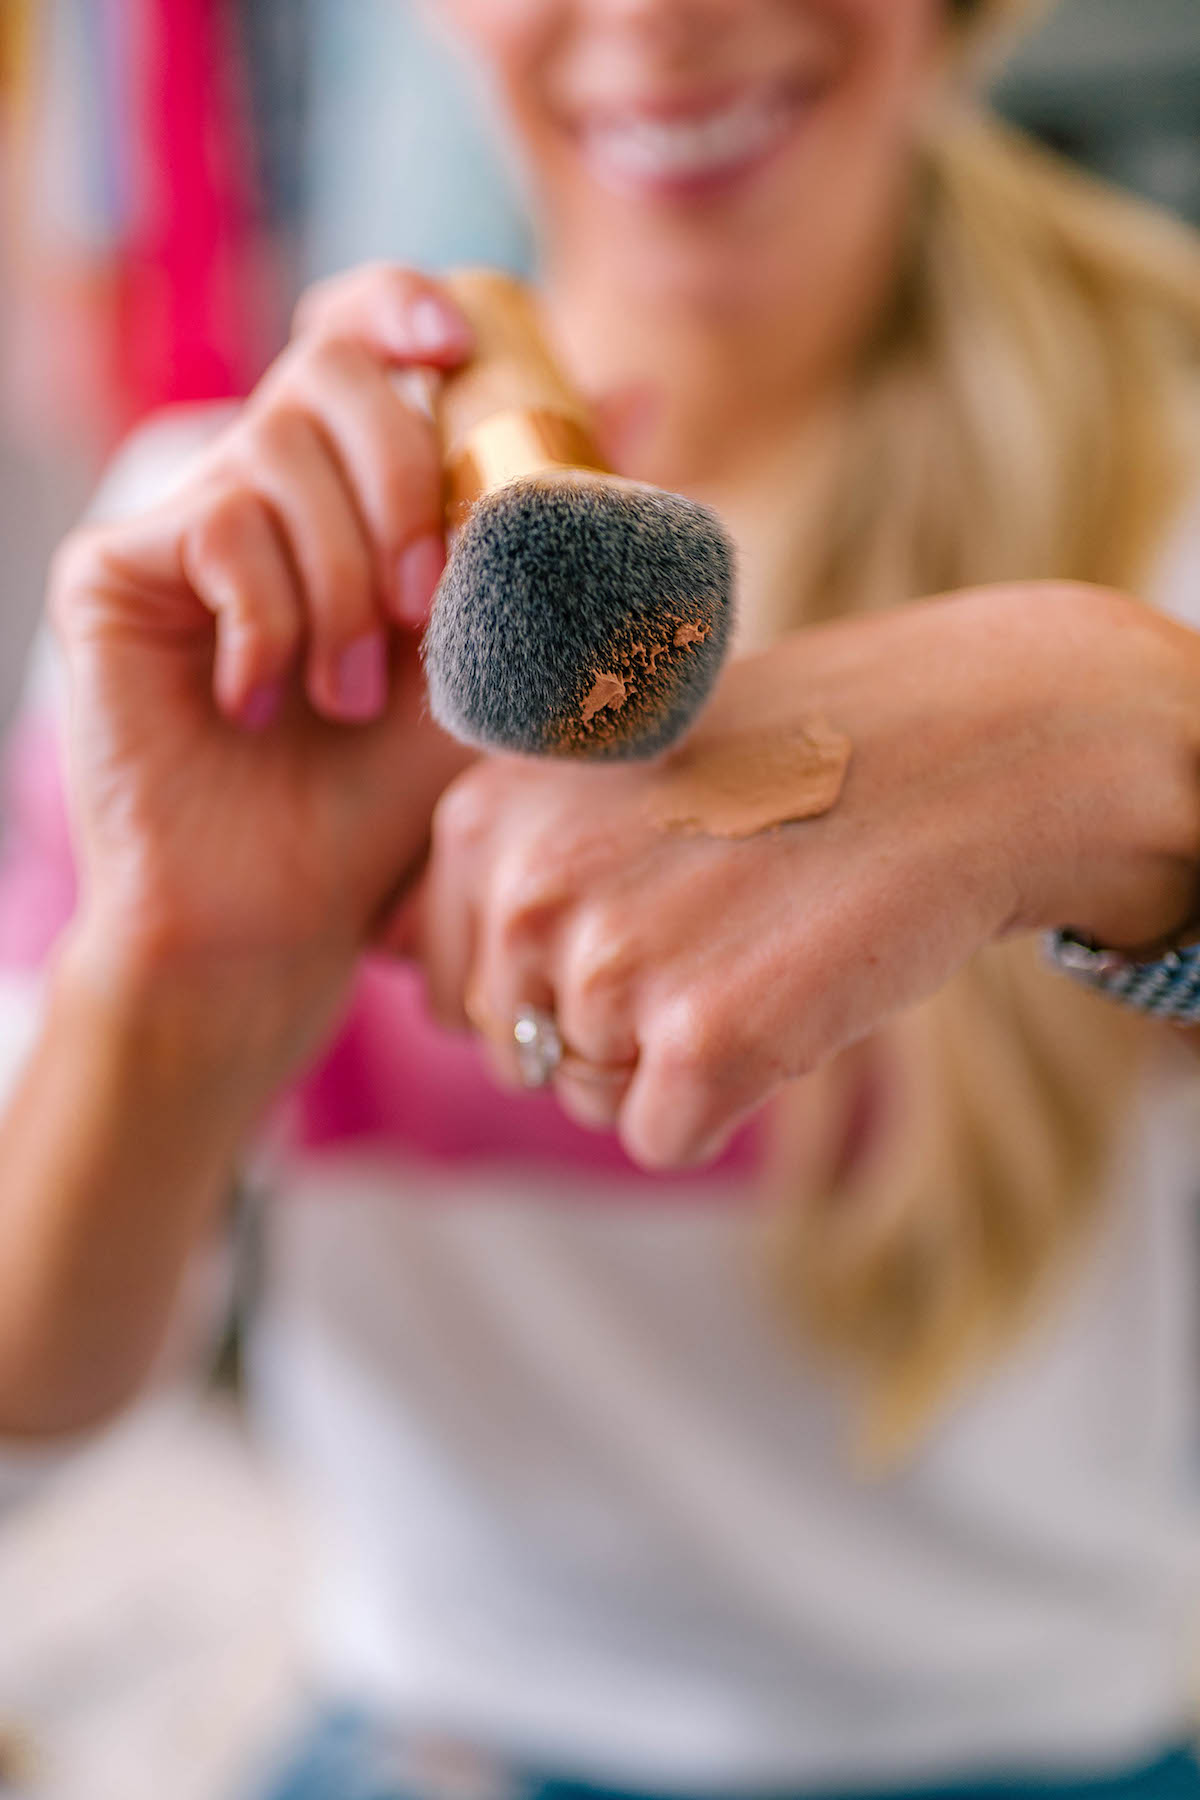
STEP 1 | FOUNDATION
tarte Amazonian Clay Full-Coverage Foundation SPF 15 w/Brush
Shade: Light Medium
Don’t let the words full-coverage throw you off! This foundation is so buildable and a little goes a long way. I take just a pea-size amount and focus the product on the areas where I’d normally apply concealer– my under eyes, forehead, and nose. I stipple the product onto the back of the brush and apply in circular motions buffing out any imperfections and redness. I love how it goes on light and makes my skin look airbrushed!
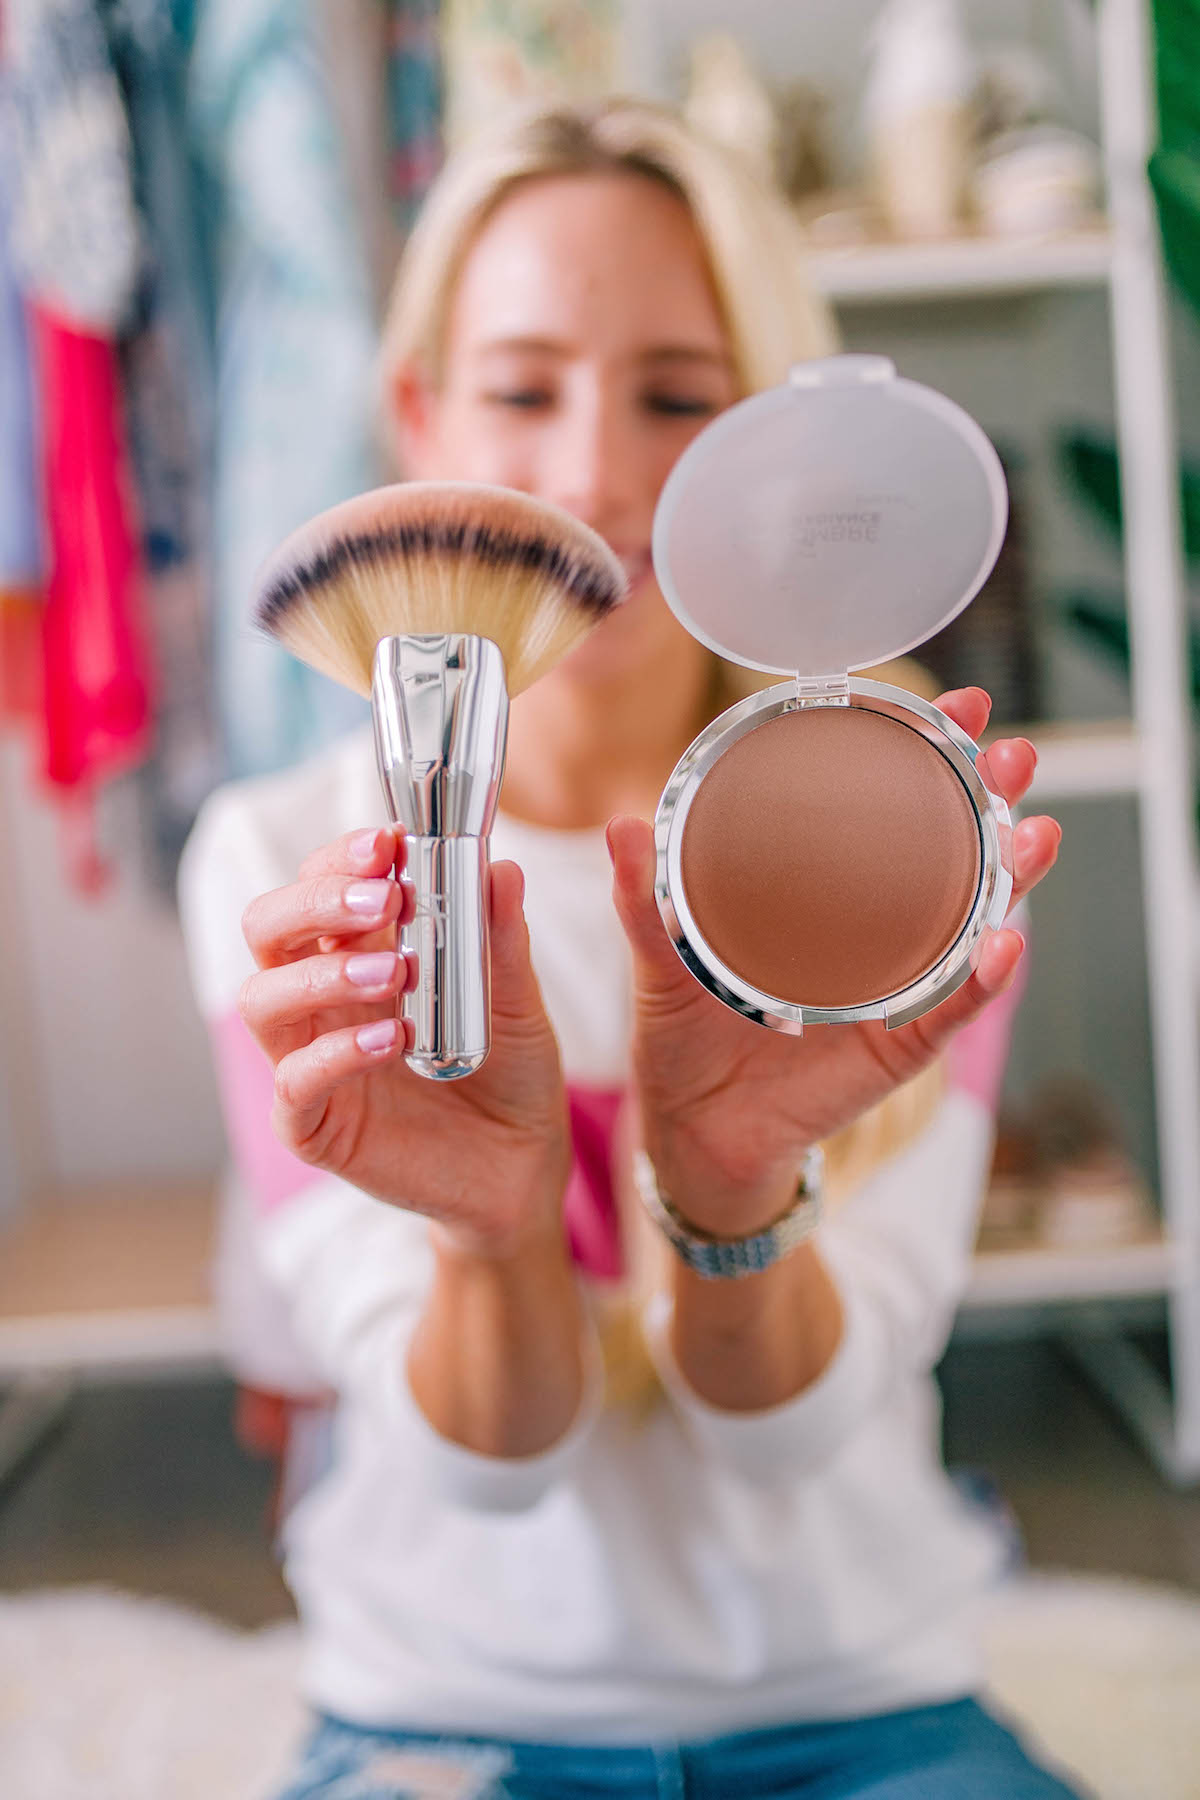
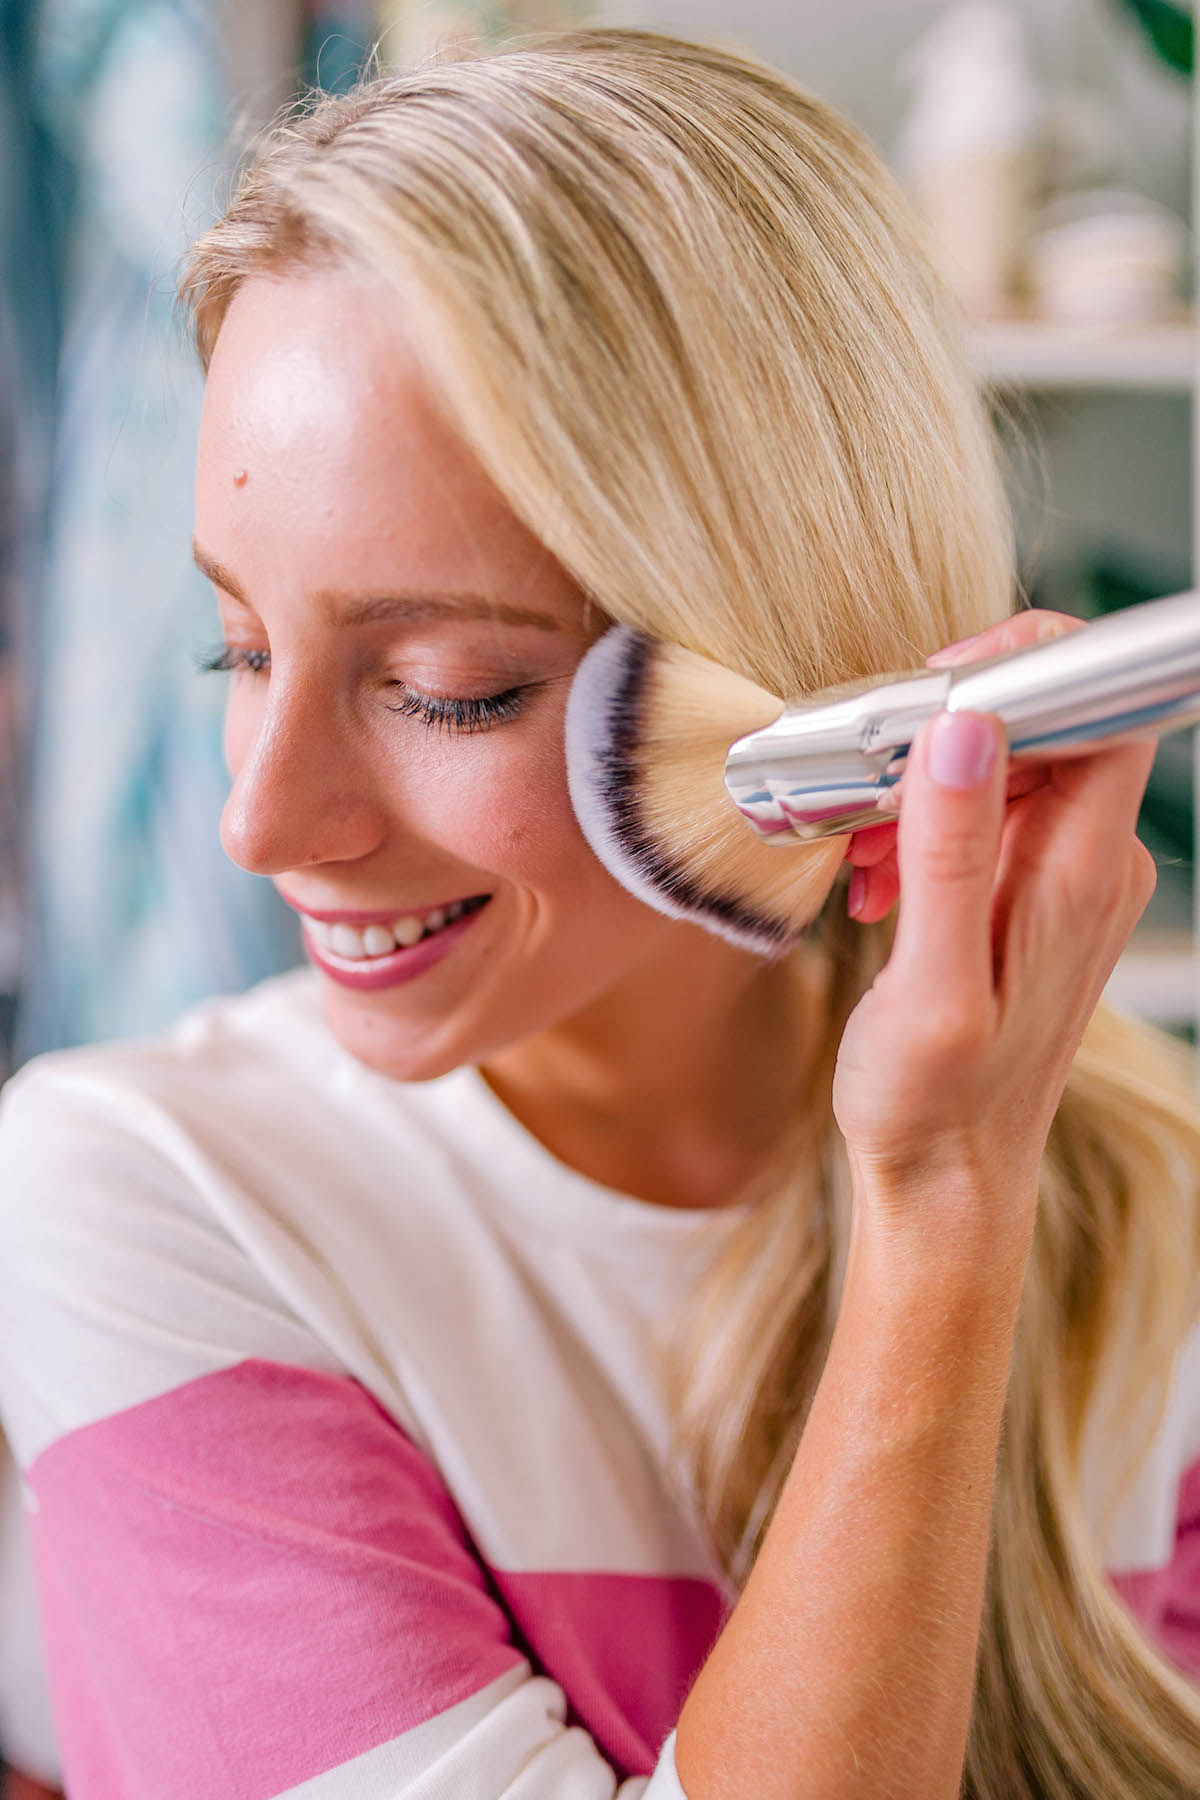
STEP 2 | BRONZER + HIGHLIGHT
IT Cosmetics CC Anti-Aging Ombre Radiance Bronzer w/ Luxe Mega Fan Brush
Can all face products come with a brush please? I was a little intimidated at first by the large fan brush that accompanies this bronzer/highlight duo, but it’s actually incredibly precise and makes application a breeze. After swiping the brush across the powder, I apply it to the hollows of my cheeks. Any remaining product I’ll dust up on to my forehead and down along my jawline.
This isn’t just your average bronzer either… It was formulated with anti-aging in mind and contains a handful of ingredients that are so good for the skin like hydrolyzed collagen, peptides, and Drops of Light Technology. PS you can use it on your body too!
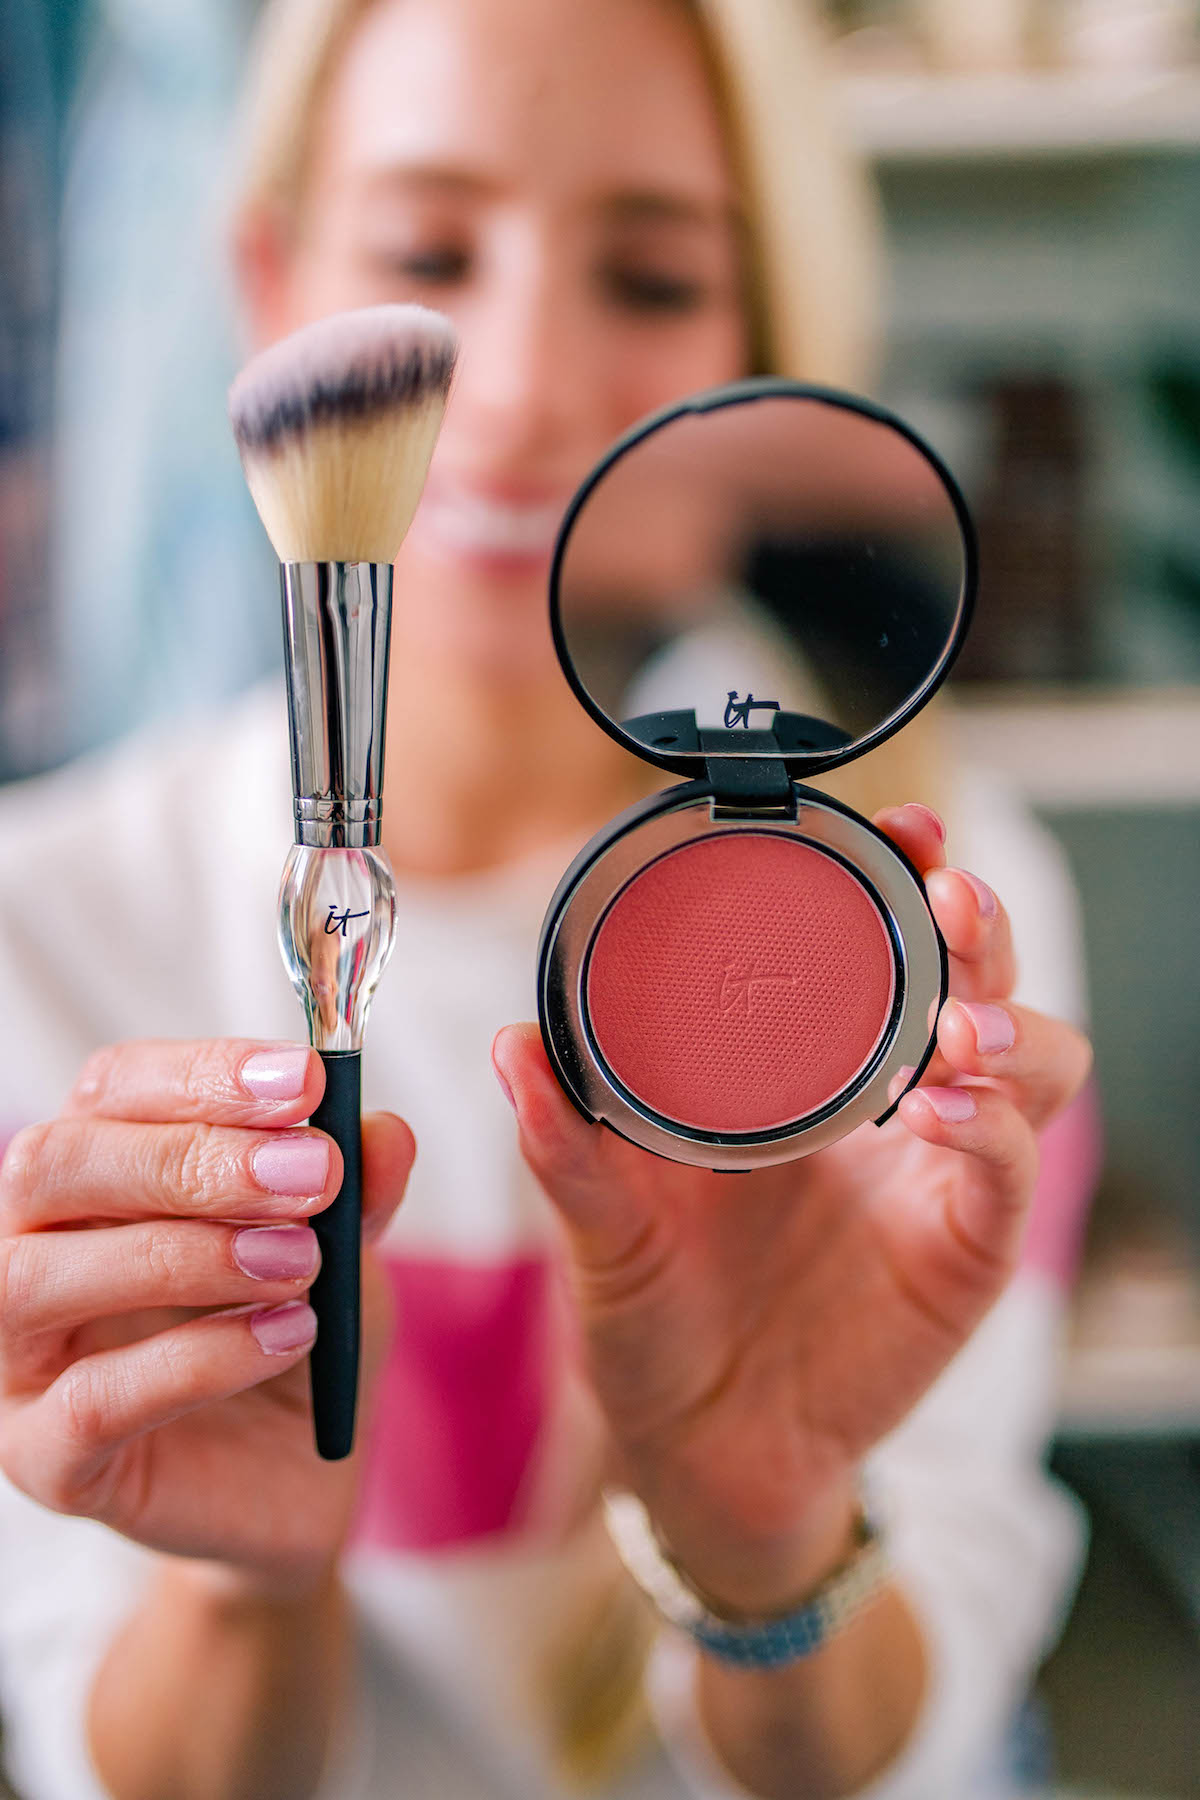
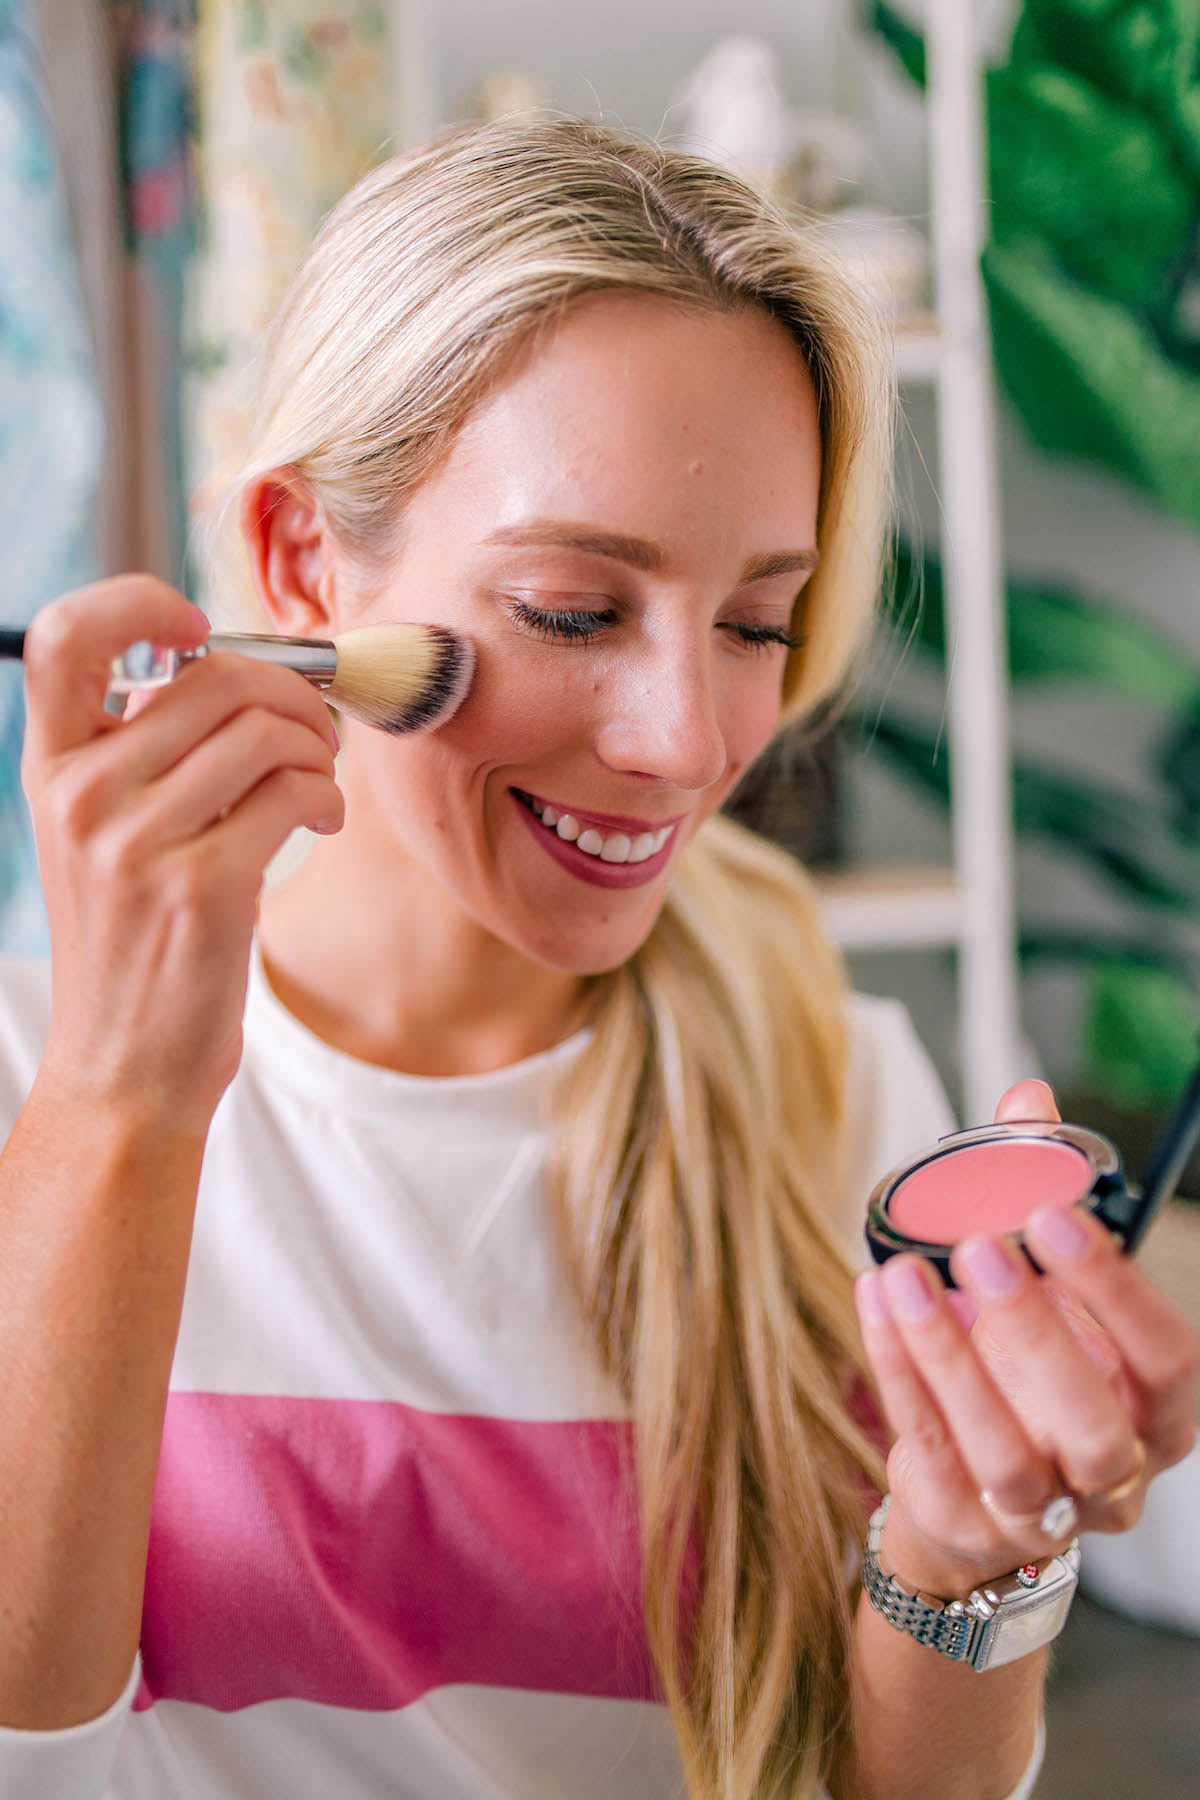
STEP 3 | BLUSH
IT Cosmetics Bye Bye Pores Anti-Aging Silk Pressed Blush w/ Brush
Shade: Sweet Cheeks
IT Cosmetics is quickly becoming one of my favorite brands for blush and bronzer. Every single product I’ve tried is SO pigmented, easy to build and will last forever. I actually had this blush a few years ago and LOVED it until the day I dropped it on the floor and it smashed everywhere. So happy I finally got a replacement– this time with it’s own brush! I love the pretty peachy pink color. It’s one of those shades you can ear every day all year long!
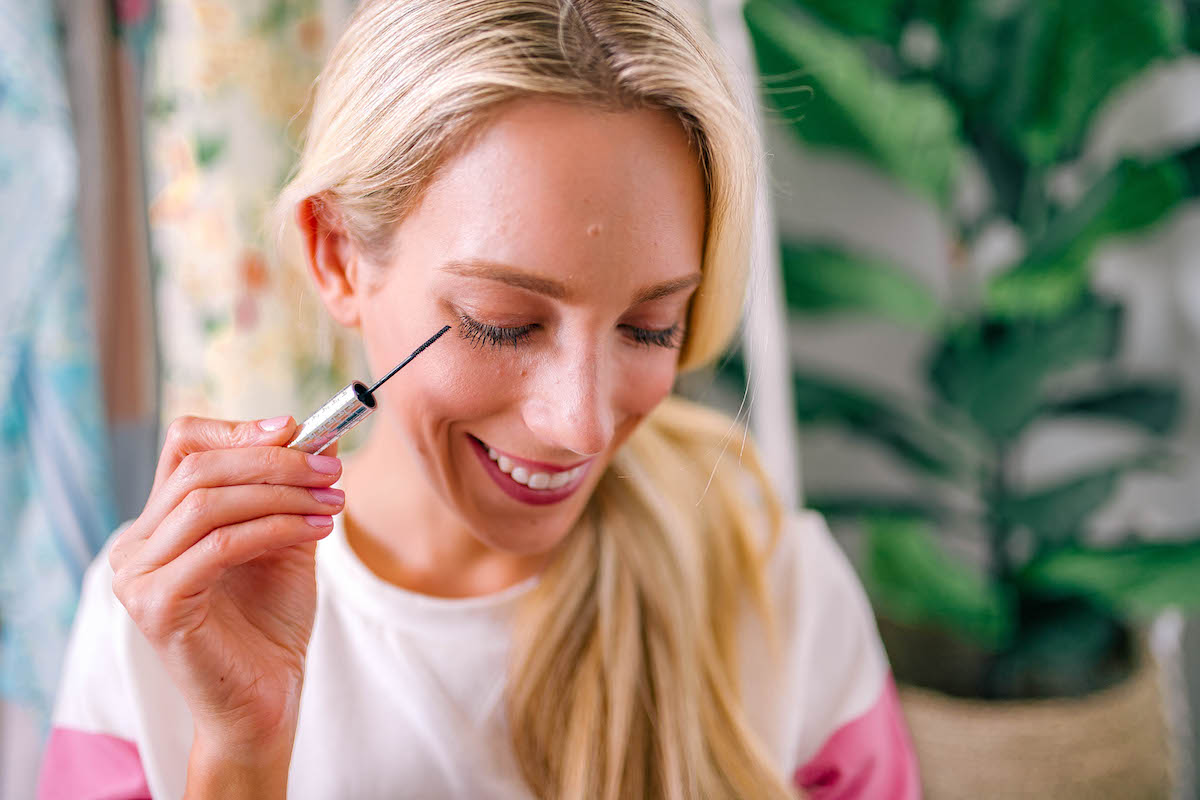
STEP 4 | LINER + MASCARA
IT Cosmetics TIGHTLINE Waterproof Black Mascara Primer Duo
This mascara is a game changer thanks to it’s ultra skinny wand! If you have sparse lashes you’ll easily be able to reach every single lash on your top and lower lashline, while adding volume and length. Since I don’t wear eyeshadow in this routine I’ll apply a few coats to give my lashes a more dramatic effect.
The brush also works as an eyeliner! It’s thin enough that you can apply the same black pigment along your waterline before even hitting your lashes. The formula is waterproof too so it’s a great one to keep in your pool or beach bag.
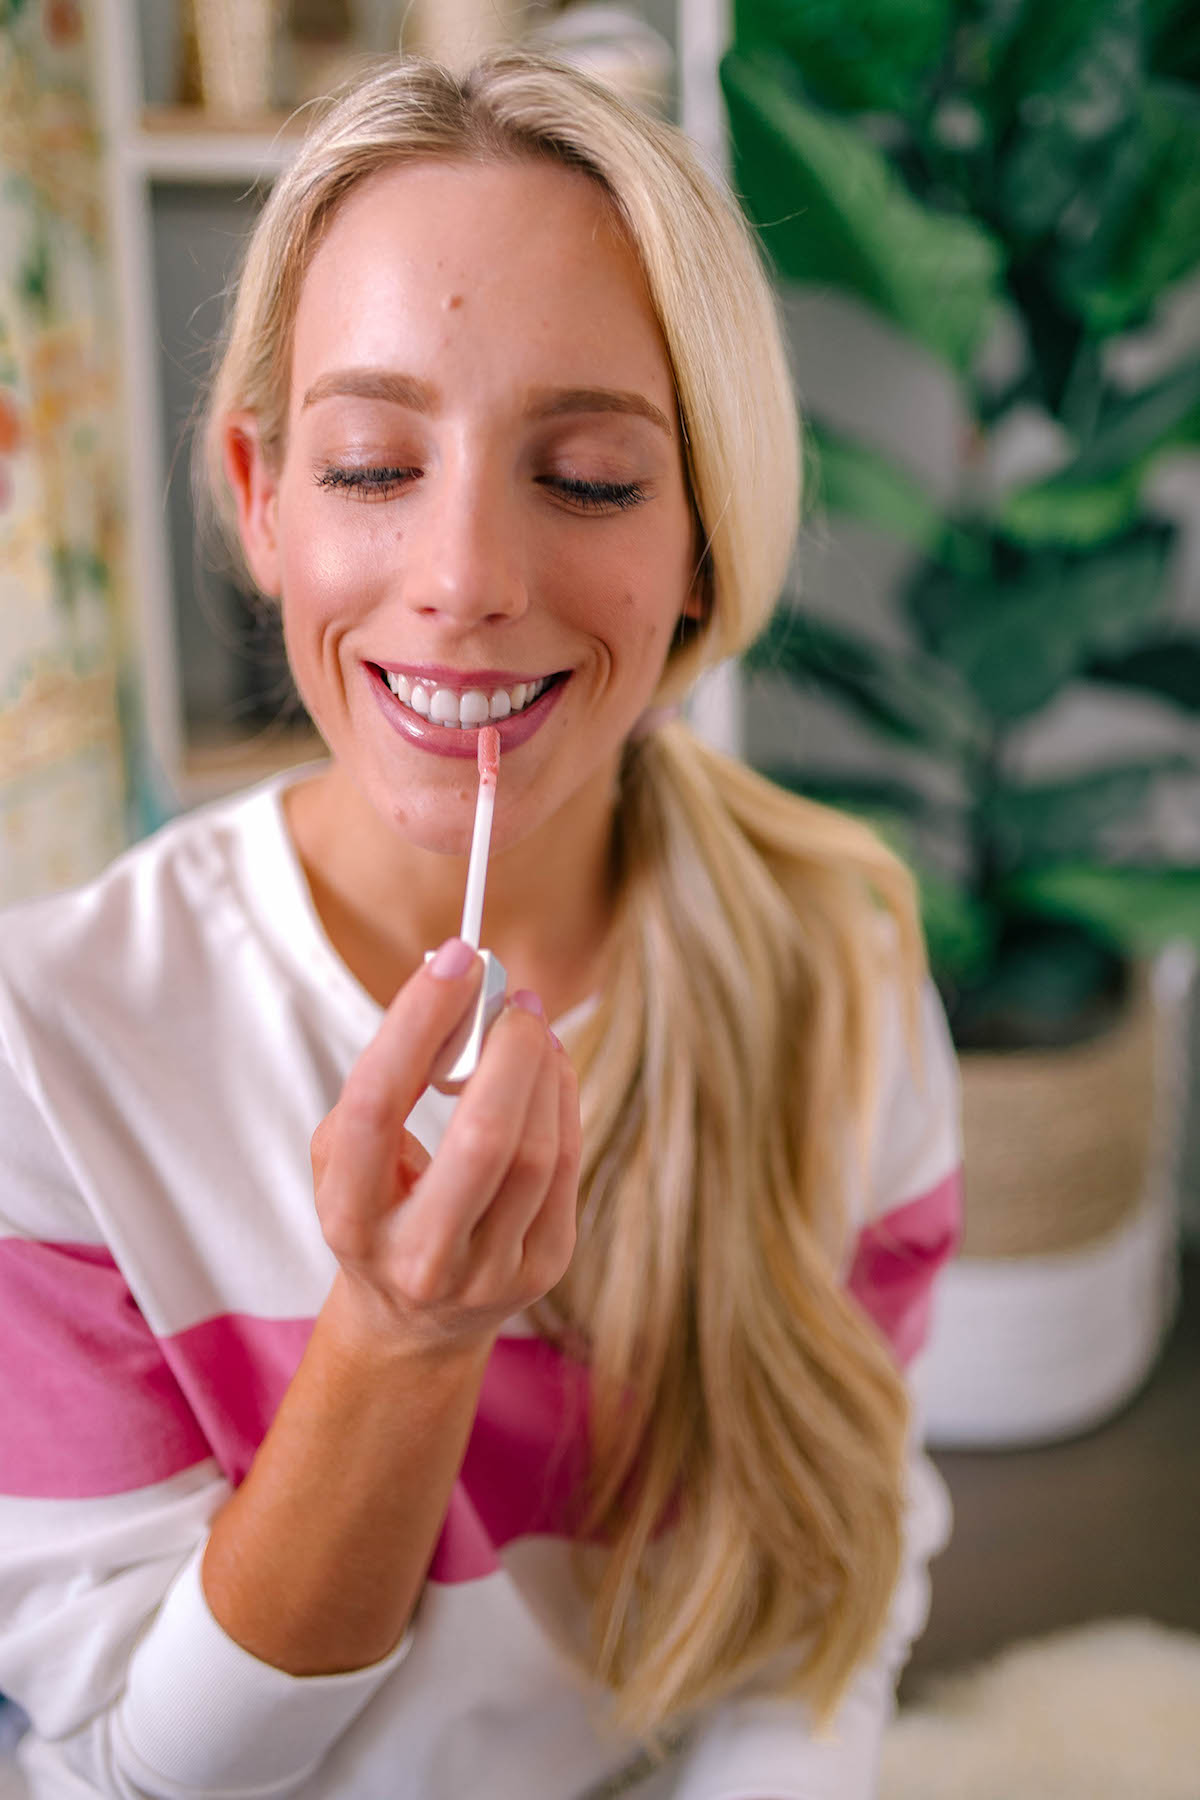
STEP 5 | LIPS
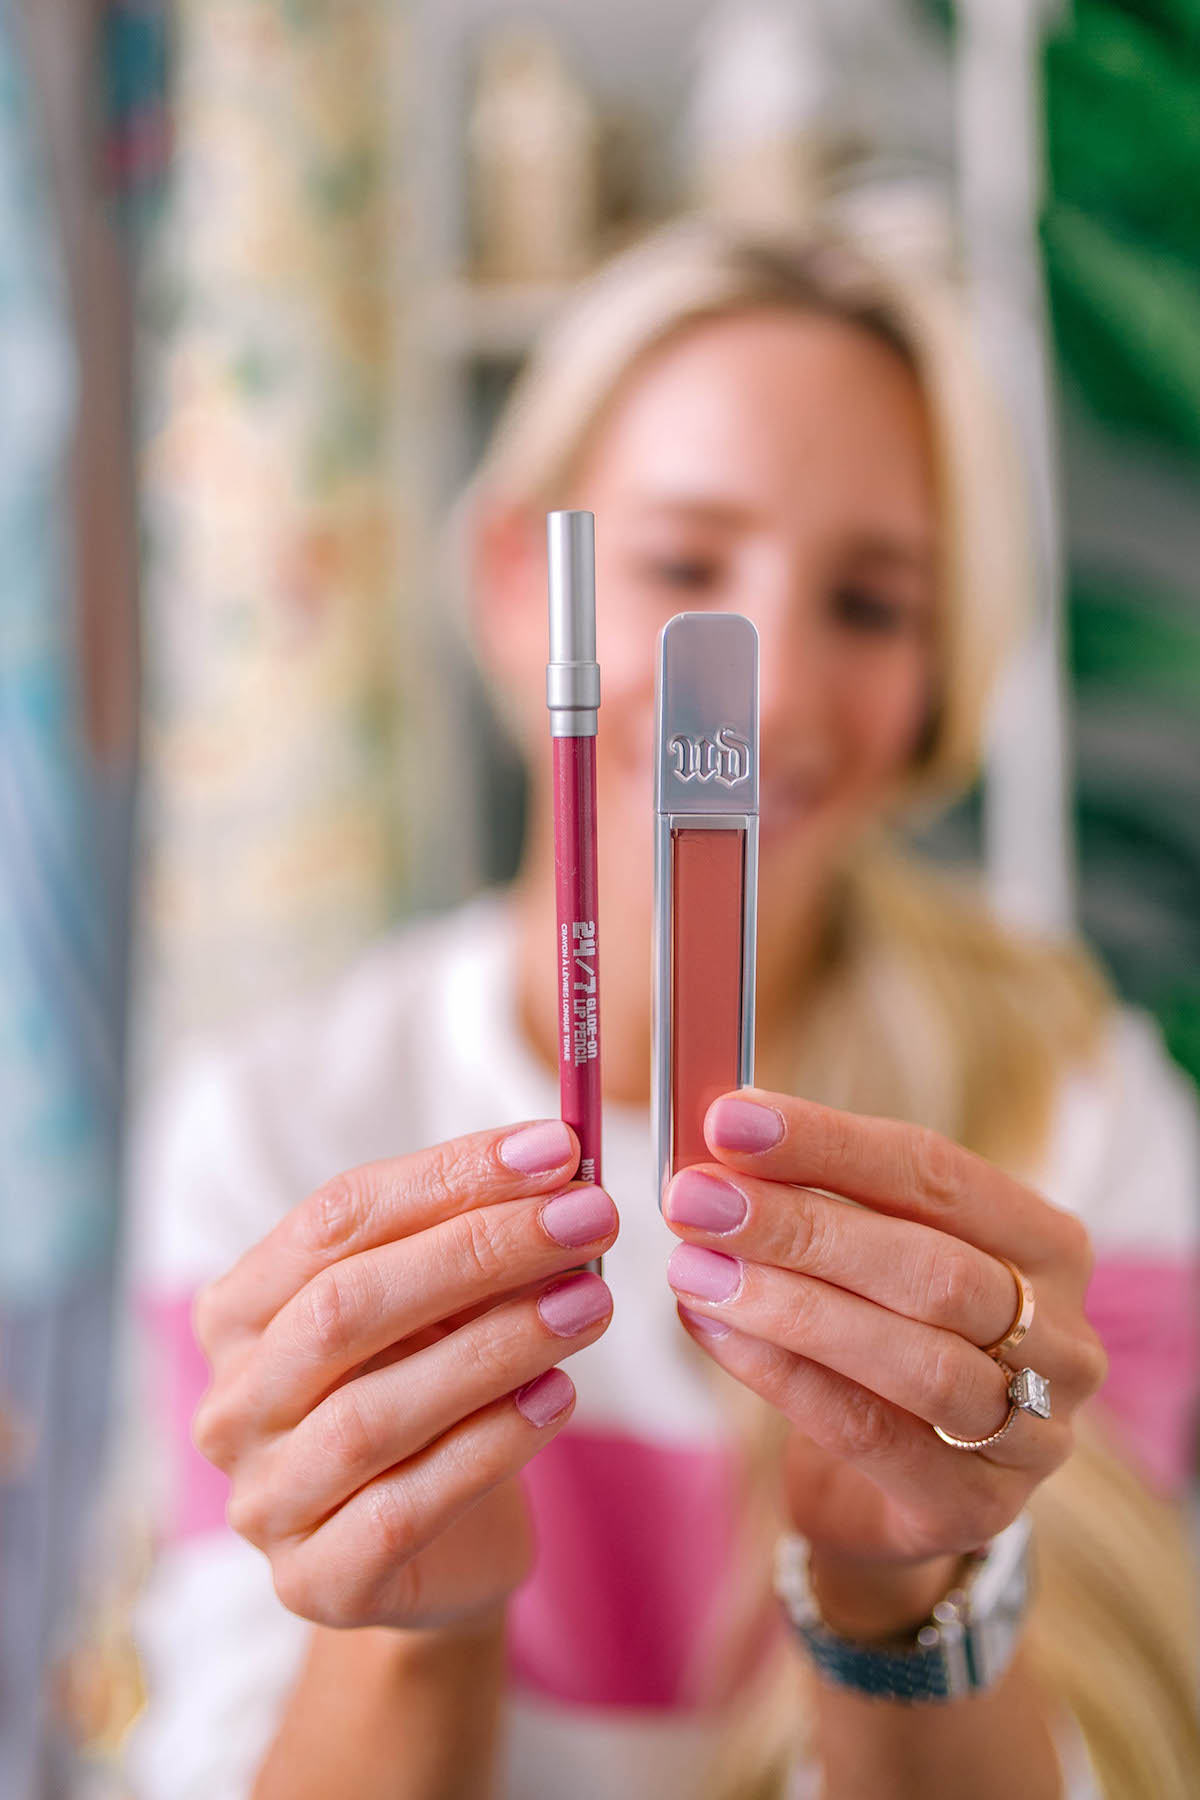
URBAN DECAY Hi-Fi Shine Lip Gloss & 24/7 Lip Liner Pencil Duo
Shade: Nude
If you’re looking for a summer lip combo that will last all day without drying out, then you need to get your hands on this duo. It comes in two shades: nude (what I’m wearing here) and pink. I have tiny lips so being able to apply product precisely is key for me. What I love most about this liner is how smooth it glides on! I’m able to do it really quickly and even after a day of wear I don’t notice it feathering or fading. For a little extra shine and hydration I like adding a swipe of the gloss on top, however since the liner is so creamy you can definitely skip this step.
Anddddd that’s it! So simple right?
The post Easy 5 Step Summer Makeup Routine appeared first on Katie's Bliss.
]]>
If you’ve been following my blog for the past few years, you know that I rarely stray from my go-to hair style: loose curls. I’ve never really enjoyed the process of styling my hair (I’m too impatient) so you can imagine what a celebratory moment it was when I finally mastered how to use a curling iron. Pretty much for the last 3-4 years I’ve been loyal to the same routine.
The post How To Style Perfect Loose Waves appeared first on Katie's Bliss.
]]>If you’ve been following my blog for the past few years, you know that I rarely stray from my go-to hair style: loose curls. I’ve never really enjoyed the process of styling my hair (I’m too impatient) so you can imagine what a celebratory moment it was when I finally mastered how to use a curling iron. Pretty much for the last 3-4 years I’ve been loyal to the same routine.
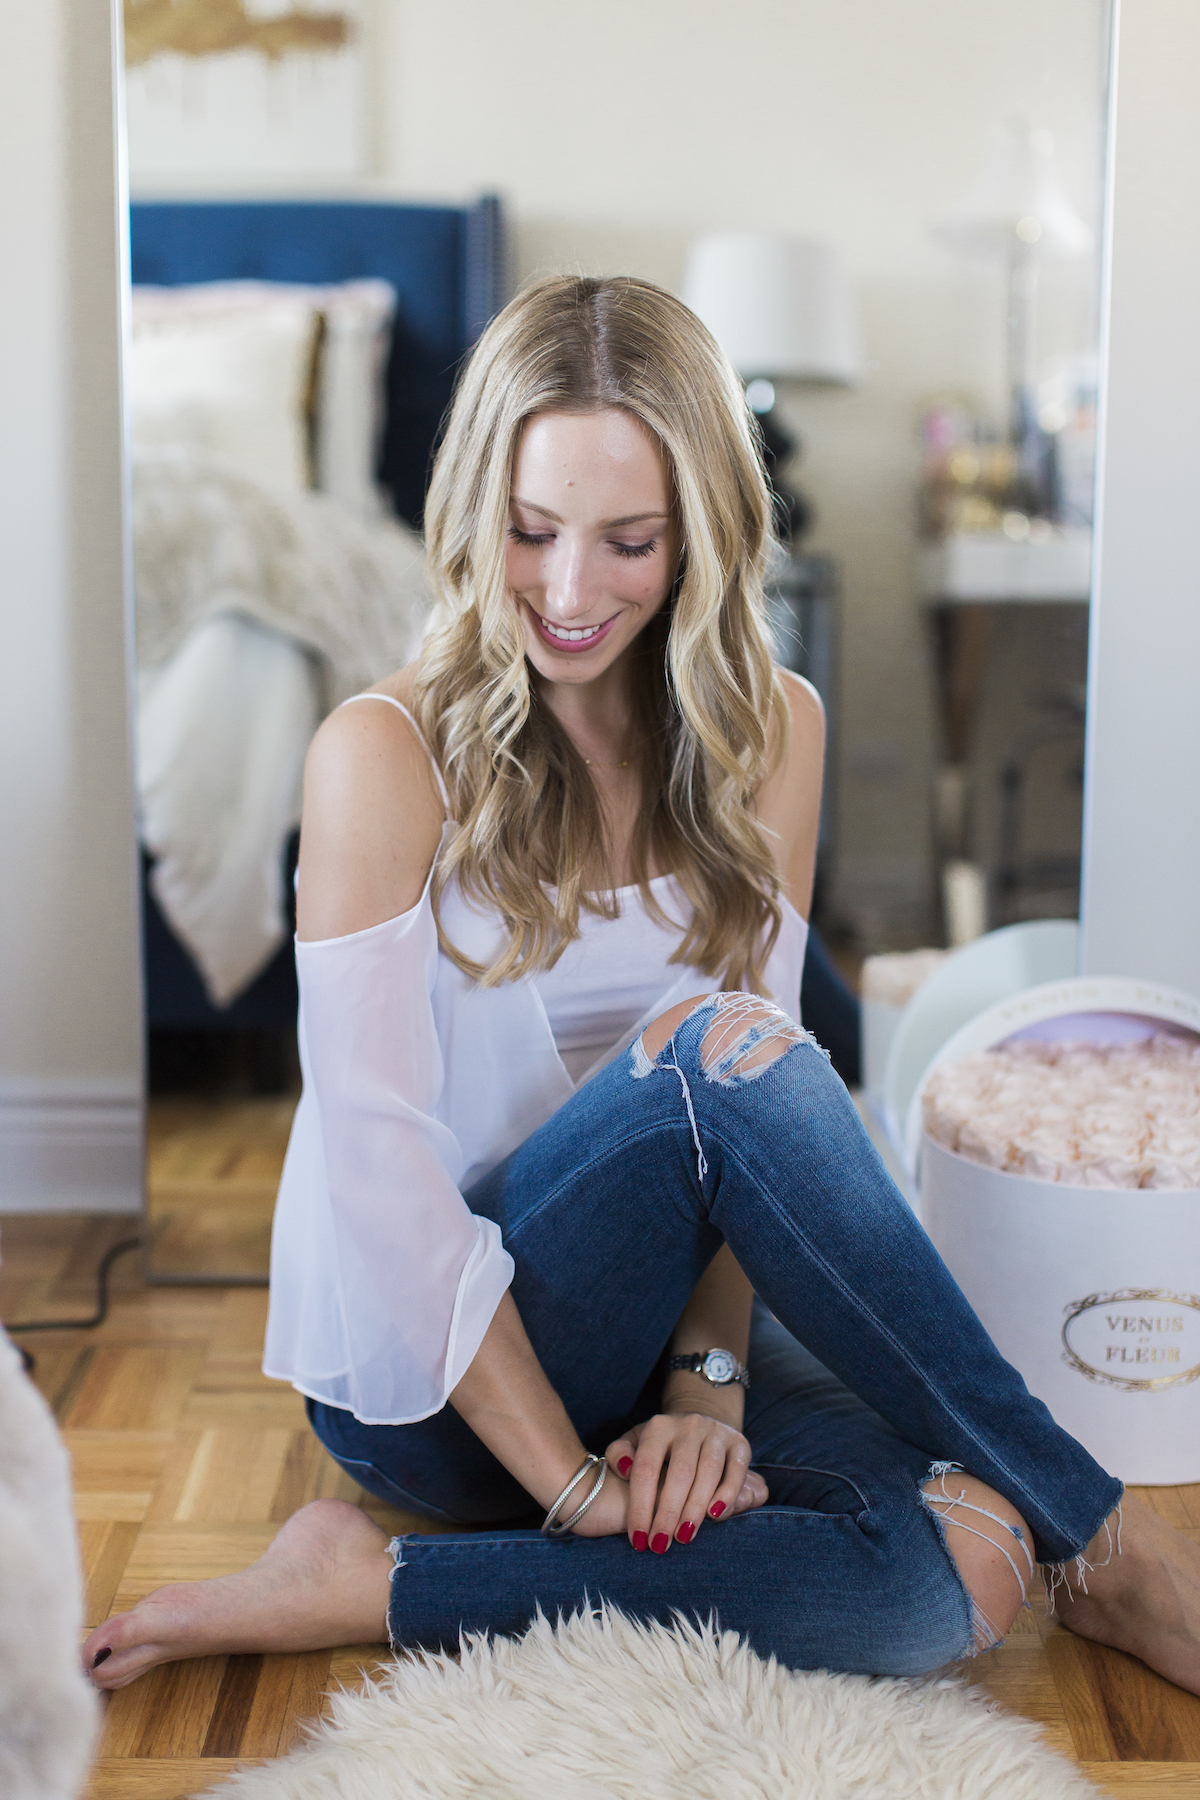
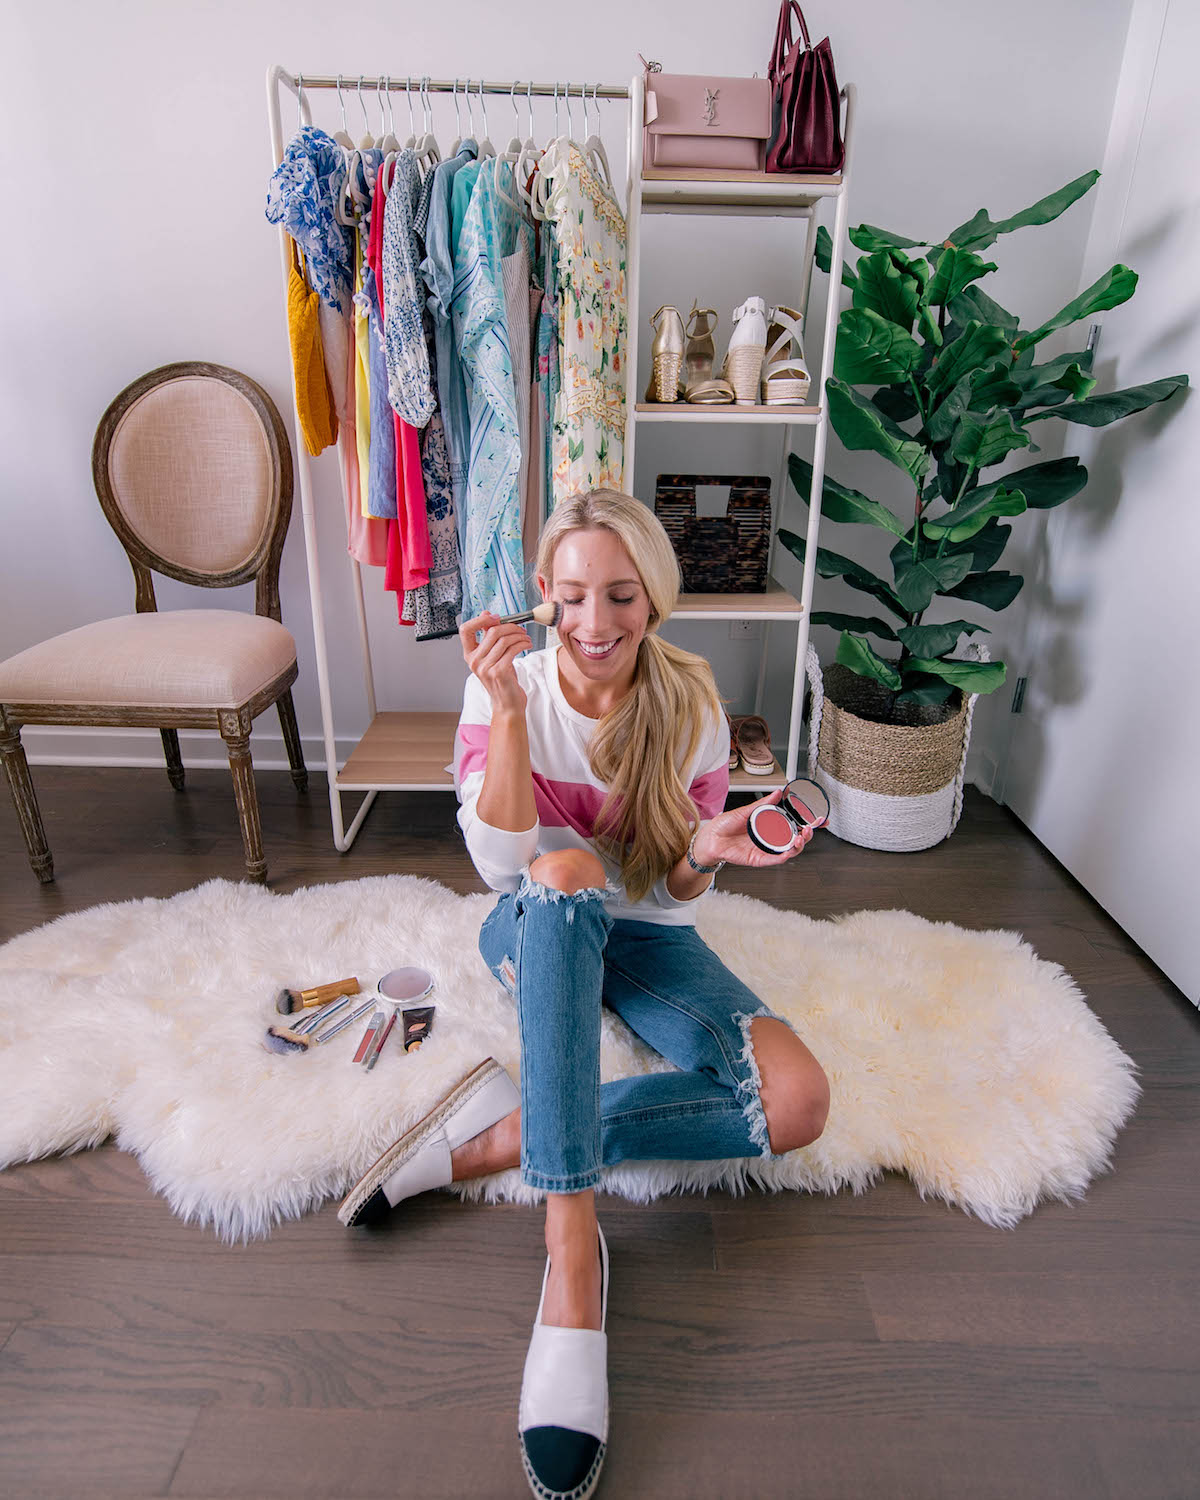
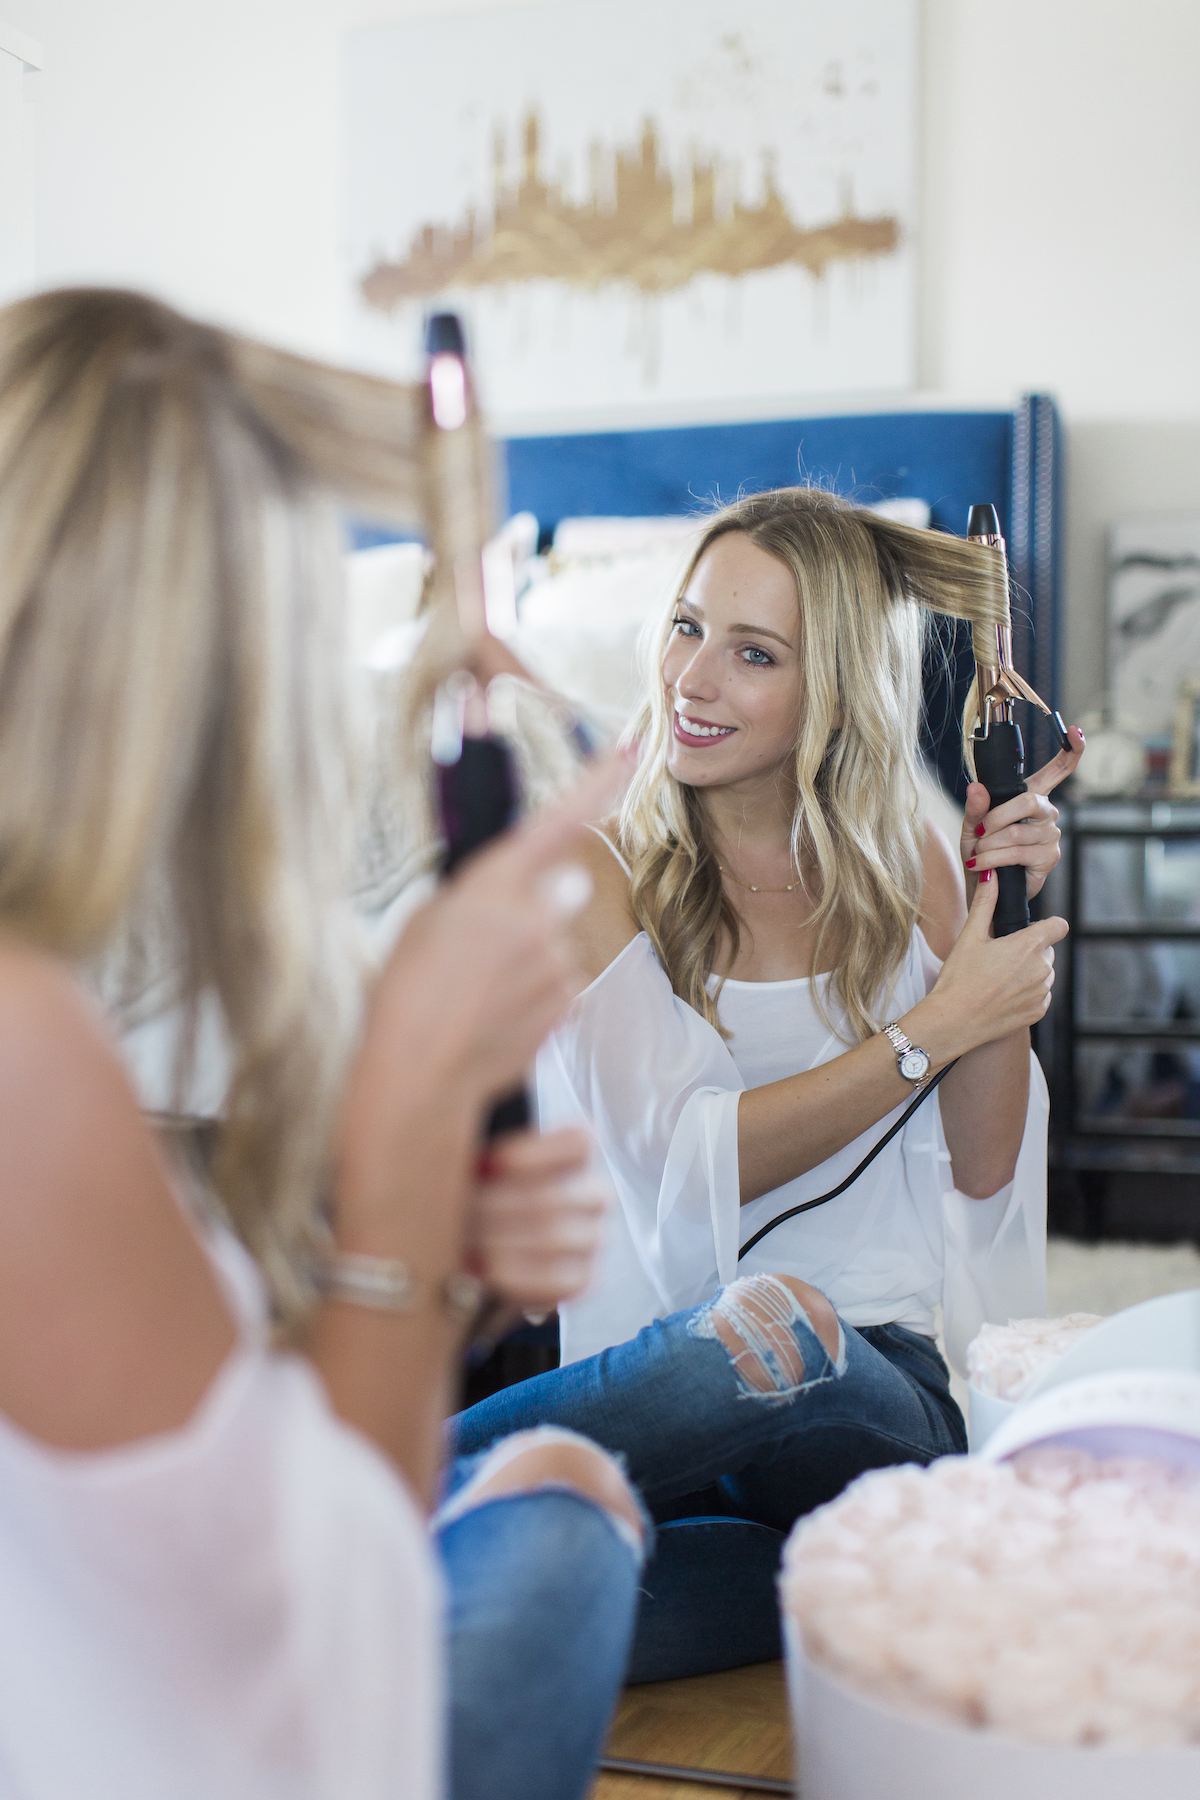
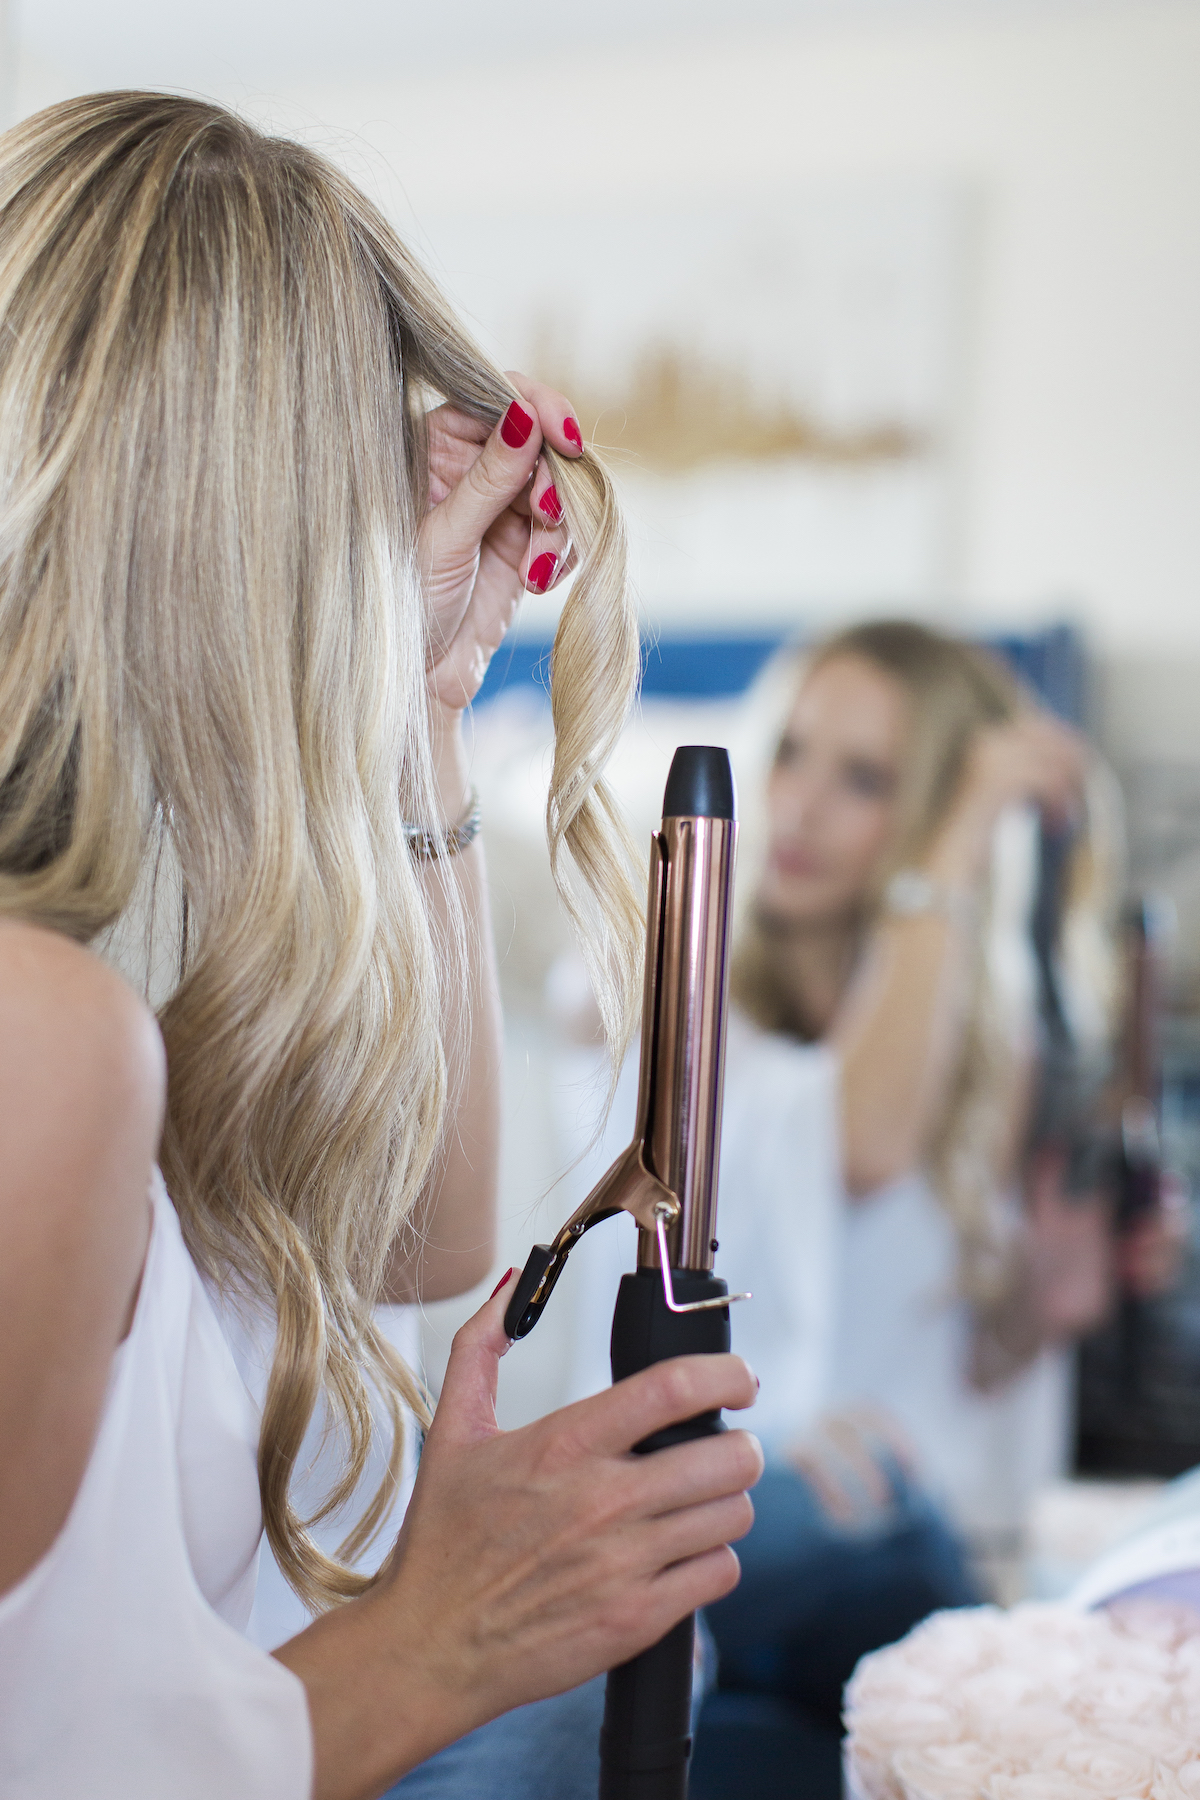
Wearing: Distressed Jeans | Bailey 44 Top (similar version here)
Maybe it’s the change in season, but lately I’ve been making an effort to switch things up (did you see I actually wore my hair in bun?!) and learn some new styling techniques. I was looking back through my blog archives the other week and was kind of horrified by the dated sorority girl sausage curls I’ve worn over the years. This look was definitely the result of two things: holding the iron too high up near the root of my hair and being too lazy to section off my curls in smaller manageable strands… Whoops.
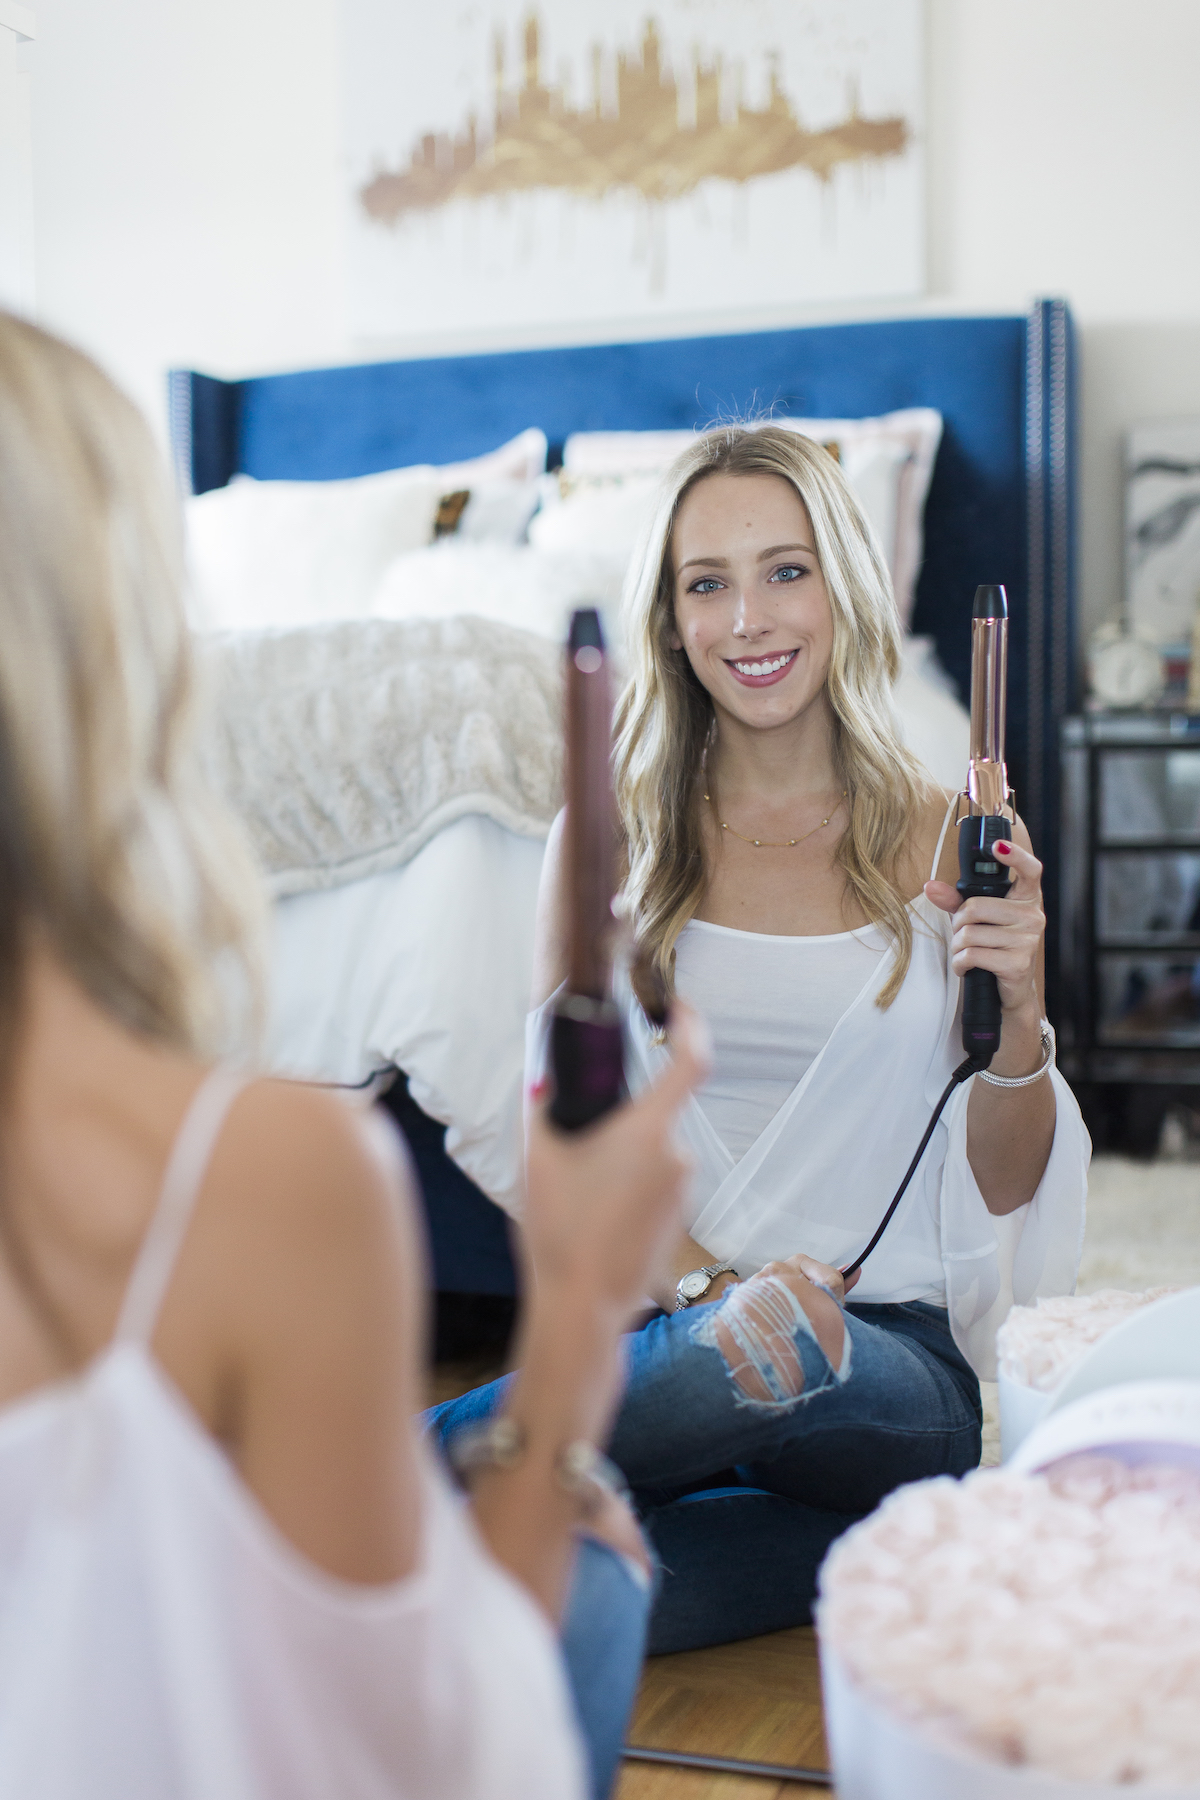
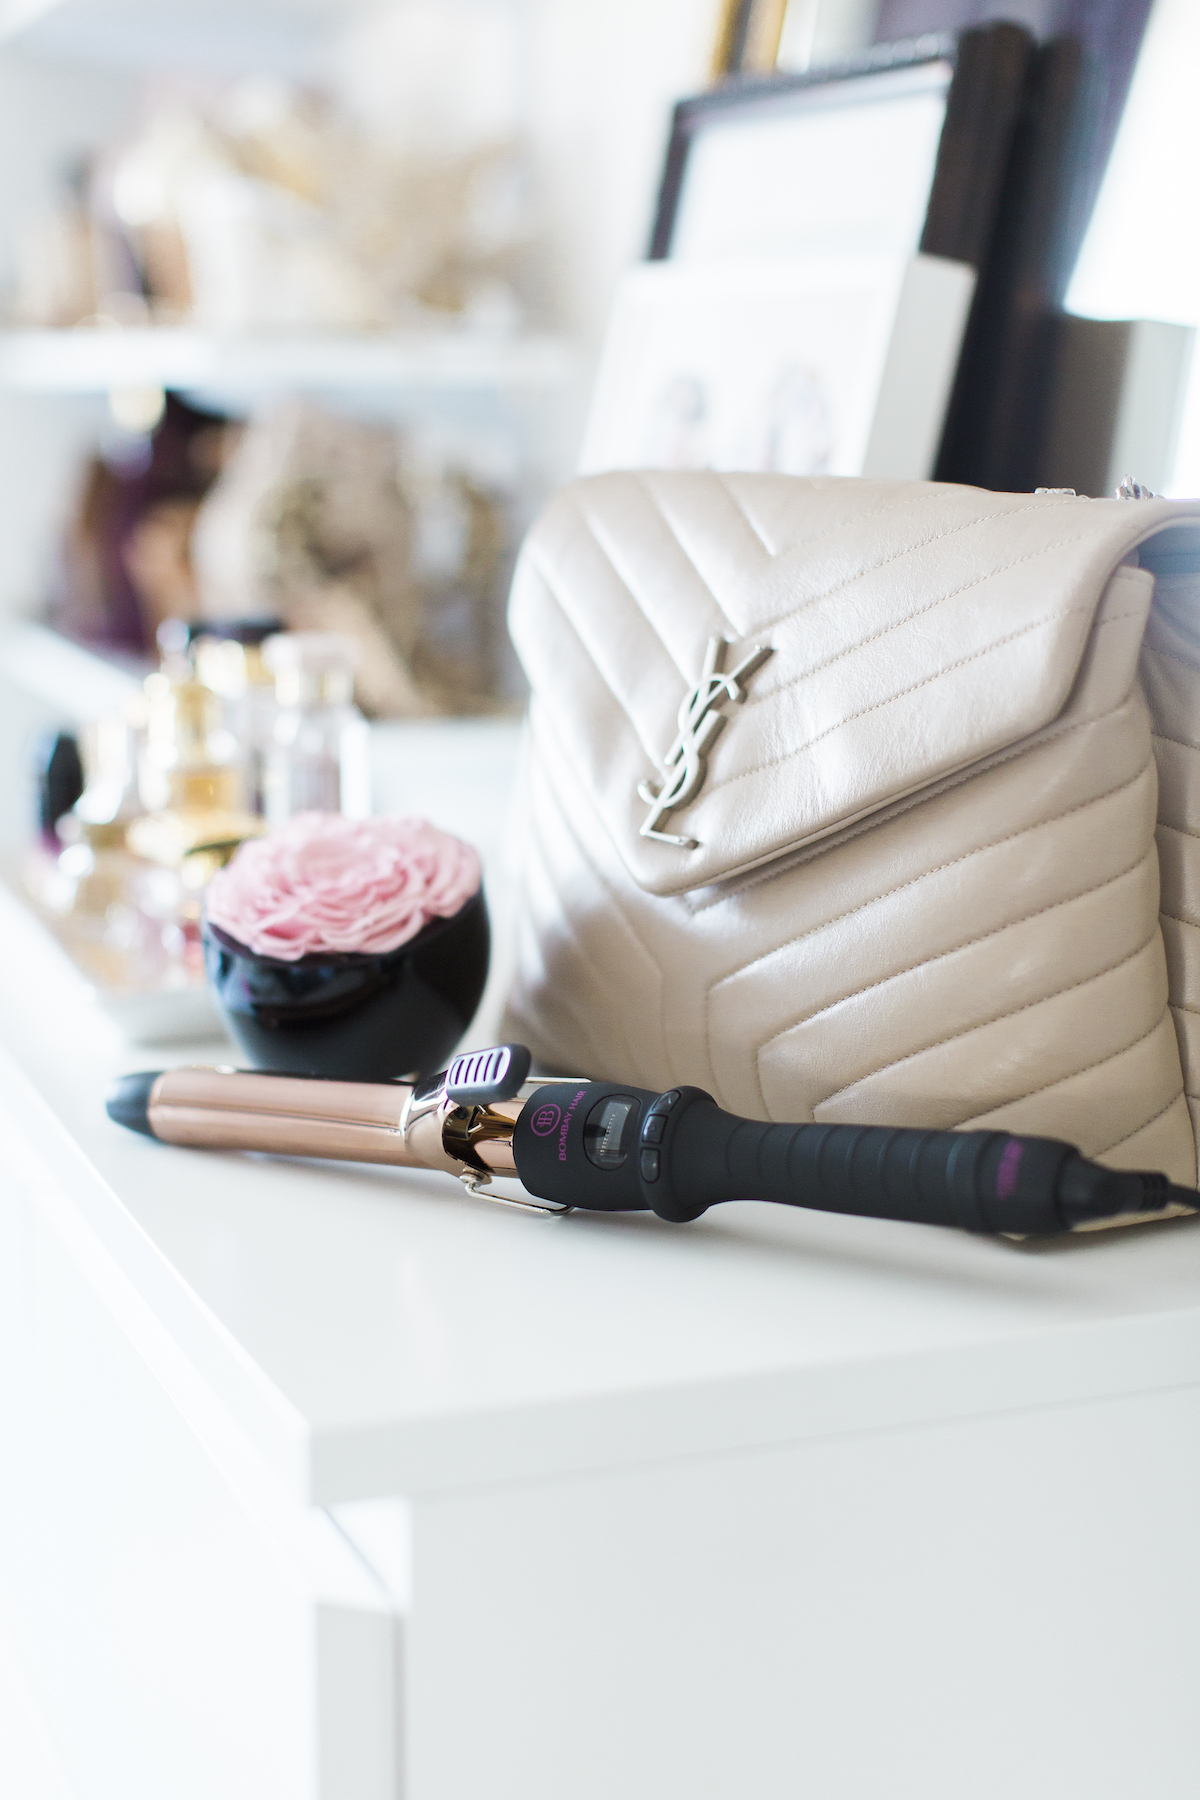
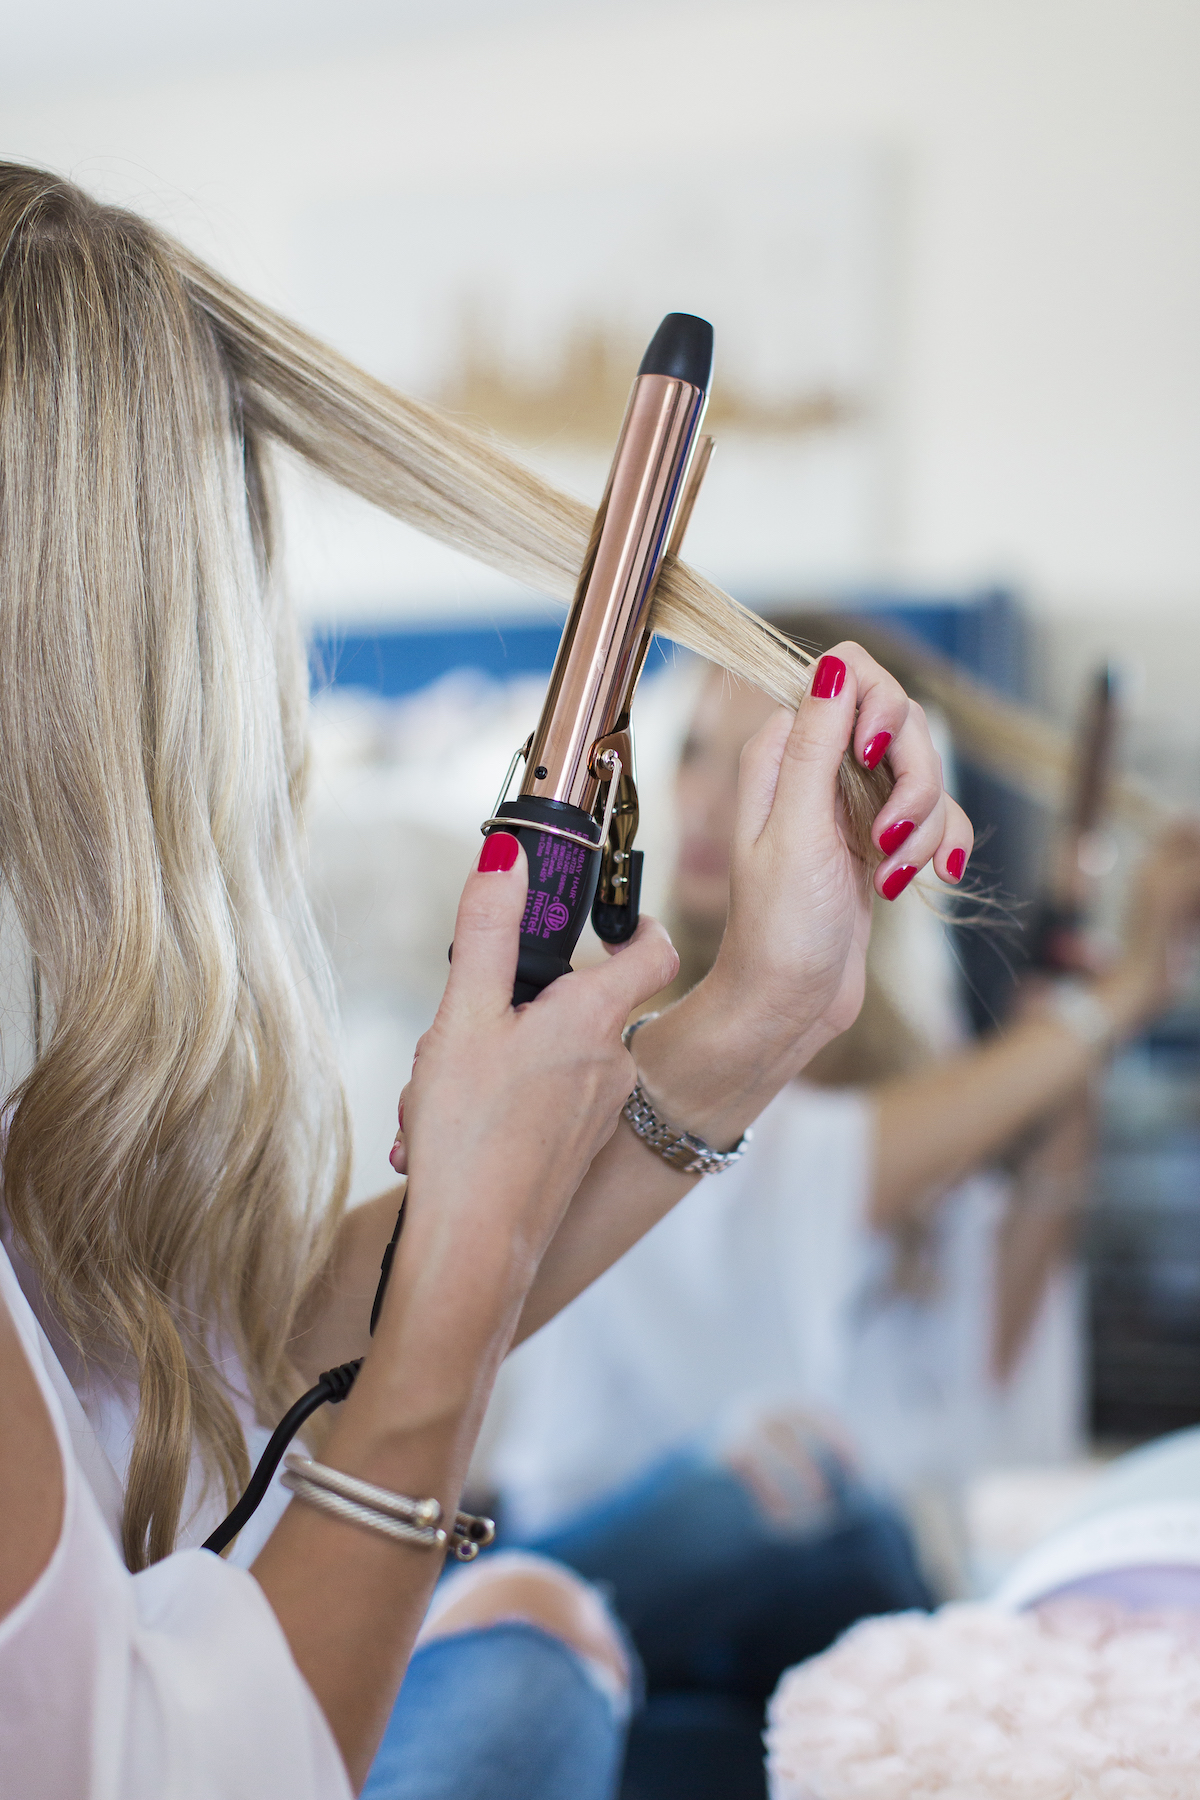
While tight bouncy curls may have been in a few years ago, I’ve really been loving very subtle barely-there waves. Over the last month I’ve experimented with everything from a clamp-less curling wand to a hair straightener trying to find the easiest way to achieve this look. Surprisingly in the end the tool I had the best luck with was a standard 1” curling iron with a clamp. The one I use is the Bombay Hair 25mm Clamp Curling Iron. Don’t you just love the rose gold color? I’m obsessed.
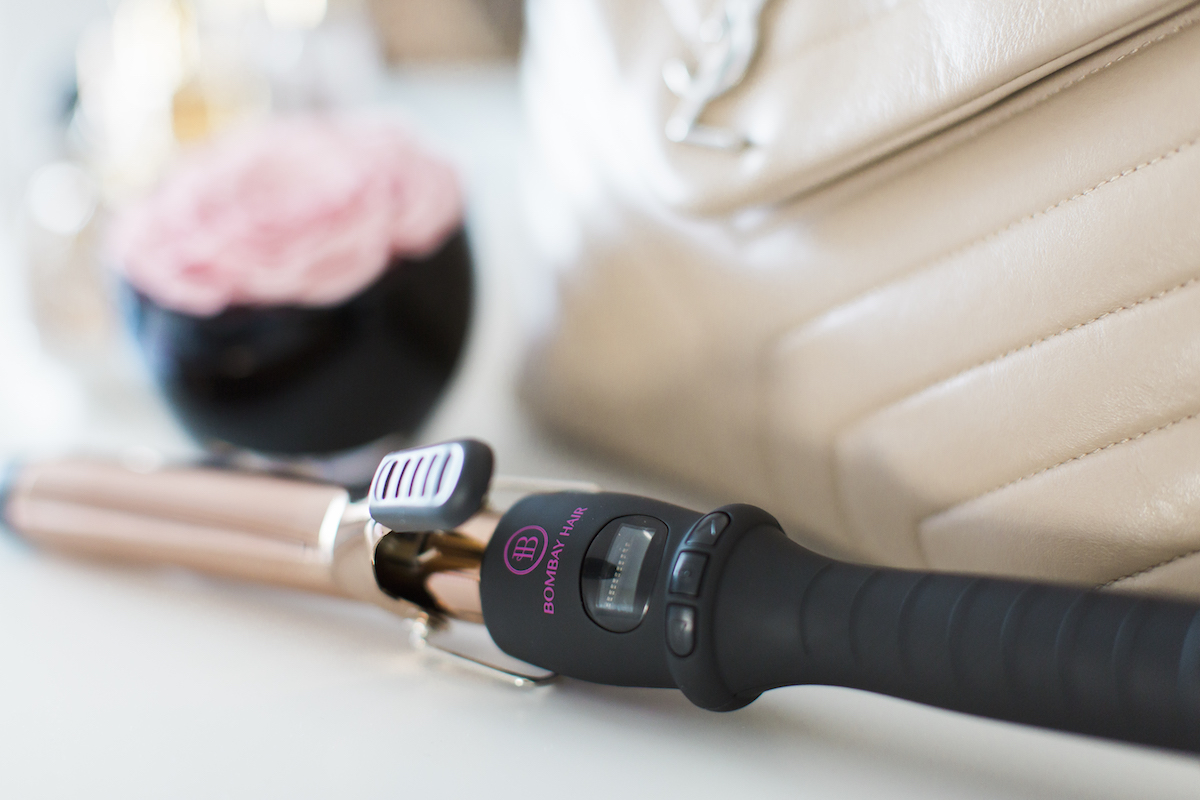
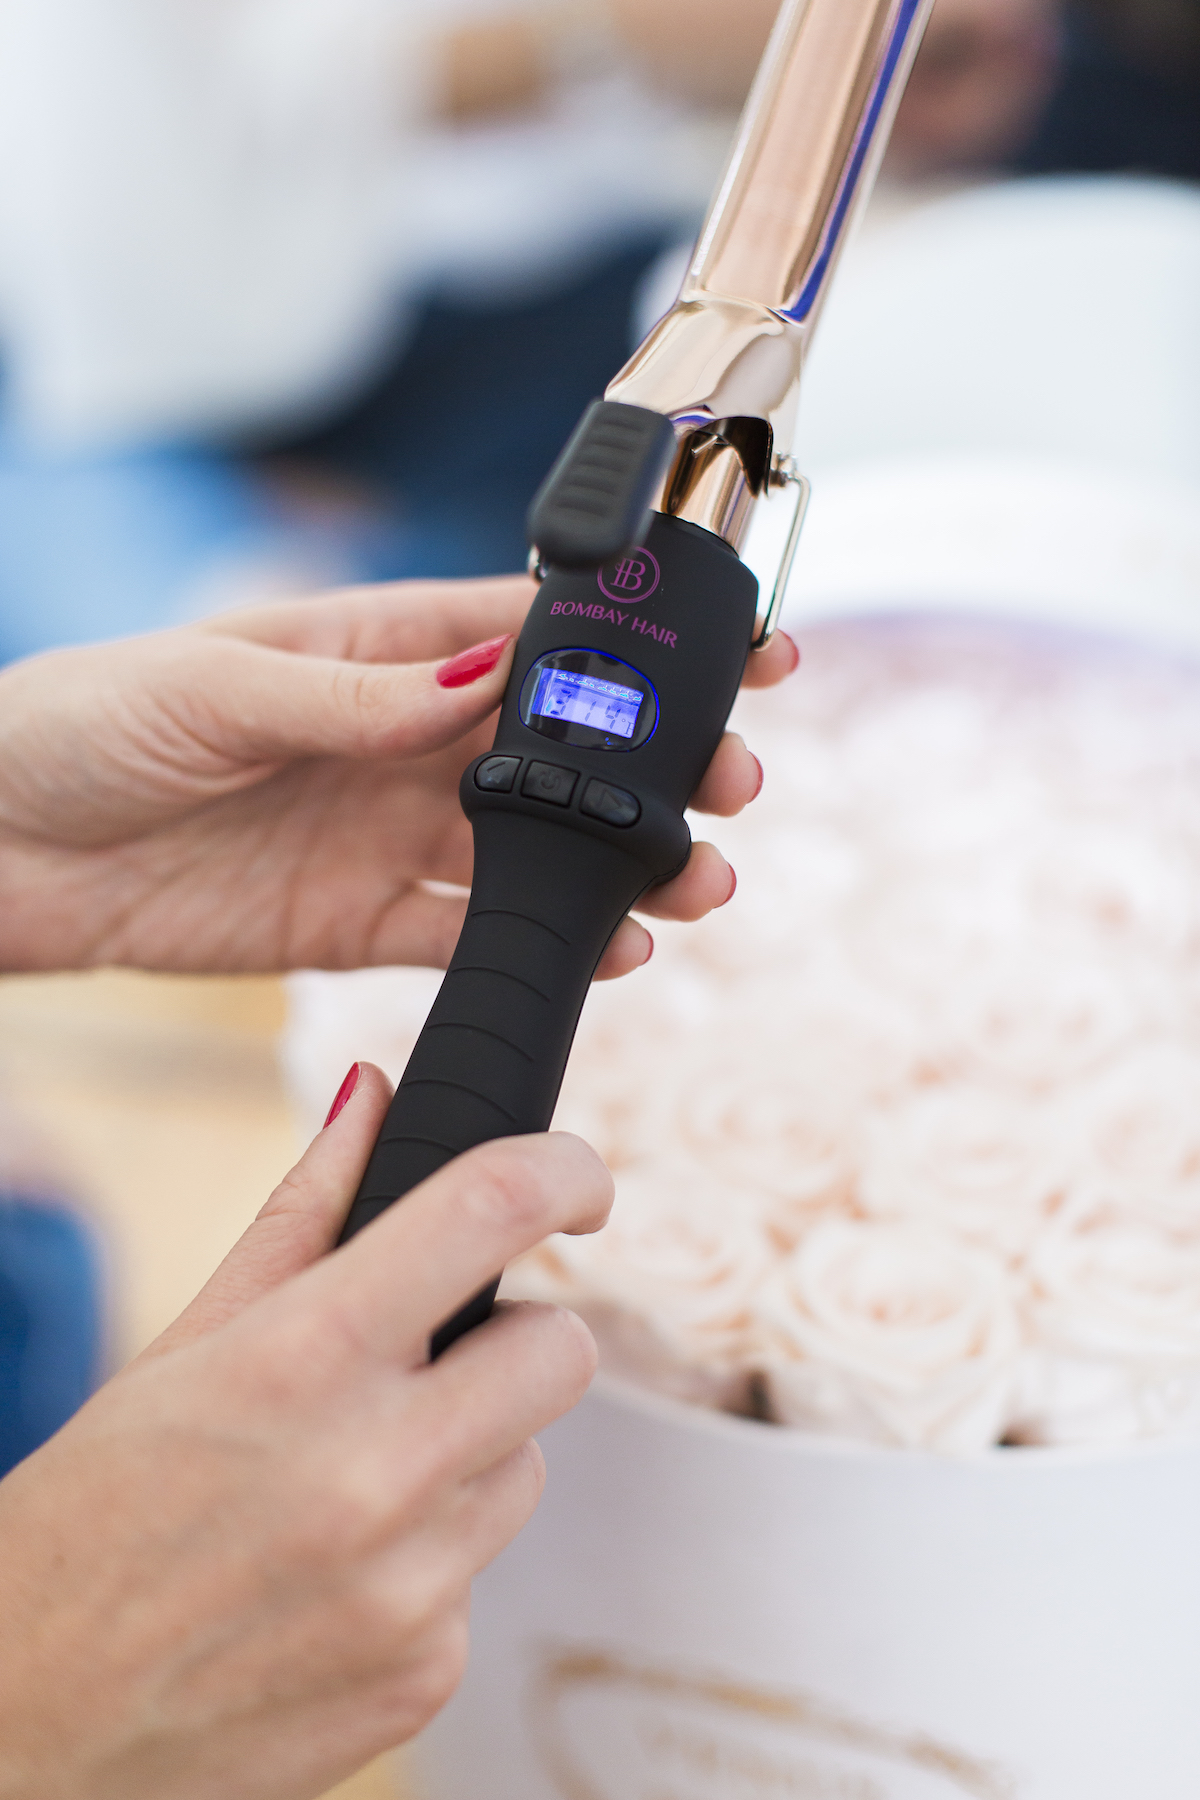
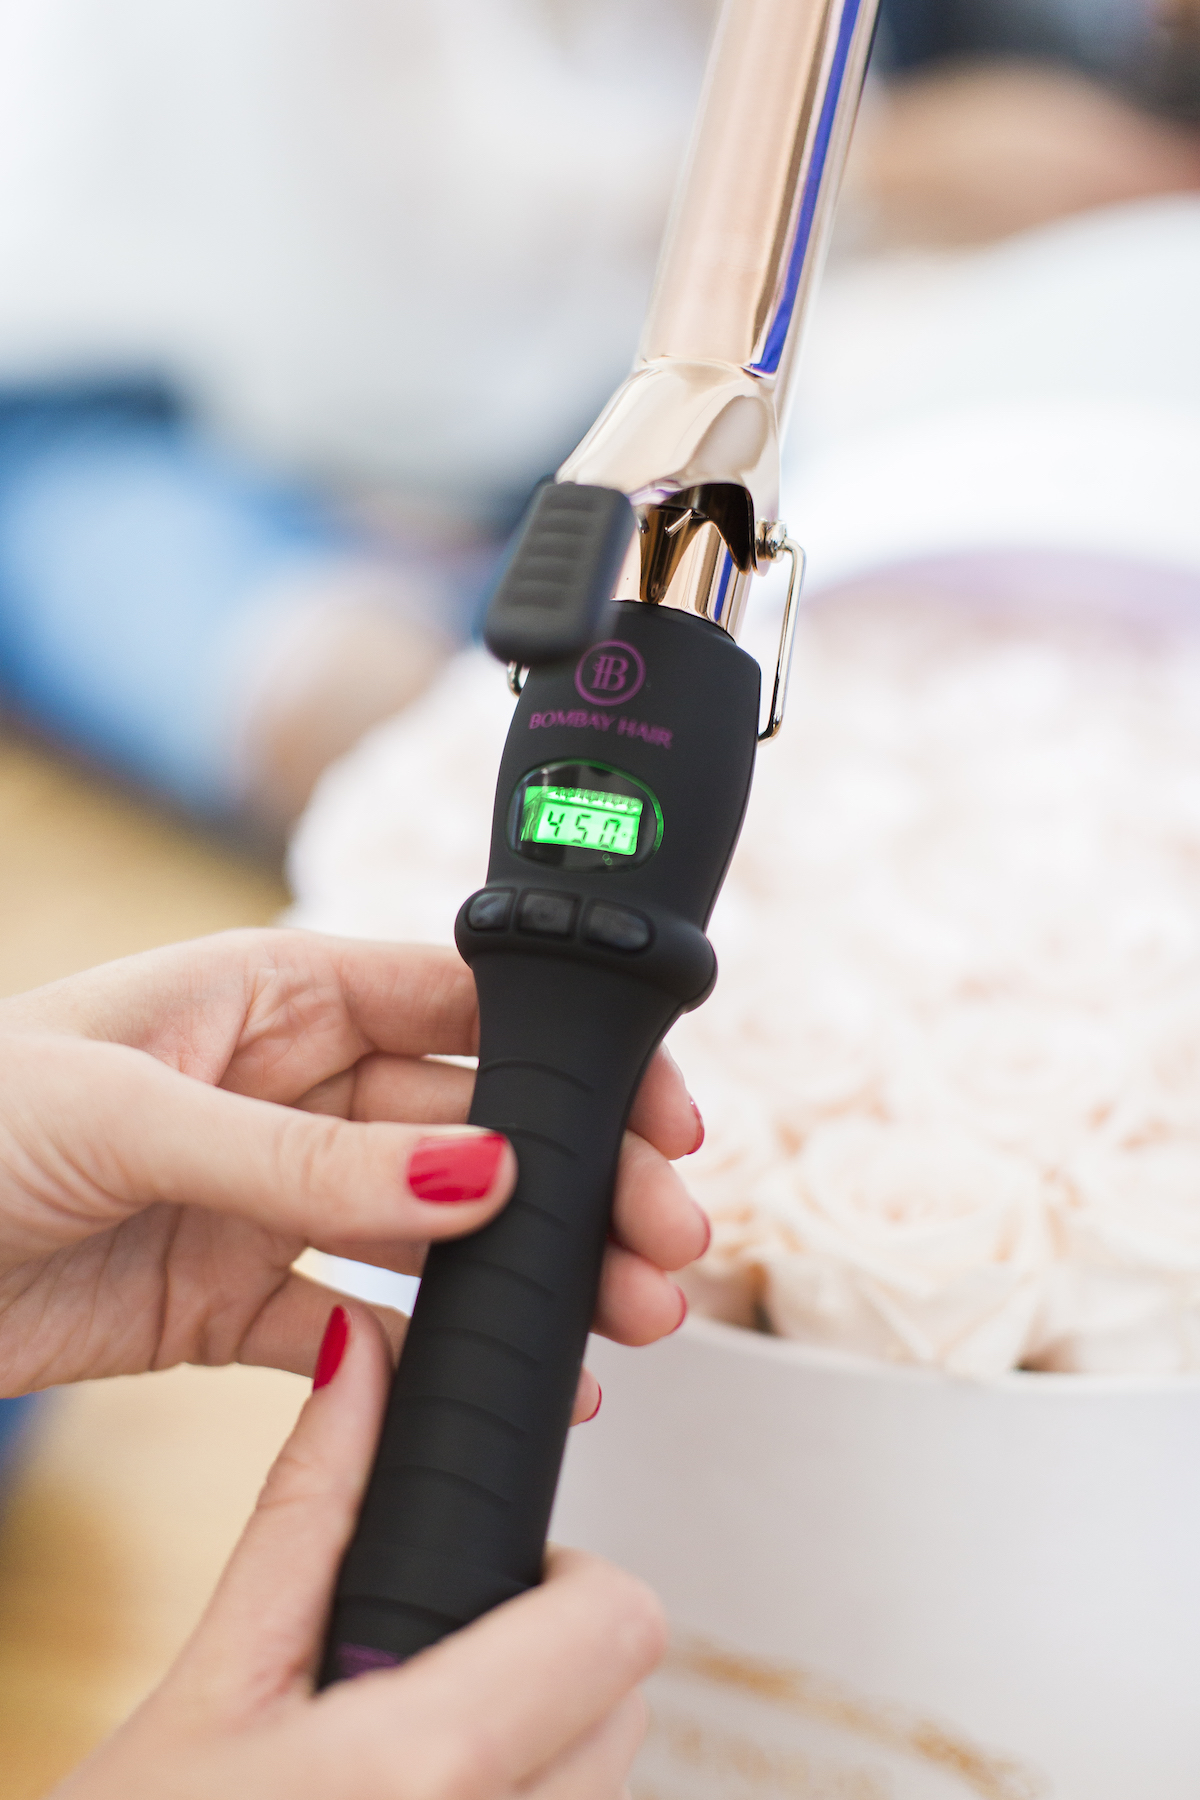
With this iron you get complete control over the heat settings (the digital screen is amazing) and the titanium barrel heats up fast. I’m talking under two minutes. I also find the handle design really easy to grip and hold as I’m styling my hair. To get one curl I literally only need to have a strand of hair clamped for 10 seconds. This iron works fast. I’ve also experience a fair share of curling irons where the strand of hair will just slip off the barrel and the clamp doesn’t really hold. The clamp on this one is super tight and reminds me of the irons professional stylists use in salons.
Okay so here’s a breakdown of my routine:
Step 1: After applying a heat protectant, section off desired piece (try taking no more than a 1” worth) and clamp down halfway on the strand. I do this to avoid the sausage curl look– you don’t want the curl to begin too high on your head.
Step 2: Twist the barrel away from the face towards the back of the head, wrapping the strand one to two times around the barrel leaving about a 1” piece outside of the iron. The longer the strand—the more times I’ll wrap it around the barrel. Leaving a small bottom portion of the strand out of the barrel will give you more of an un-done look.
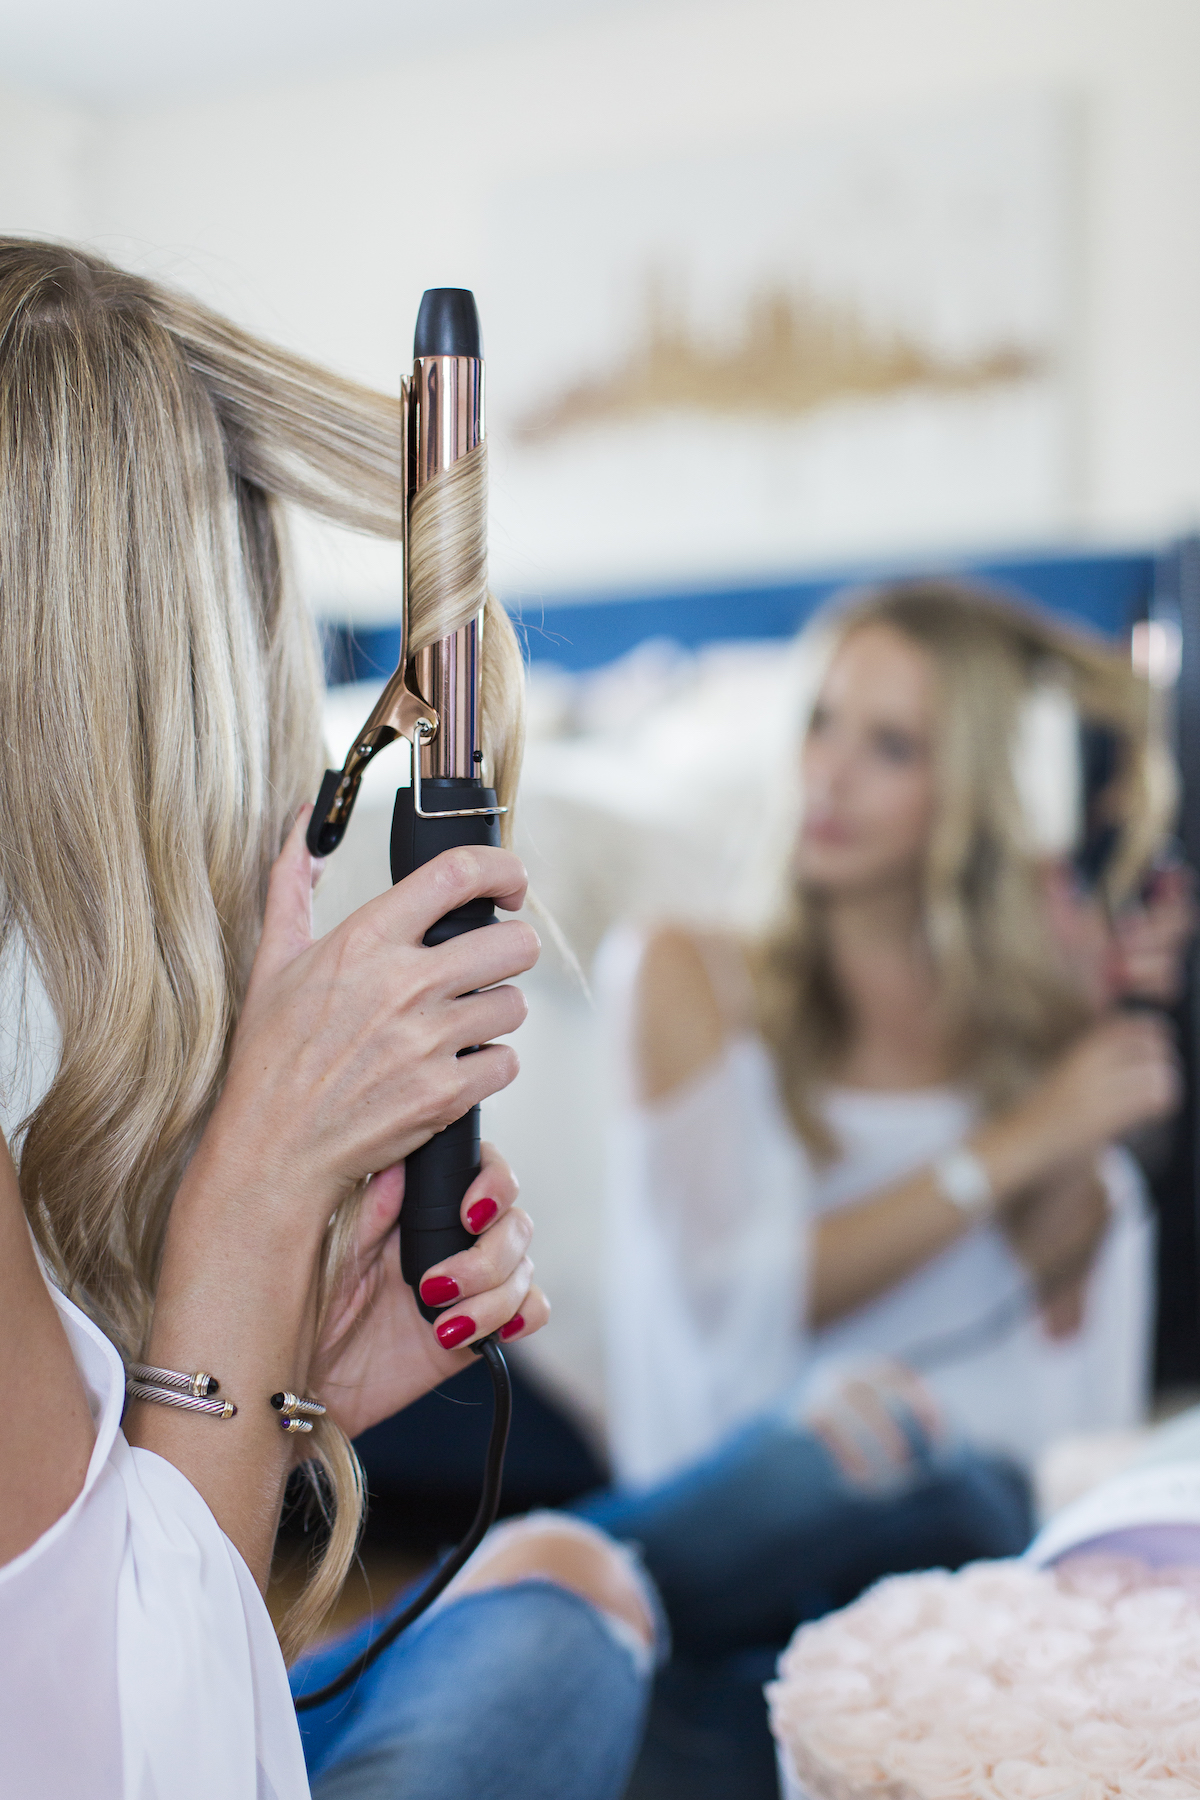
Step 3: Hold hair clamped for no more than 10 seconds (remember we only want a wave) and pull strand out through barrel.
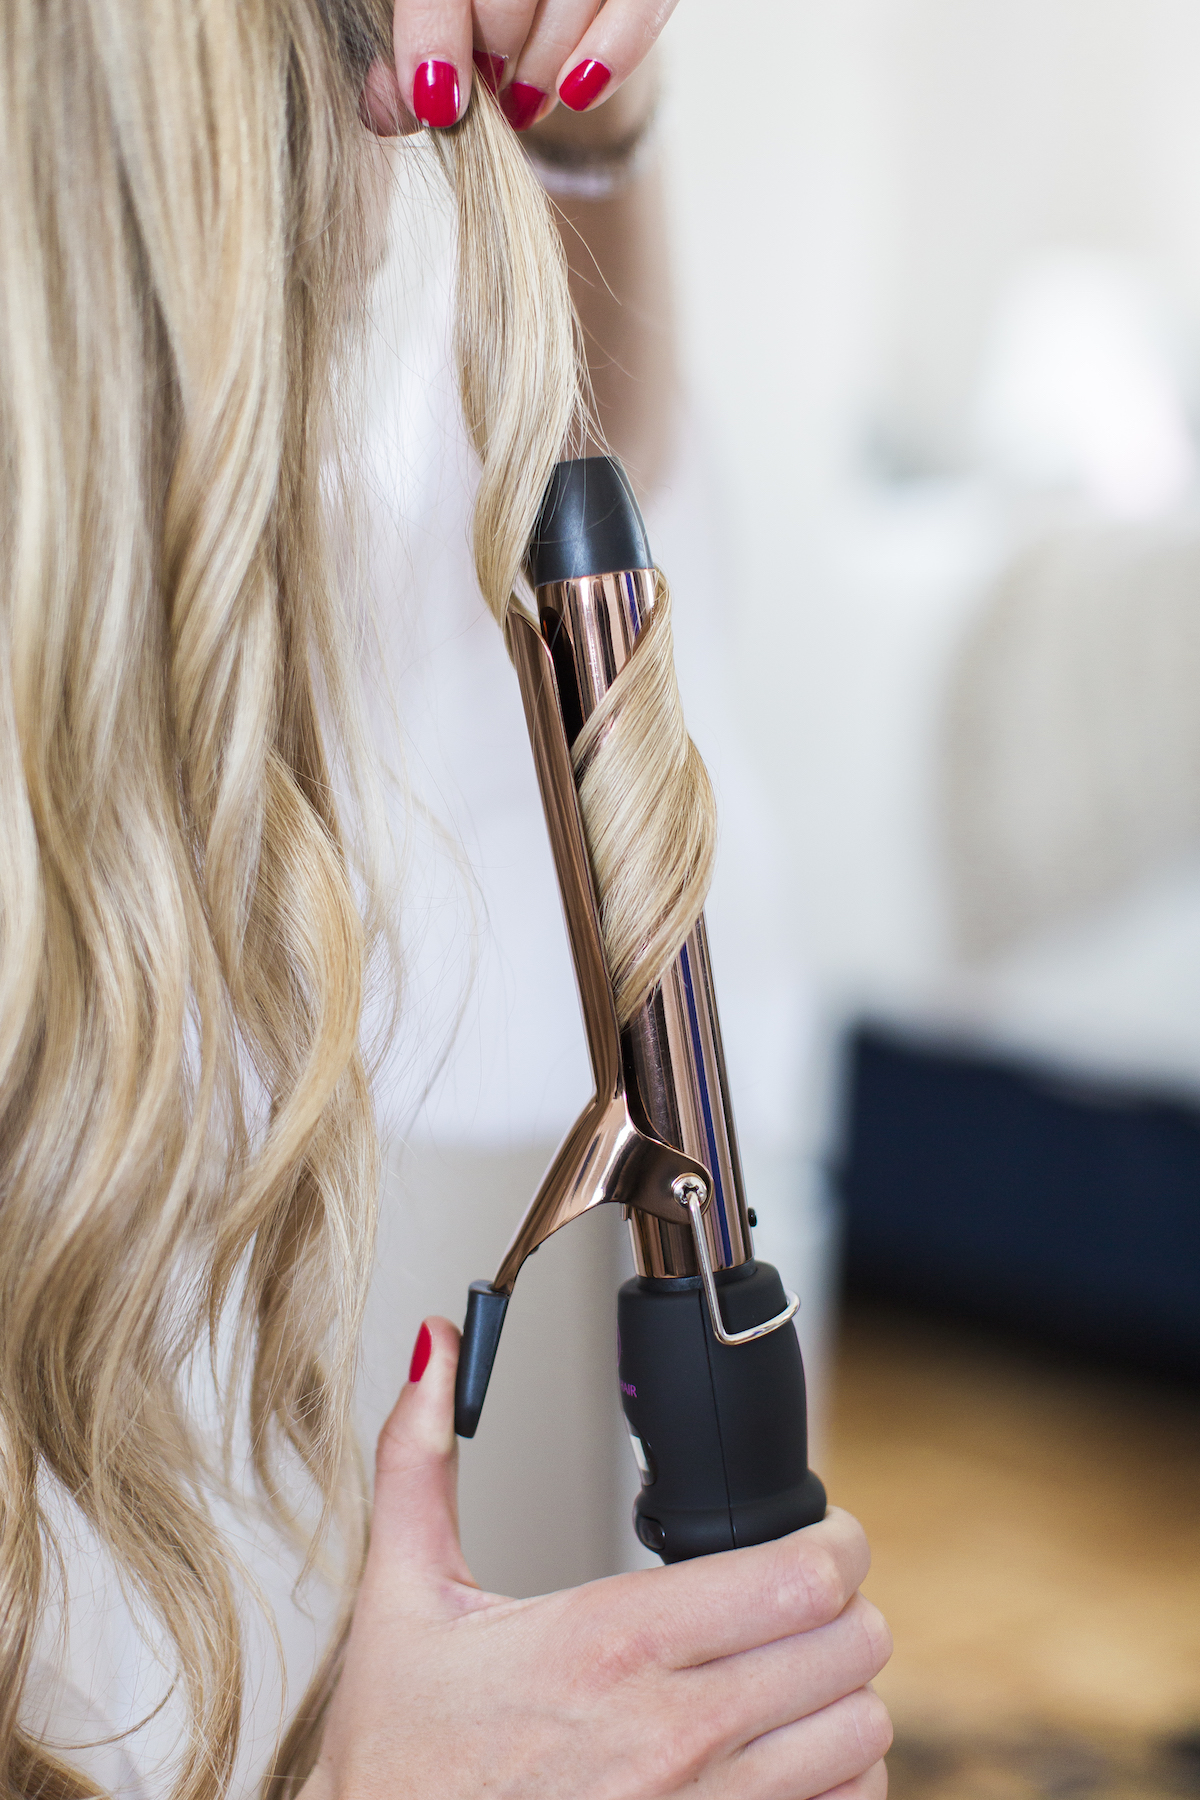
Step 4: Once I’ve completely finished heat styling, I’ll run my fingers through my hair to separate the curls and add a little bit of a lightweight hairspray. My hair holds curl really well so I don’t find it necessary to pin my hair up or use a strong holding product. The goal is to get very loose subtle waves, so by using minimal product the curls naturally fall out into waves throughout the day.
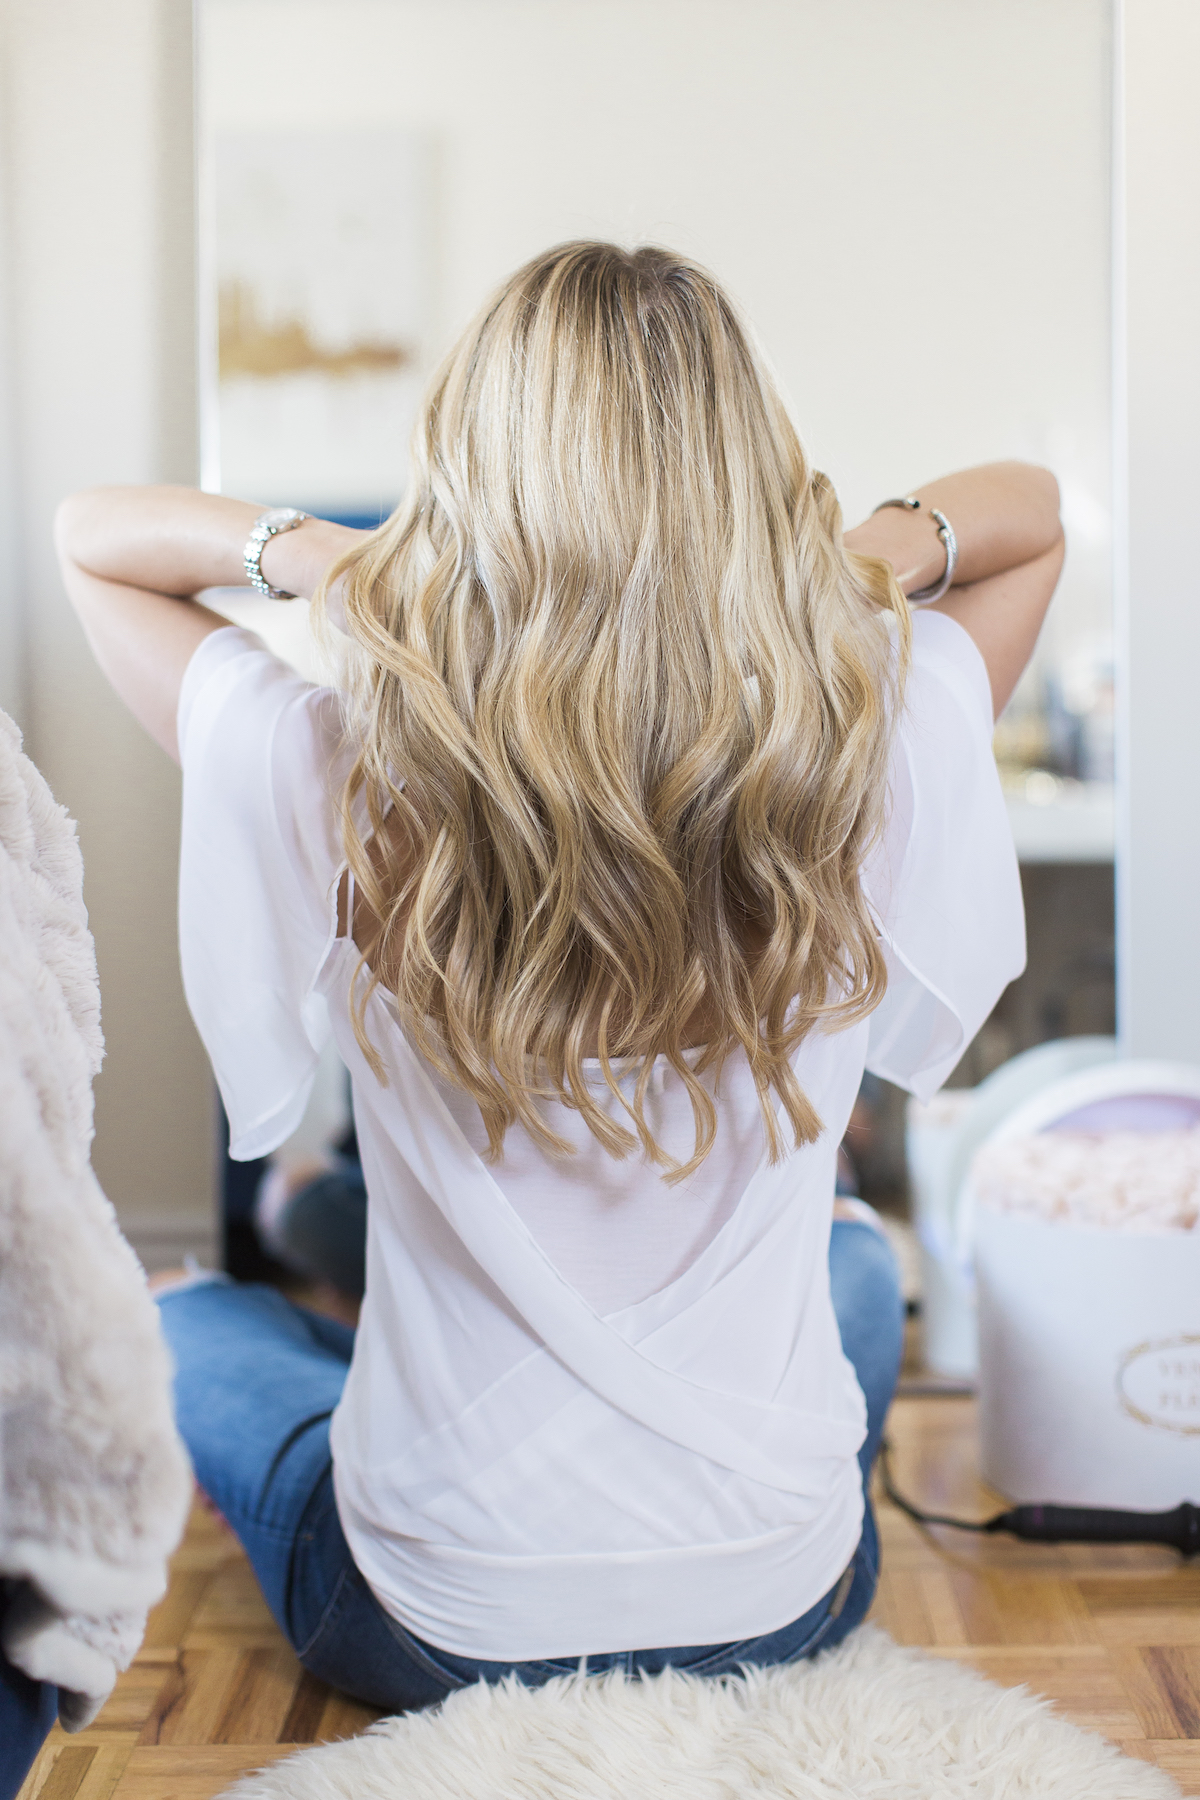
And there you have it! As you can see, you absolutely don’t need to purchase some fancy wand or other trendy device to create natural-looking waves. I’ve tested so many tools and in the end, my standard clamp curling iron accomplishes the job exactly how I want in the shortest amount of time. If you’re intimidated by a clamp iron—don’t be! Practice absolutely makes perfect and the more you continue using one, holding it in your hand will feel like second nature. Trust me.
Big thank you to Bombay Hair for sponsoring this post!
The post How To Style Perfect Loose Waves appeared first on Katie's Bliss.
]]>
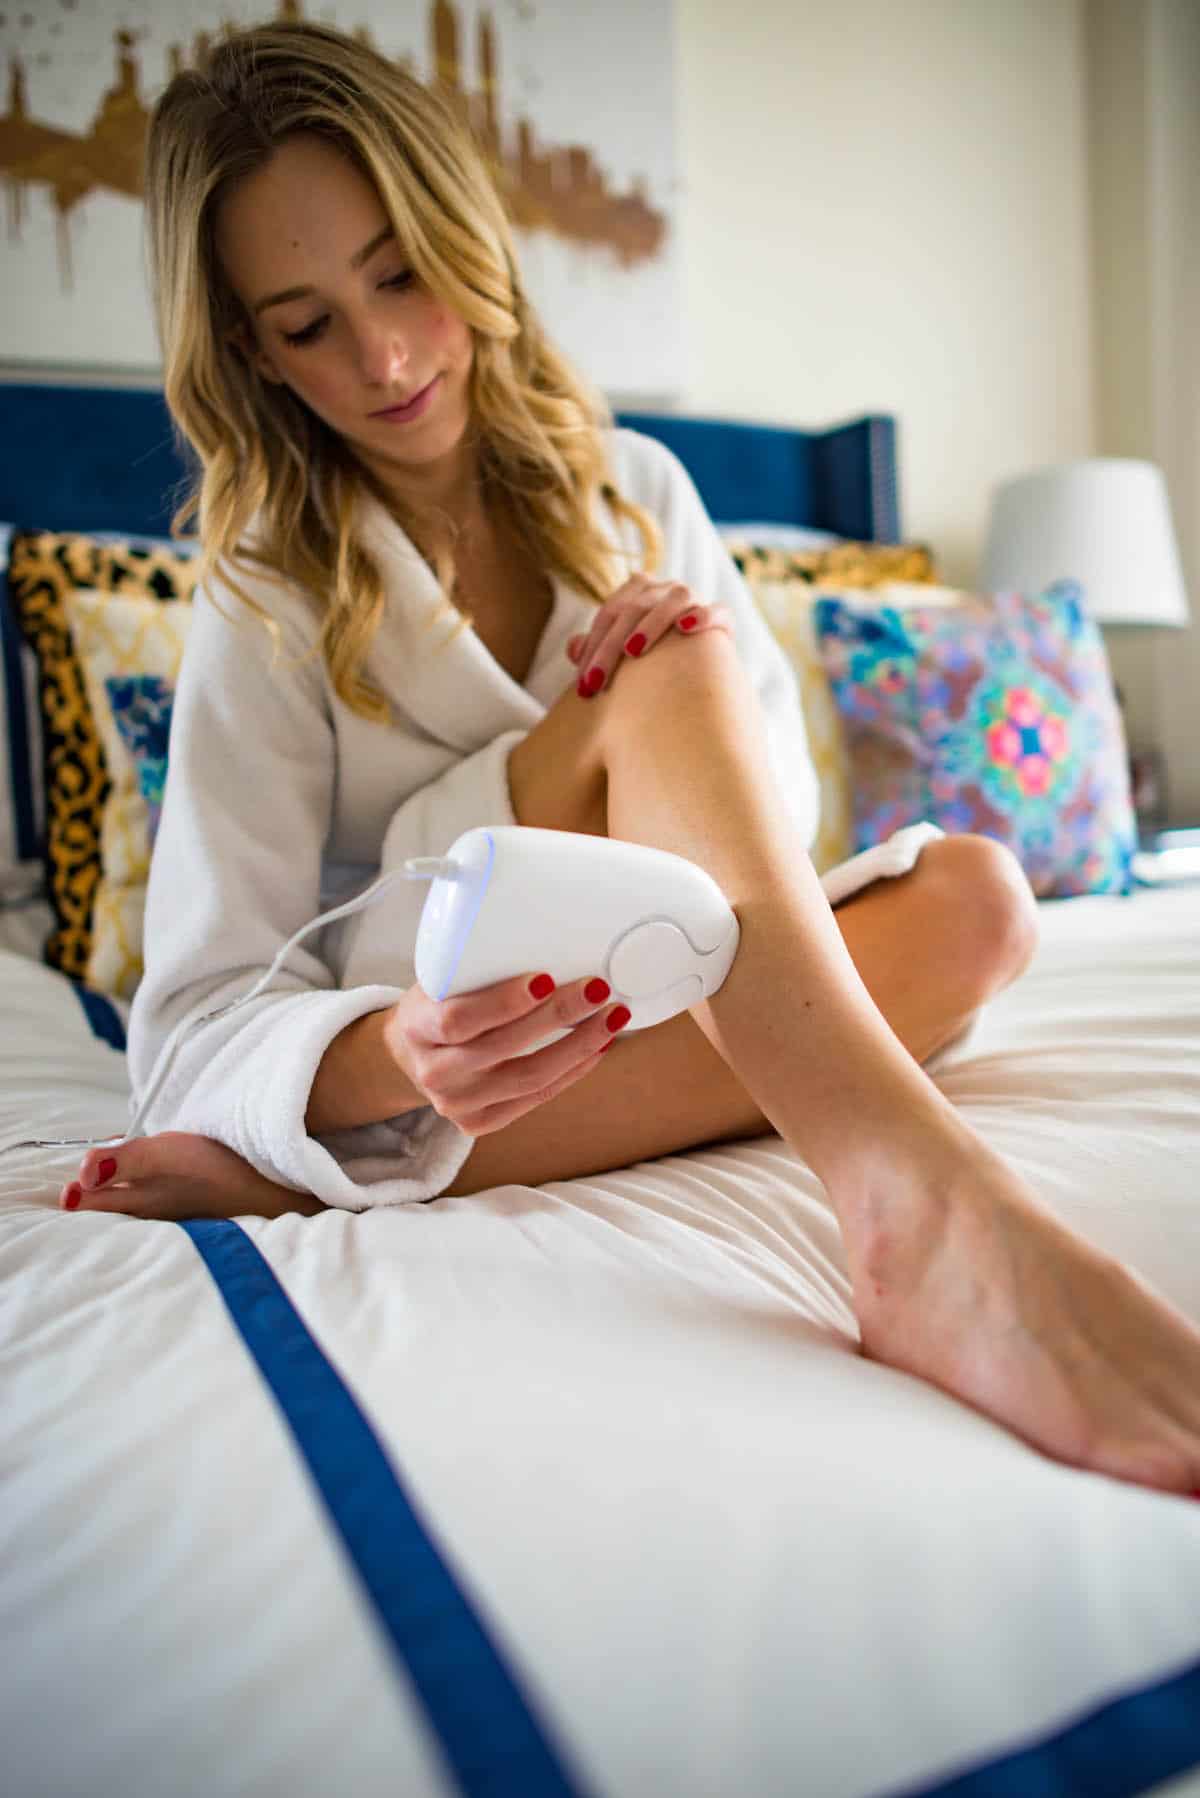
Have any of you ever tried an at home hair removal device? I’ll admit I was a little intimidated. Since I was a teen my hair removal routine hasn’t gone further than using a razor in the shower and my bi-weekly eyebrow threading appointments. That said, after non-stop traveling over the summer and a schedule that seems to get busier and busier, I began considering something more permanent. I honestly hate shaving– especially my legs. It would be
The post At Home Hair Removal? My Experience Using The iluminage Precise Touch appeared first on Katie's Bliss.
]]>
 Have any of you ever tried an at home hair removal device? I’ll admit I was a little intimidated. Since I was a teen my hair removal routine hasn’t gone further than using a razor in the shower and my bi-weekly eyebrow threading appointments.
That said, after non-stop traveling over the summer and a schedule that seems to get busier and busier, I began considering something more permanent. I honestly hate shaving– especially my legs. It would be nice to just not even have to think about it. Winters are the biggest relief and I definitely push the limit for how long I go between shaving (sorry Nick!) 

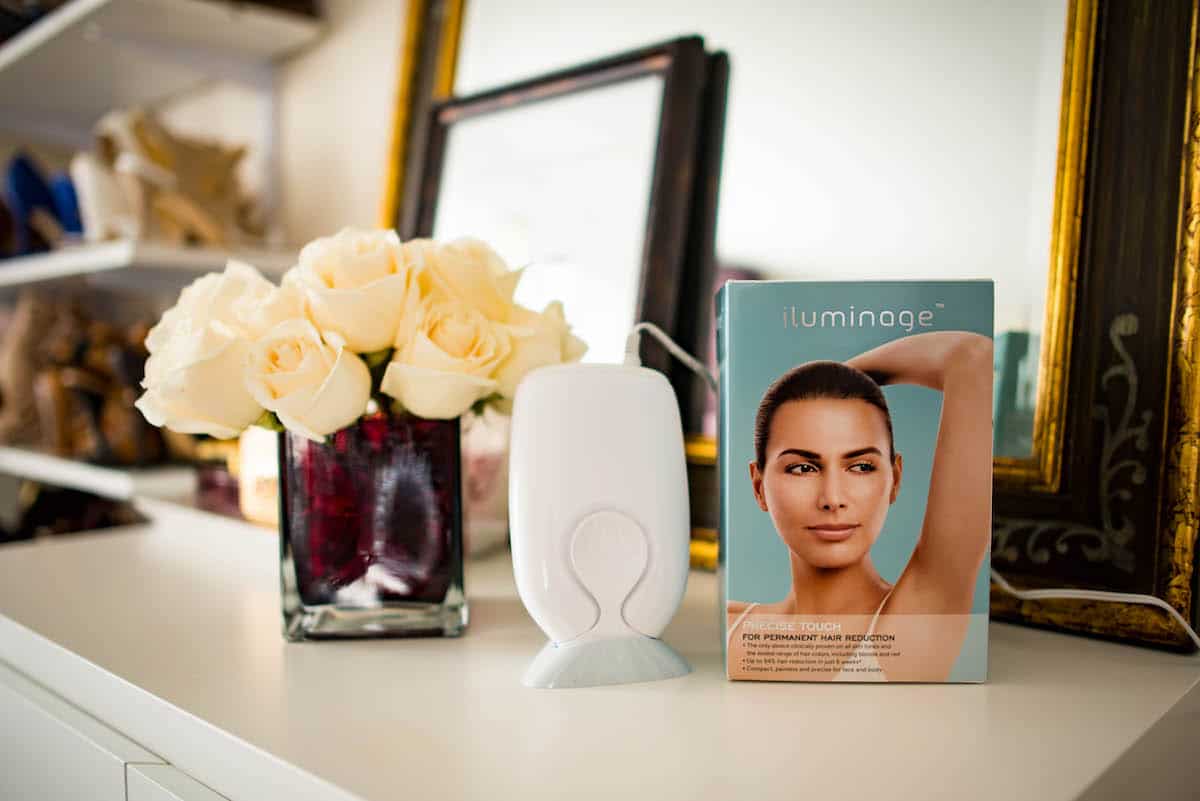
iluminage Precise Touch Review
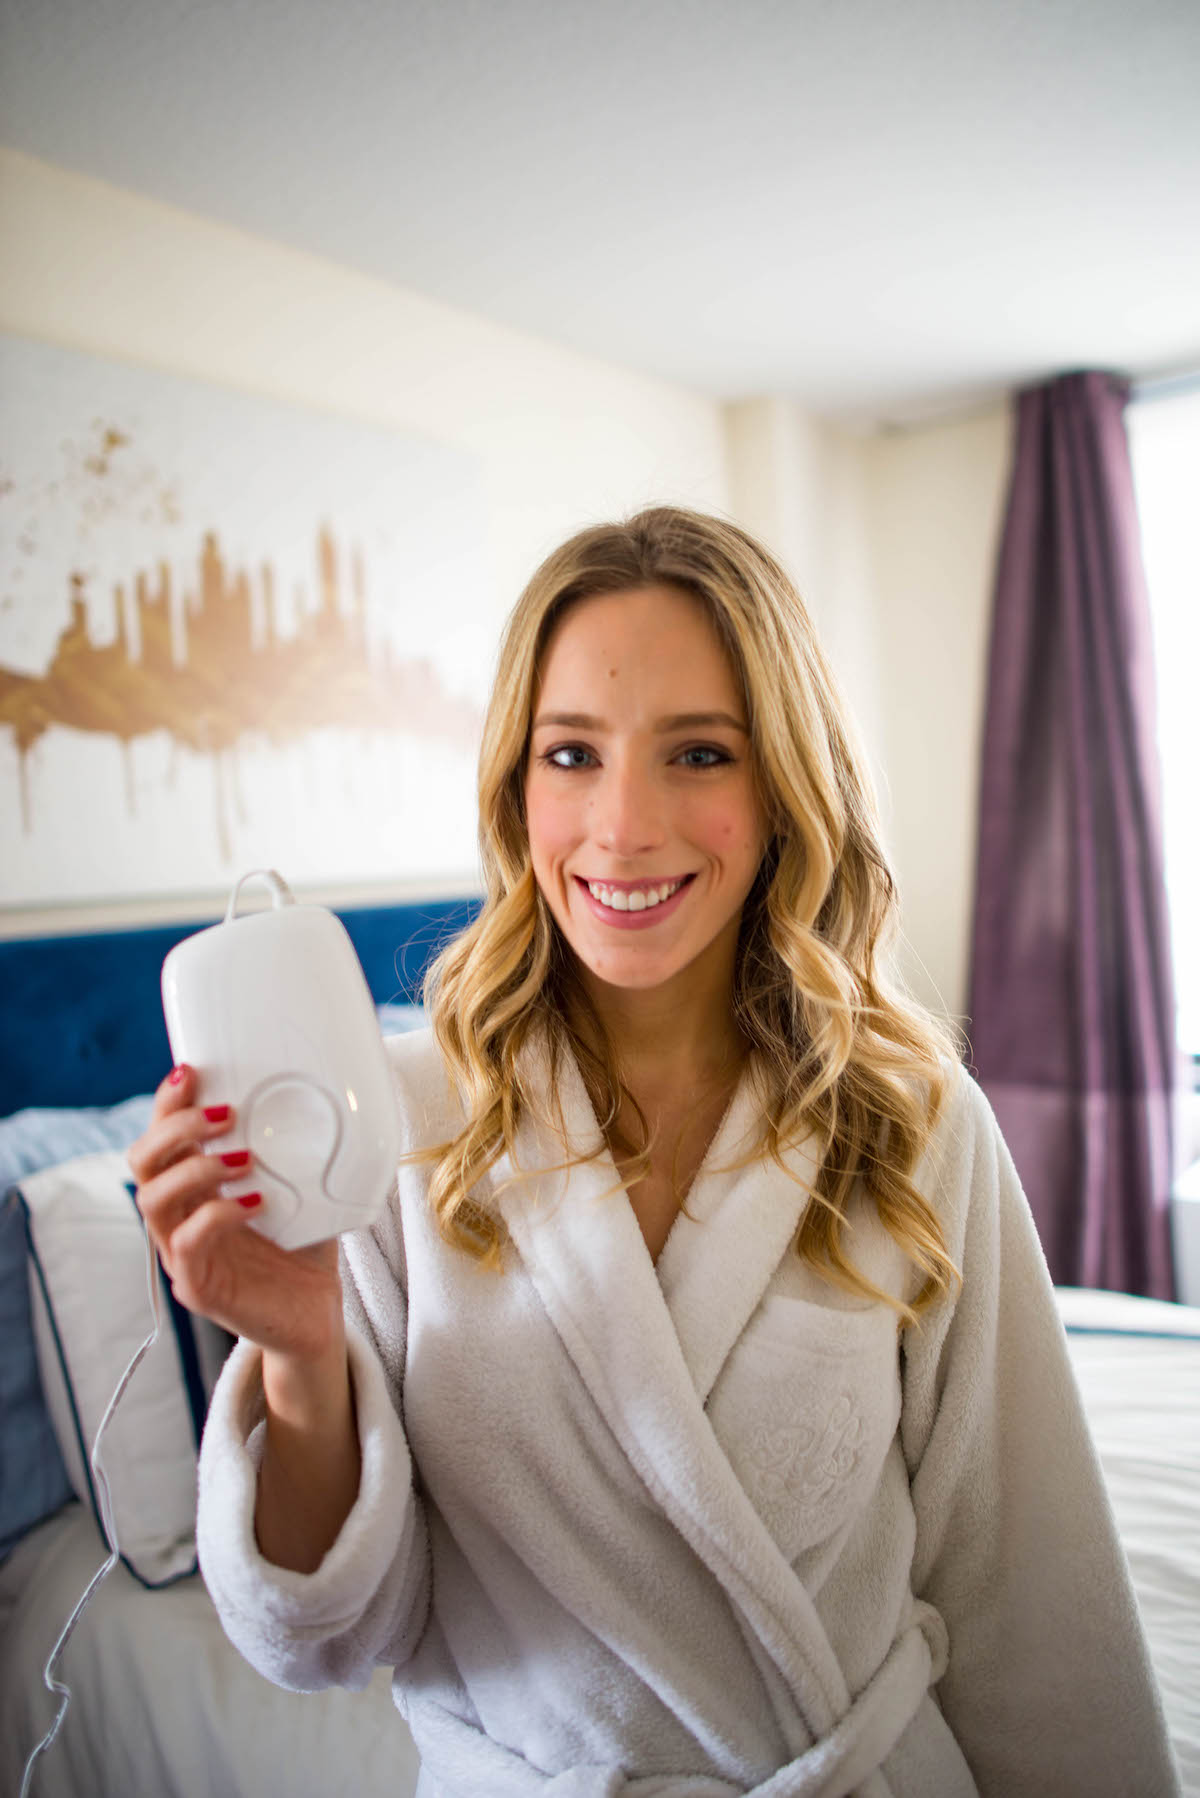
Which brings me to the iluminage Precise Touch! If you’ve been considering permanent hair removal but have been put off by the high price of professional services or would prefer to do it yourself at home, then this is for you. While hair removal is usually top of mind during the warmer months, now is actually a perfect time to begin prepping your body.
The technology in this little guy is super powerful– an intense pulsed light and radio frequency team up to permanently destroy hair follicles so they don’t grow back. Results vary by person, but it works on all skin tones and a wide range of hair colors. What you get is an at-home device of professional quality. No office visits needed!
So you probably have a few questions. Does it hurt? Can it be used on the face? How much does it cost? Keep on reading because I’m breaking it allllllll down.
 How Do You Use It?
- Bathe and completely shave smooth the areas you plan on treating.
- Clean the treatment window (where the laser comes out) with a non-alcohol based wet wipe or soft tissue to remove any debris or dust.
- Connect the power cord into the supply port on the control panel of the Precise Touch and then connect the device to an outlet.
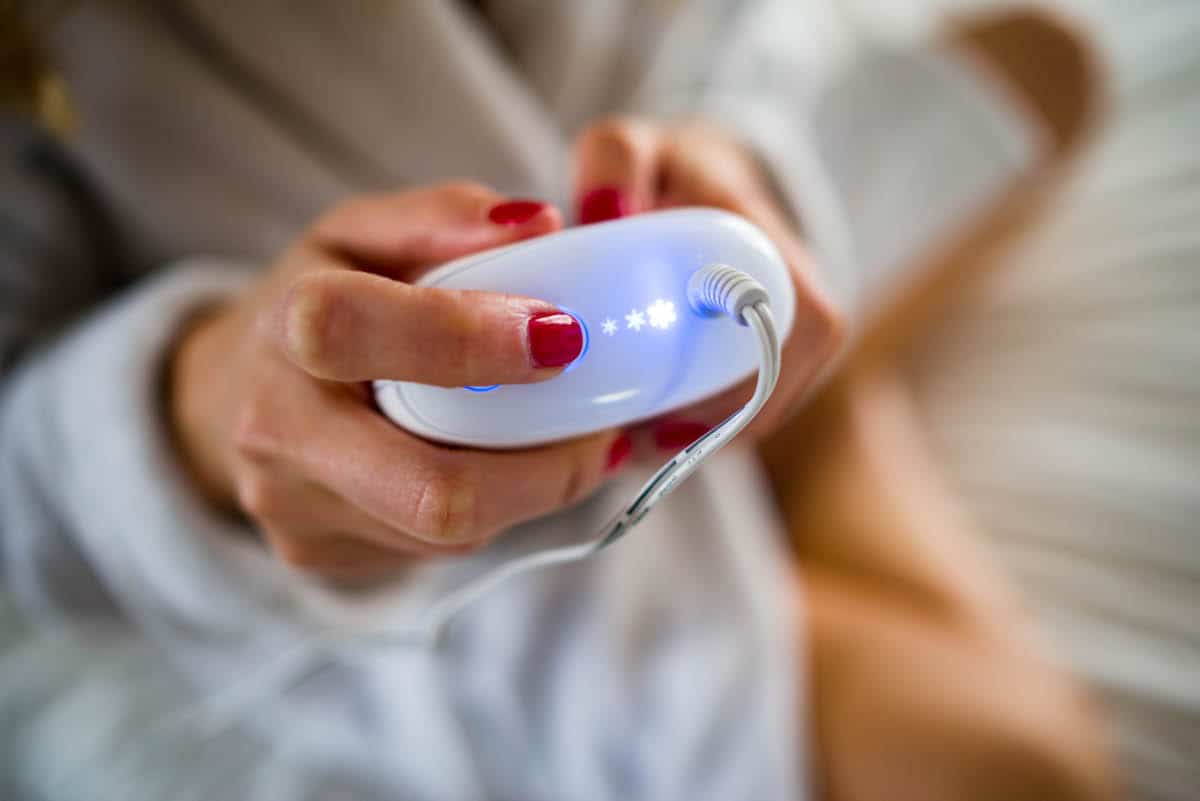
- Turn on the device by pressing the power button. All 3 energy level indicators will light up blue and start blinking.
- Select your elos level: low, medium or high. When the blue energy indicator becomes steady, the Precise Touch is ready for use. Low is best for sensitive areas like the face and medium/high can be used on larger parts of the body.
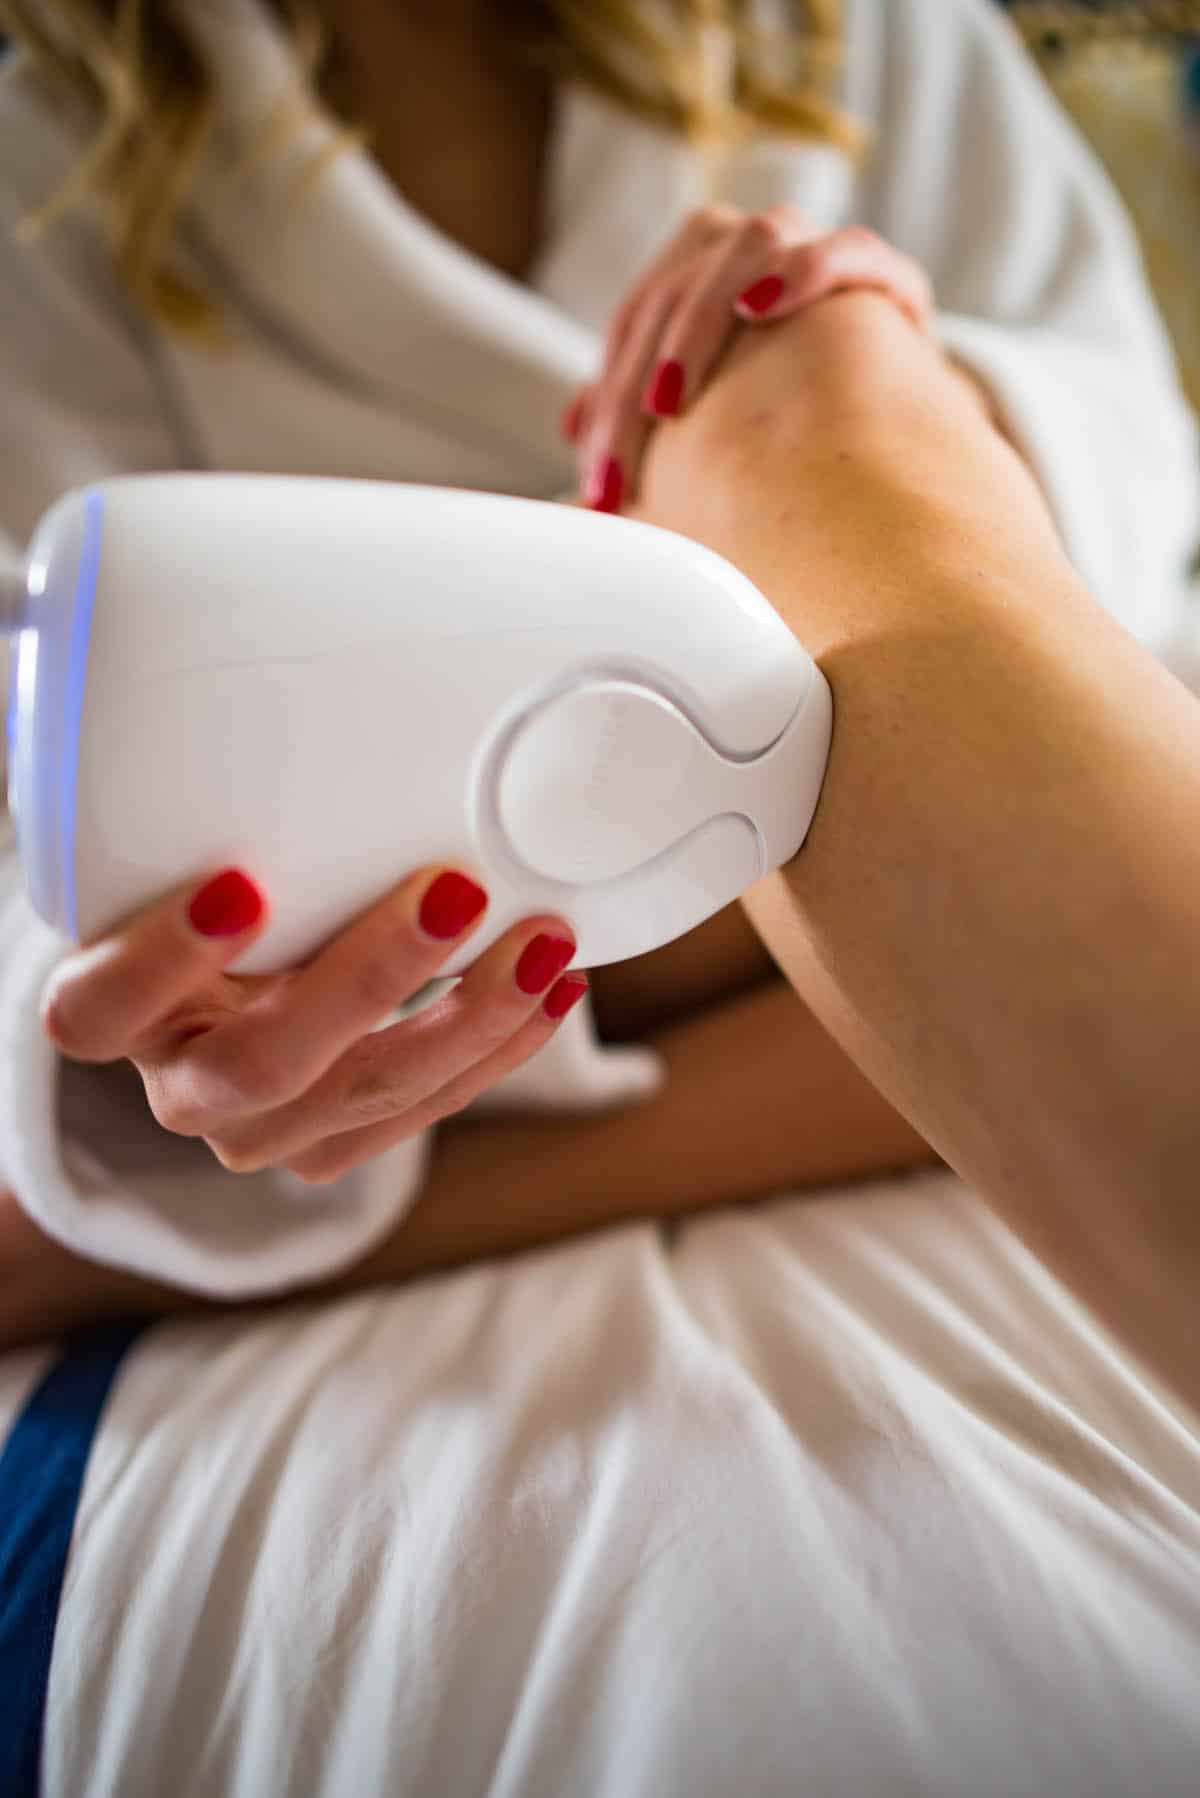
- Glide the device over the selected treatment area 2-3 times after the light emits from the device.
How Long Does It Take To See Results?
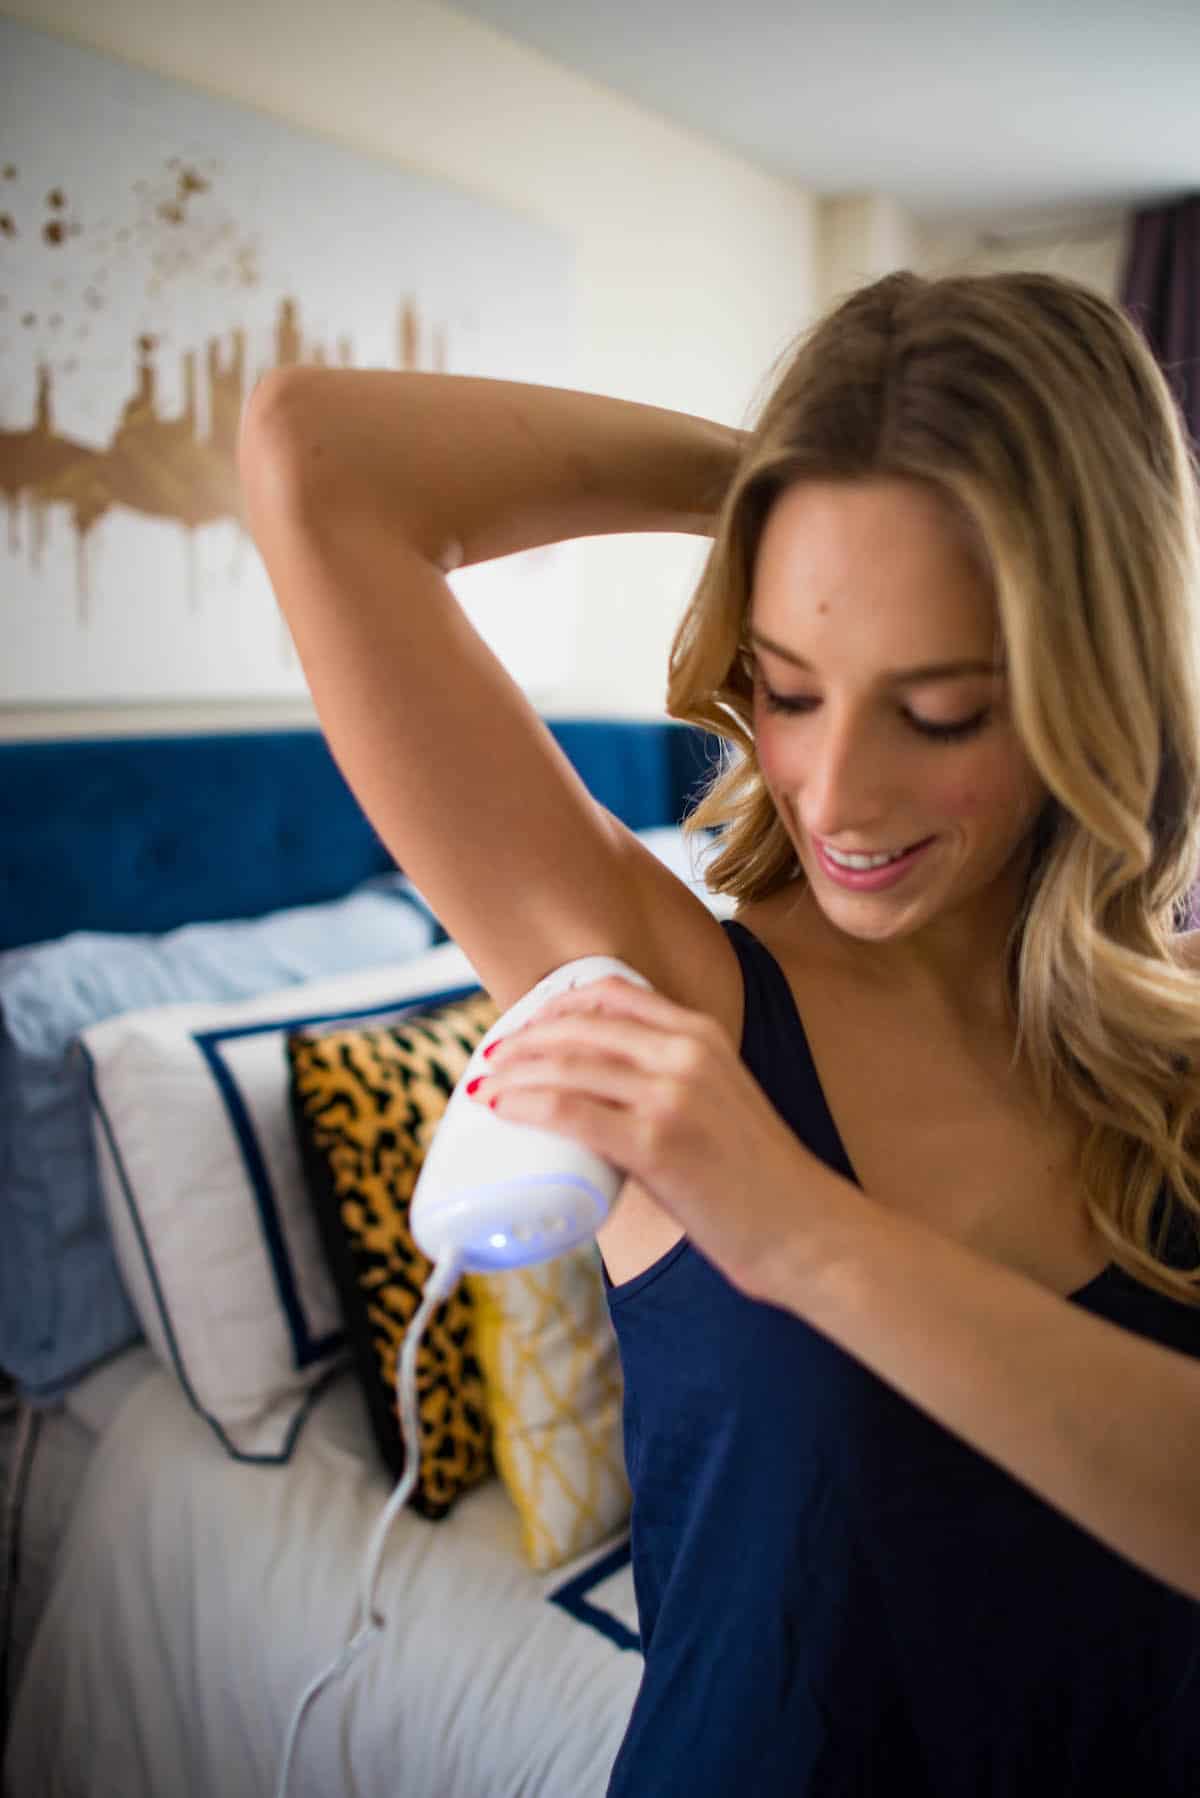
Everyone’s different, but it’s recommended you use the device once per week for at least six weeks. I personally began seeing a decrease in hair regrowth on my legs and armpits after three treatments!
How Much Does It Cost?
You can snag one of these for yourself (or a loved one!) at Sephora for $245. It’s a pretty penny, but worth it when you consider how much you are saving versus if you paid for professional hair removal. Hint hint: it would also make a great gift for the beauty lover!
Do It Hurt?
Surprisingly– not at all! I can only speak to my own experience, however I have sensitive skin and the treatments haven’t bothered me at all. I use the highest setting and if anything it feels like a very dull rubber band snap.
My Honest Thoughts
So far I’ve only used the iluminage Precise Touch on my armpits and legs and I have to say I’m really impressed with the results. My hair is light brown and I have pale skin– not the ideal combination for hair removal. Anywhere you read will tell you how tough it can be for lasers to have any effect on light skin and hair tones. Well the good thing about the iluminage Precise Touch is that it works on all skin tones and hair colors. Huzzah!
One thing to note is that it is time-consuming and requires a weekly commitment. I recommend choosing a day and time when you know you are always home and set a reminder on your phone. Right after showering or before bed would be perfect!
It takes me about 40 minutes to complete the treatment 2x on both of my legs and armpits. It is a bit tedious (I have to take breaks because my arms get tired  ), however you have to remember all the time you’ll save not having to shave.
Other than unruly eyebrows, I’m lucky enough that I’ve never needed to do hair removal on my face. However if this is a concern for you the iluminage Precise Touch is completely safe to use on the face including the eyebrow area and upper lip. Awesome right?
Have any of you ever done professional hair removal? Would love to hear your experiences in the comments!
Big thank you to iluminage for sponsoring this post!
The post At Home Hair Removal? My Experience Using The iluminage Precise Touch appeared first on Katie's Bliss.
]]>
Big thank you Sally Hansen for sponsoring this post! I don’t know why it took me so long to try Sally Hansen Airbrush Legs! I’m sure, like me, you’ve seen and heard about this product for years. I’ve read stories over and over again and witnessed other bloggers talk about how it’s one of their must-have, cult favorite products and now I understand the hype. I definitely don’t spend as much time
The post How To Get Perfect Summer Legs appeared first on Katie's Bliss.
]]>
Big thank you Sally Hansen for sponsoring this post!
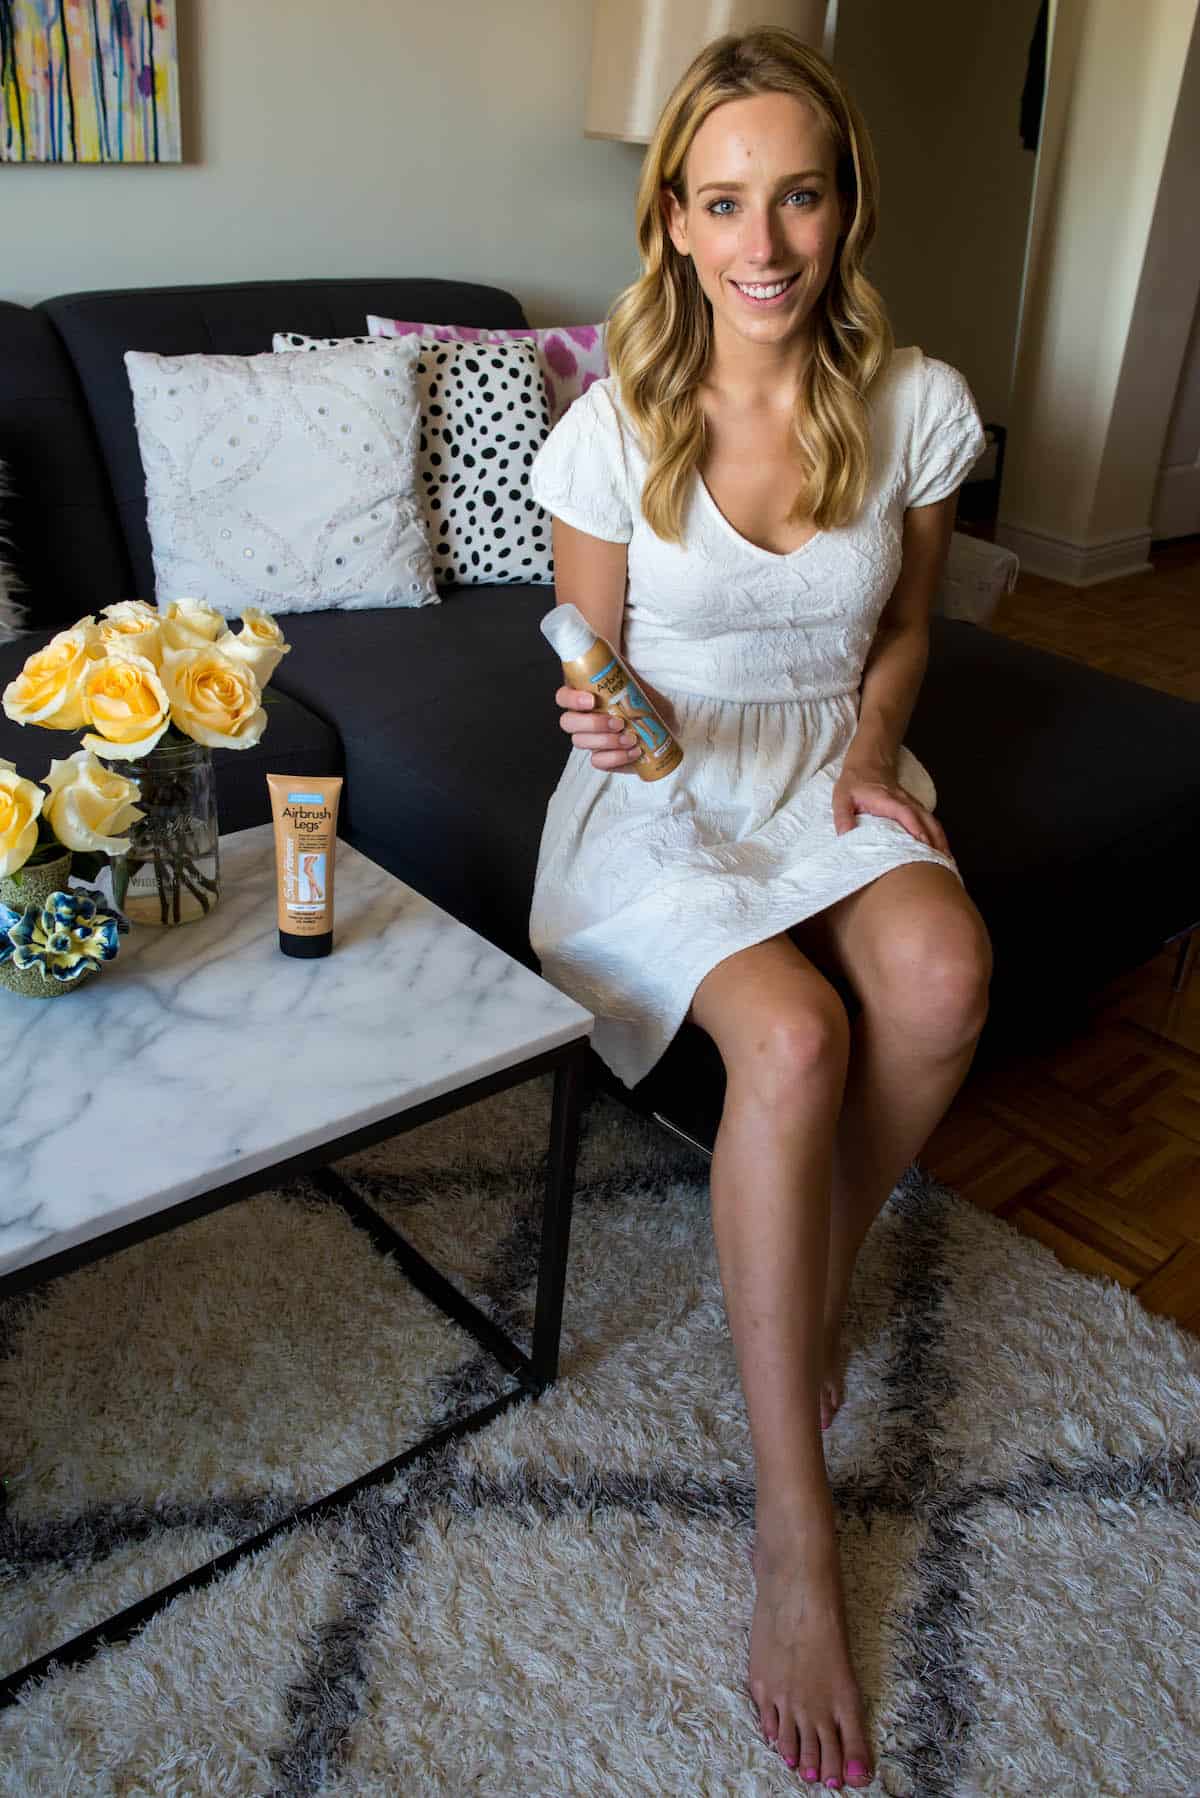
I don’t know why it took me so long to try Sally Hansen Airbrush Legs! I’m sure, like me, you’ve seen and heard about this product for years. I’ve read stories over and over again and witnessed other bloggers talk about how it’s one of their must-have, cult favorite products and now I understand the hype.
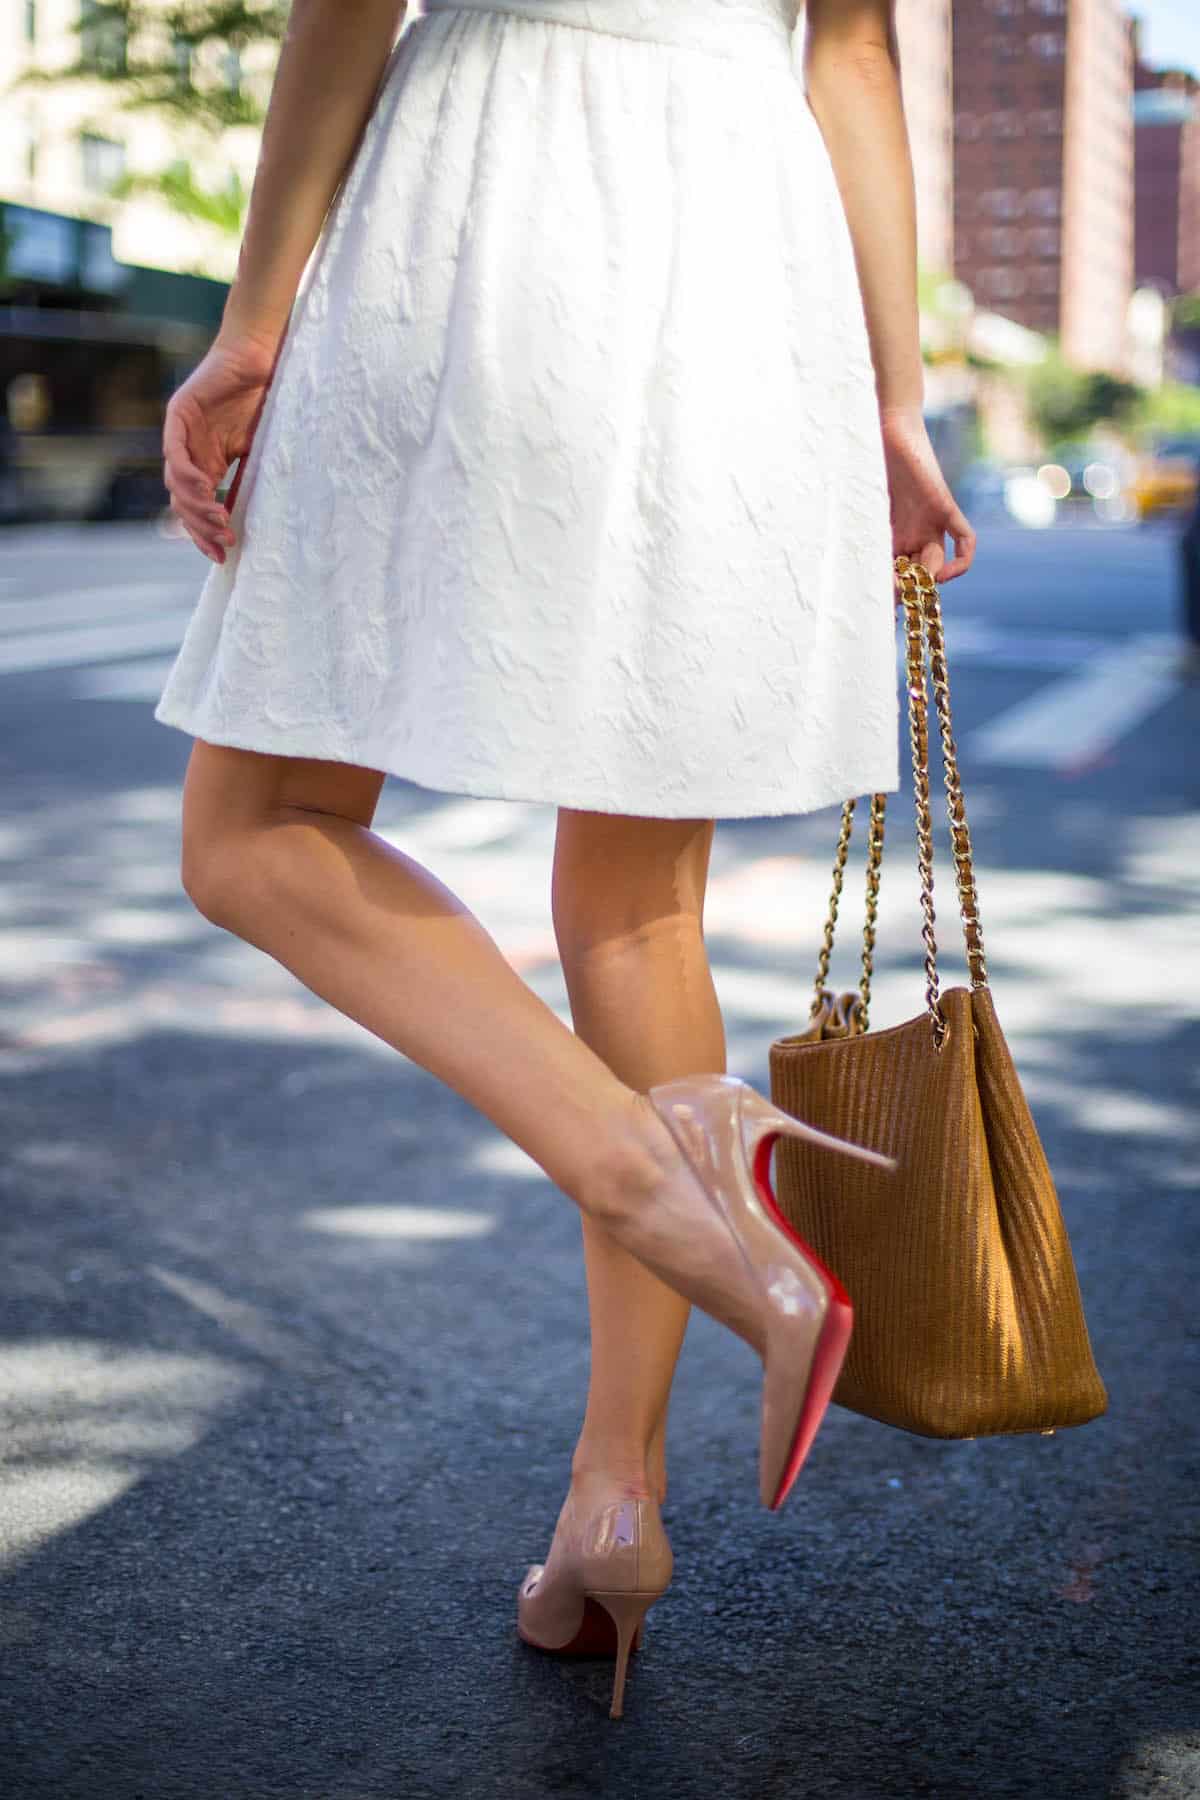
I definitely don’t spend as much time out in the sun as I would like during the summer so it’s great to have help when my glow is lacking. Click through to see why this is the latest product I’ve added to my summer arsenal!
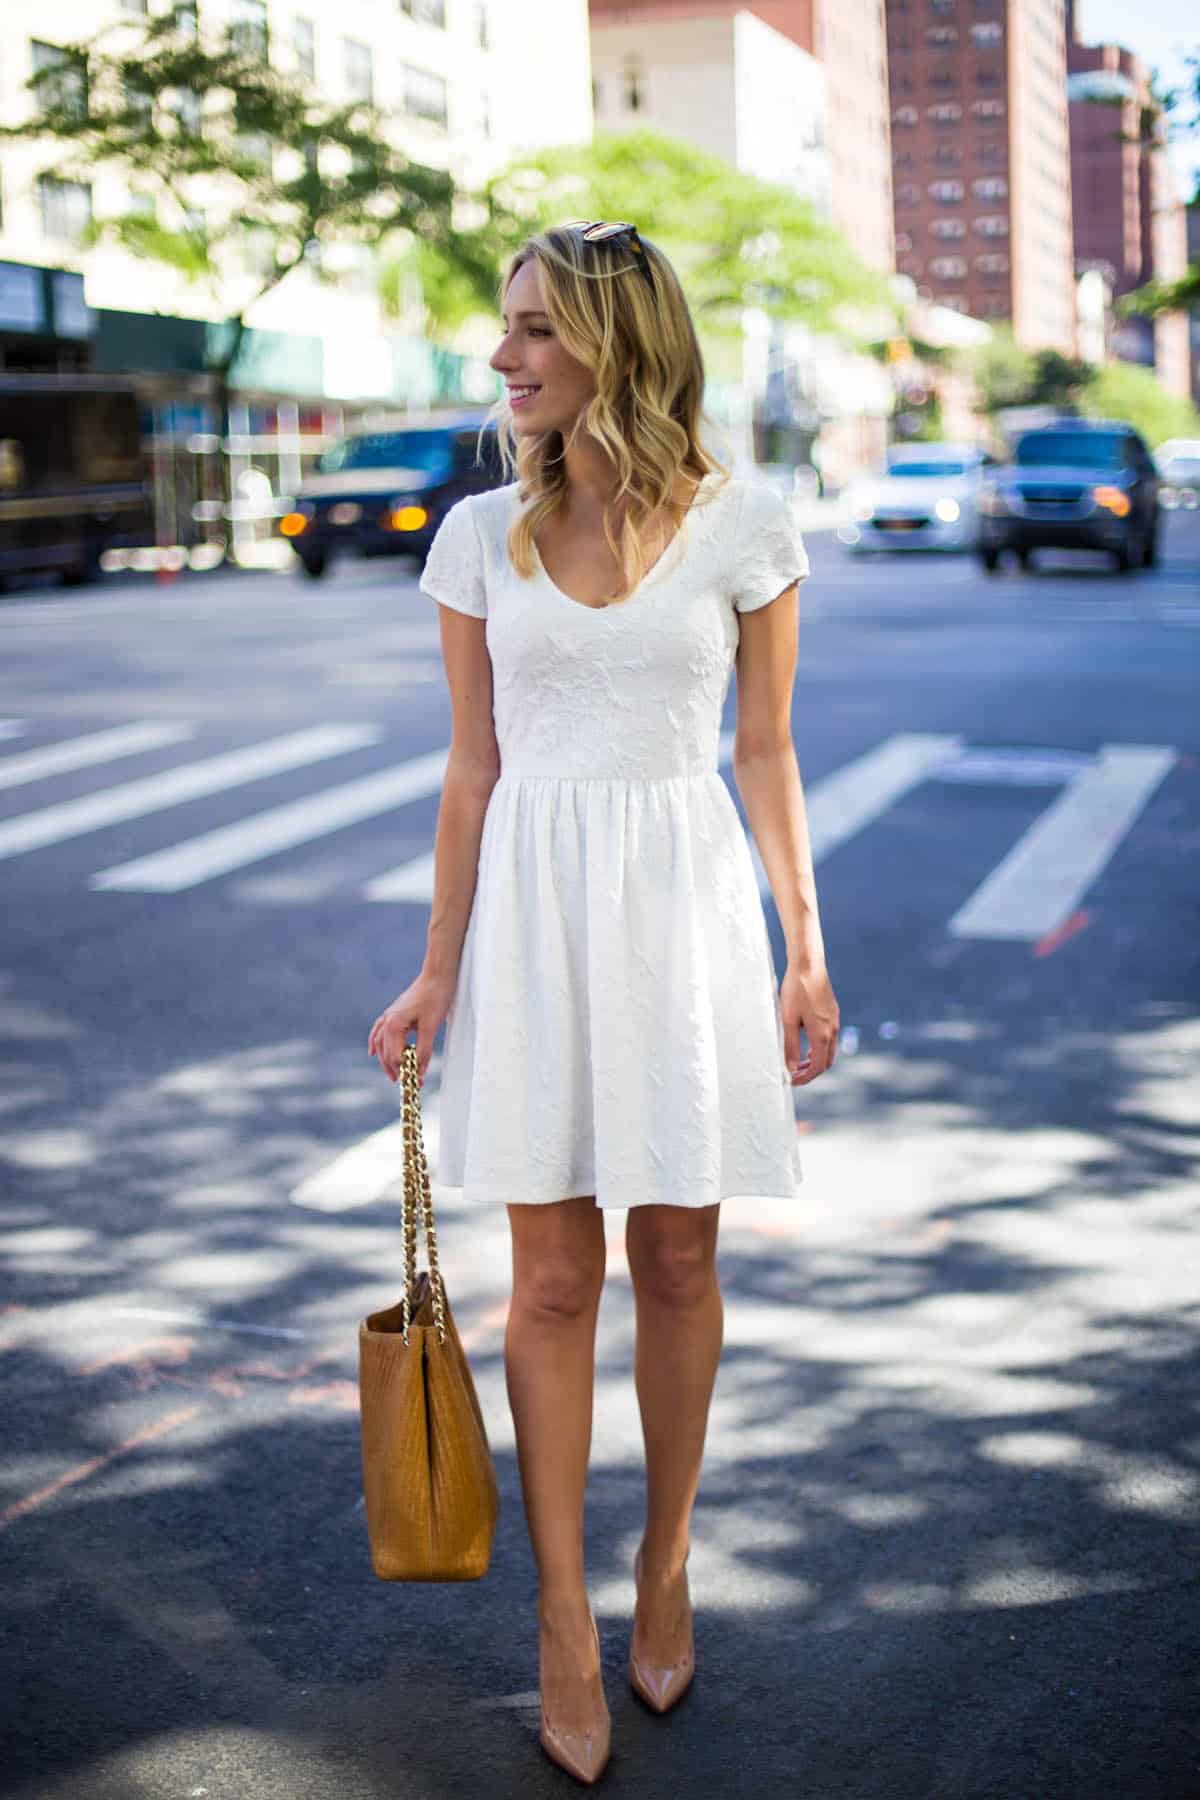
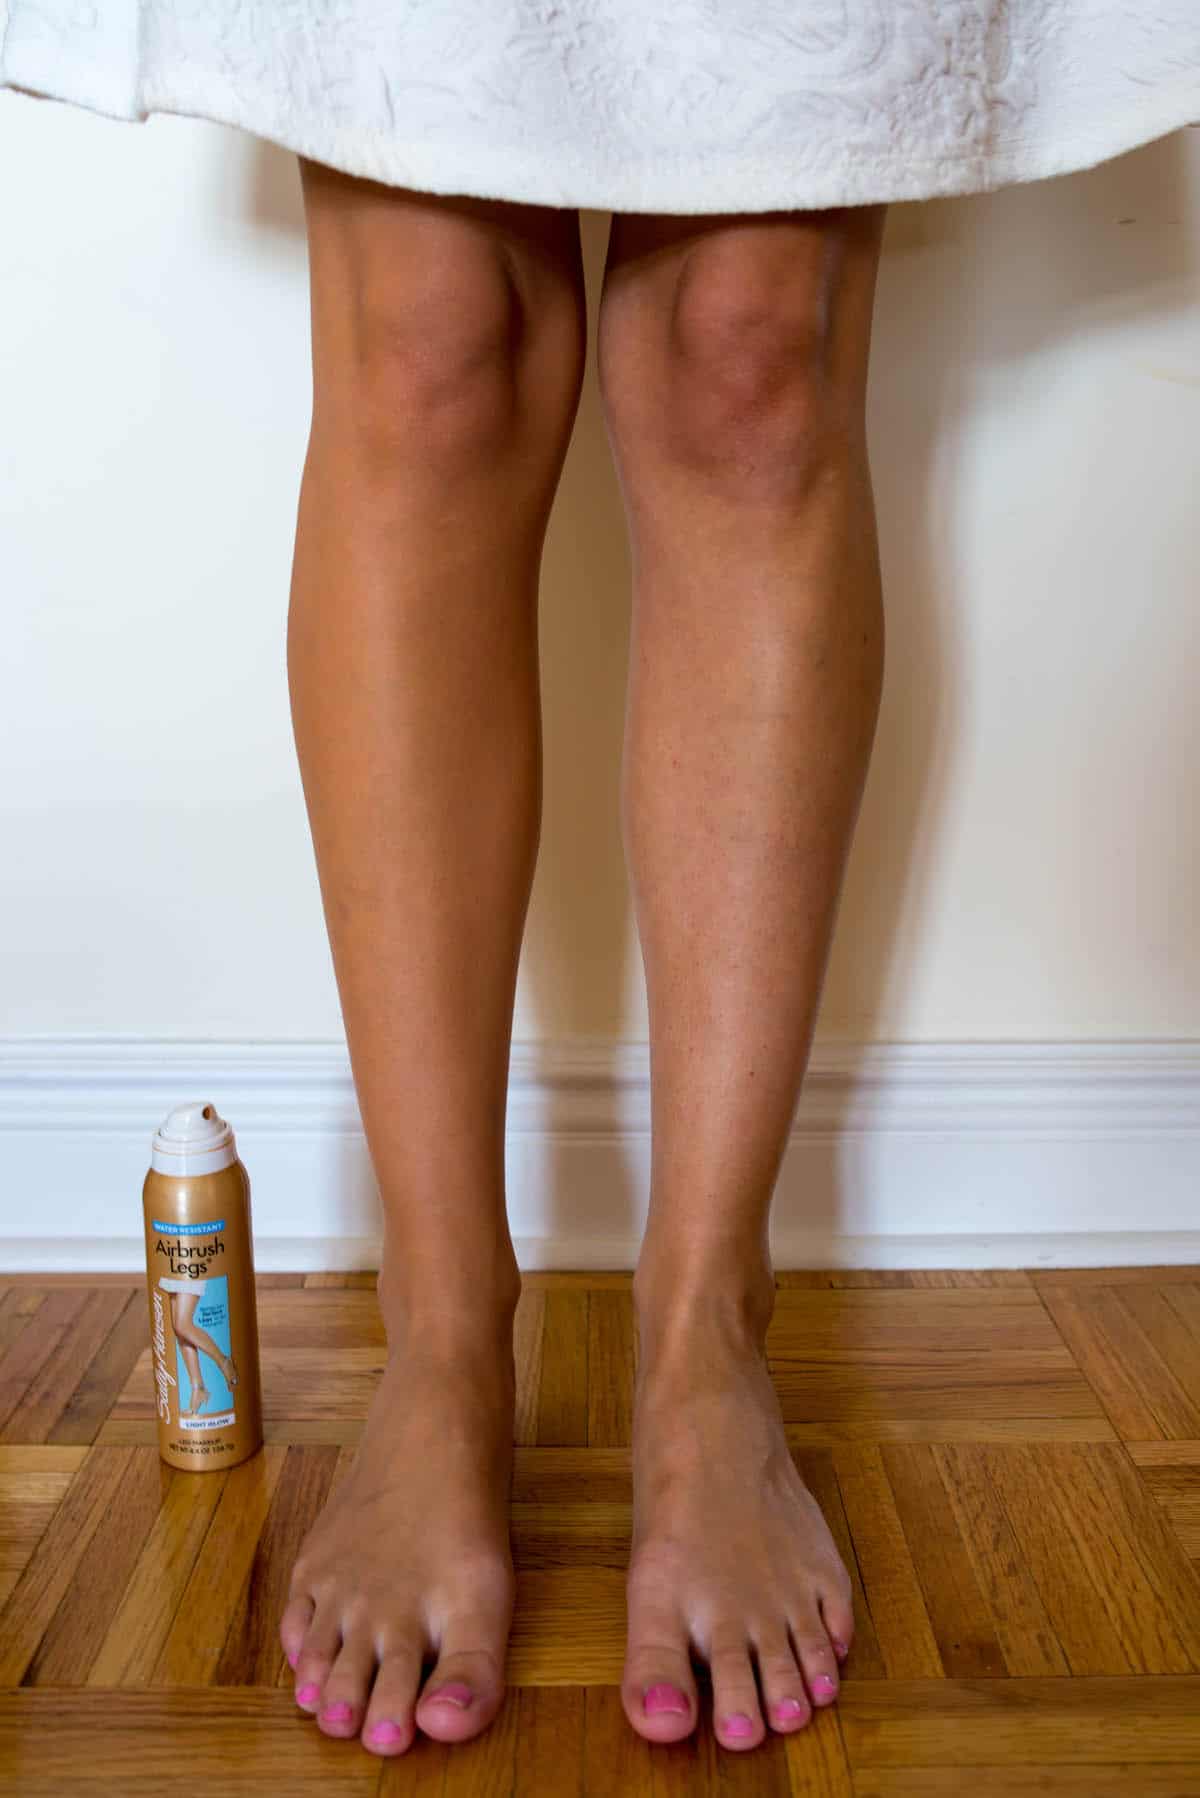
Now this isn’t another tanning product. Sally Hansen Airbrush Legs is actually lightweight leg makeup that will cover freckles and veins giving you firmer, more tanned legs. The makeup isn’t permanent and won’t dry streaky, and at the end of the day or when you get back from a night out, you can just wash it off.
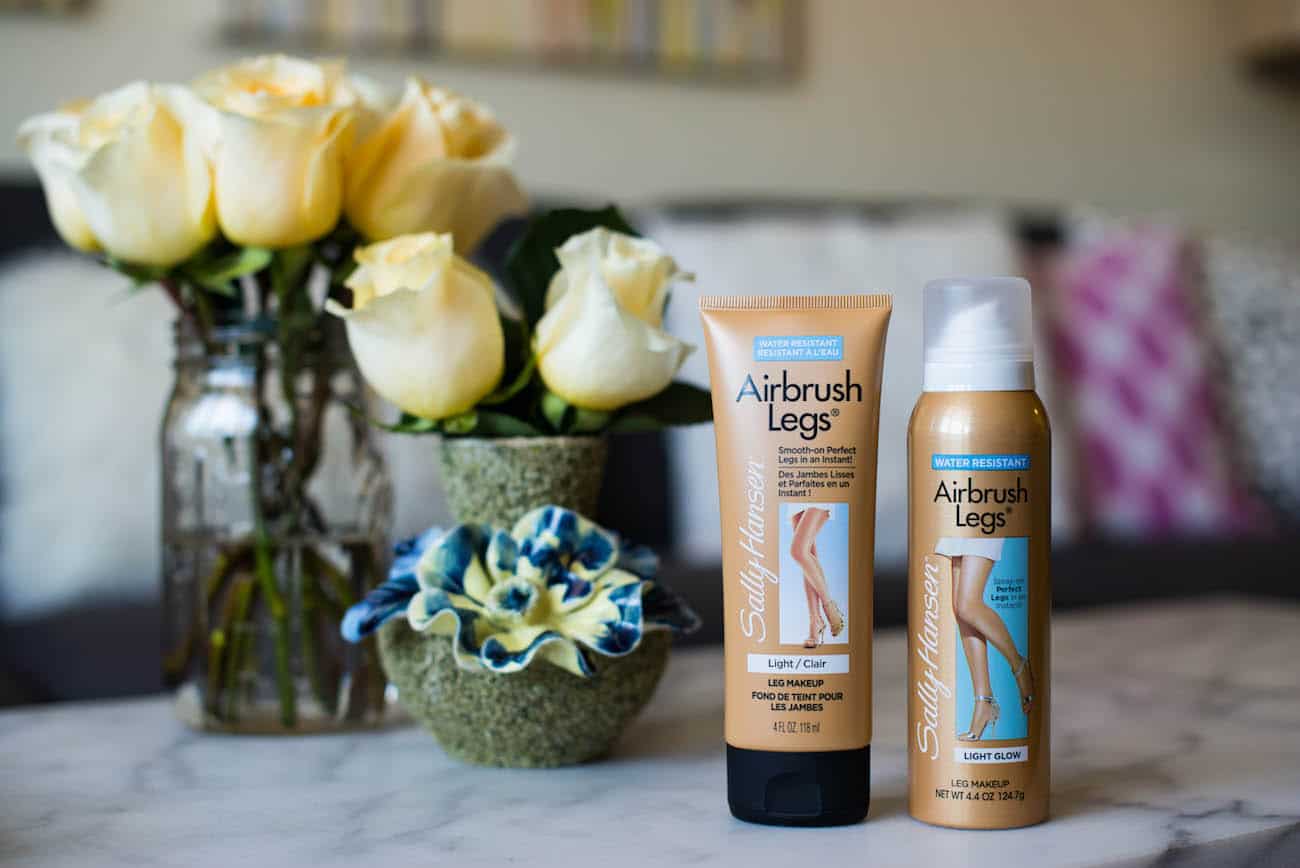
There are two variations that I tried – a lotion and a spray. Both will give a similar result, just in a different manner. I personally like the spray because it’s more lightweight, but if I wanted fuller coverage I’d choose the lotion. The spray also has a luminous, shimmery finish, while the lotion dries matte. It’s really just a matter of preference! Both are also available in a variety of shades so there’s a product for every skin tone.
You’re probably wondering… Will it rub off on my clothes? Nope! It’s completely transfer-resistant and will only come off with soap, water and a washcloth. For the best application, make sure you have a smooth canvas – aka shave your legs!
Key Benefits:
Hides imperfections, freckles, veins, long-wearing, water & transfer-resistant
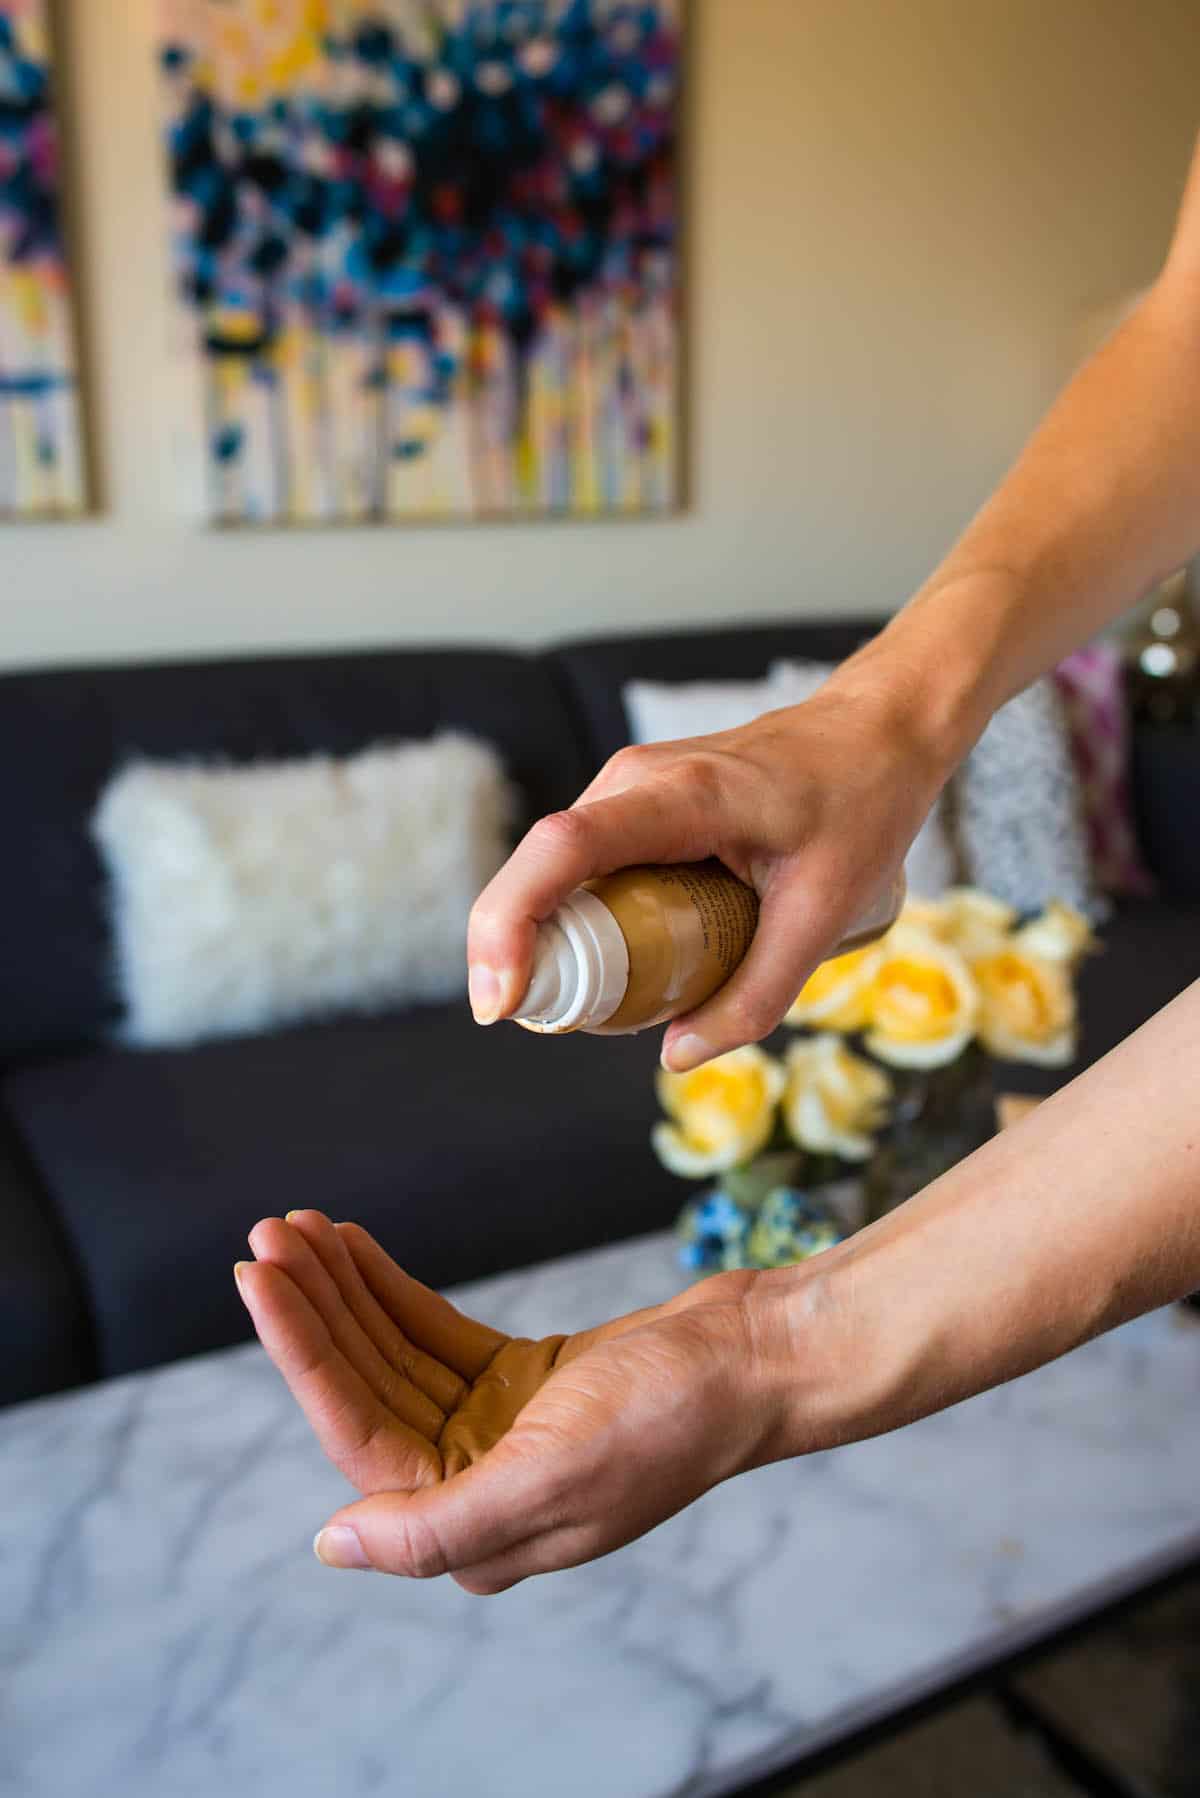
How to Apply:
- Spray/squeeze product into hands (always apply with hands for a more even application)
- Rub on to legs until completely blended (apply sparingly around knees/ankles)
- Allow legs to dry for about 60 seconds before getting dressed
Price:
$12.99 online or at your local drugstore. Both are available at Ulta.com!
Have you ever used Sally Hansen Airbrush Legs? What are some of your cult favorite beauty products?
Sally Hansen Airbrush Legs gives you gorgeous, summer-ready legs in an instant. No Sun. No Salon. No Streaks. www.instagram.com/sally_hansen

The post How To Get Perfect Summer Legs appeared first on Katie's Bliss.
]]>
This post is sponsored by TRESemmé. One of my favorite ways to wear my hair is in soft, romantic waves. It’s a look that’s taken me some time to perfect over the years, but with the right products and tools, it’s incredibly easy to recreate. A number of products can be used to create waves, but the TRESemmé PERFECTLY (UN)DONE collection with sea kelp extract actually infuses hair with texture for
The post Romantic Waves Hair Tutorial with Tresemmé appeared first on Katie's Bliss.
]]>
This post is sponsored by TRESemmé.
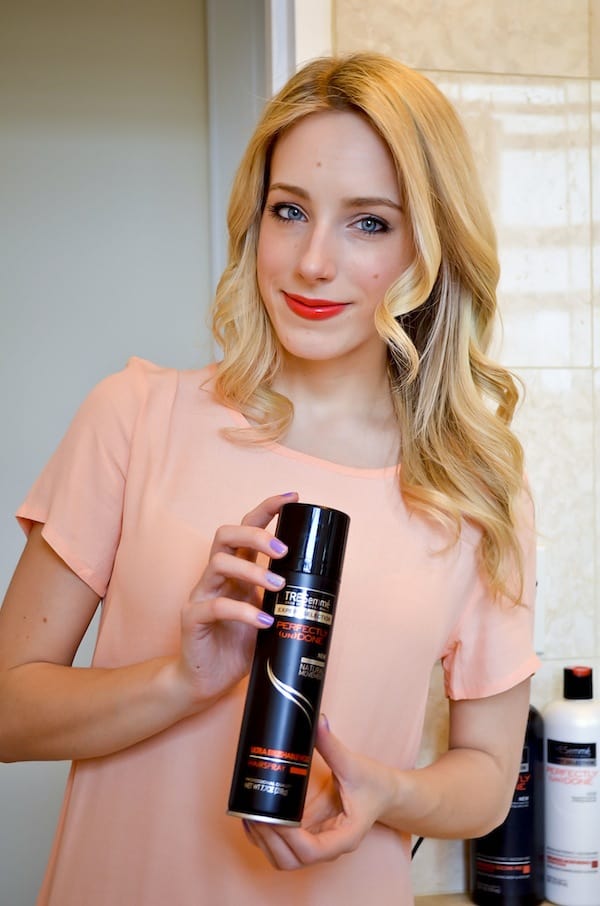
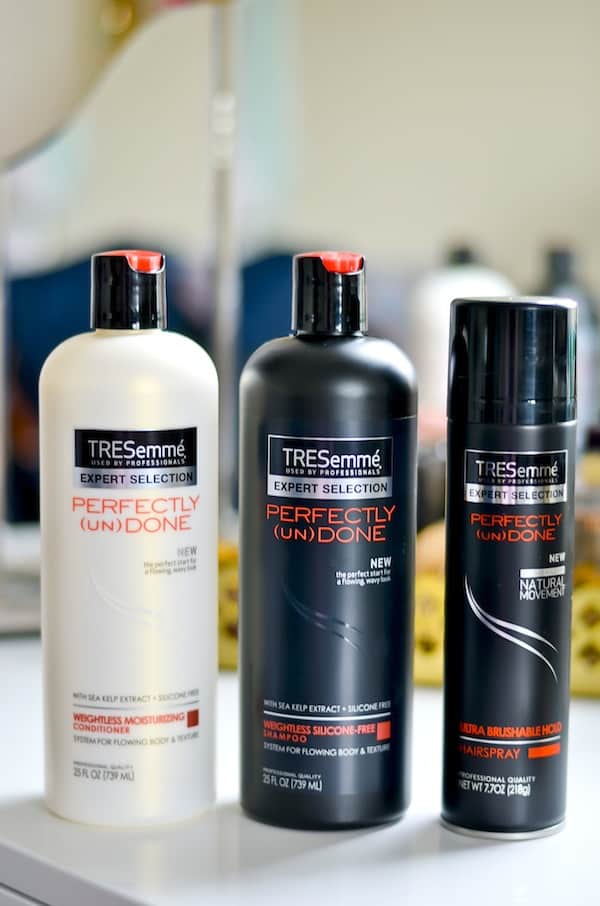
One of my favorite ways to wear my hair is in soft, romantic waves. It’s a look that’s taken me some time to perfect over the years, but with the right products and tools, it’s incredibly easy to recreate. A number of products can be used to create waves, but the TRESemmé PERFECTLY (UN)DONE collection with sea kelp extract actually infuses hair with texture for natural looking waves that last all day. I’ve been using the shampoo and conditioner when I wash my hair and then finishing with the hairspray for shine and hold.
The way I wave my hair is really straightforward. I take one-inch sections of hair running on the bottom half of the strand through a 1″ curling iron on 450 degrees – always curling away from my face. I do this around my entire head, holding the hair in the iron for no more than 30 seconds. This way I keep the top half of my hair straight and keep the waves at the bottom framing my face and achieving that romantic look. I’ll always apply hairspray at the end, both directly on to my head and then I’ll also spray some into the palm of my hand and then pat around my head to keep down fly aways.
This is the look you guys see me wearing most often and takes me no more than 25 minutes. I only wash my hair about twice a week, so once I’ve styled my hair like this it lasts me a few days. Nice huh?
For more hair inspiration and tutorials, visit www.youtube.com/TRESemme.

The post Romantic Waves Hair Tutorial with Tresemmé appeared first on Katie's Bliss.
]]>
I think we all have a love/hate relationship with our hair. I know that I especially do during the colder months. My hair gets dull, dry and incredibly frizzy – and the weather does not help. Do not get me started on New York City’s weather! Sheesh it can get rough here. Well, say hello to the style that saves me whenever I’m in doubt: the double french braided bun. It took me a few
The post Holiday Hair Tutorial | Double French Braided Bun appeared first on Katie's Bliss.
]]>

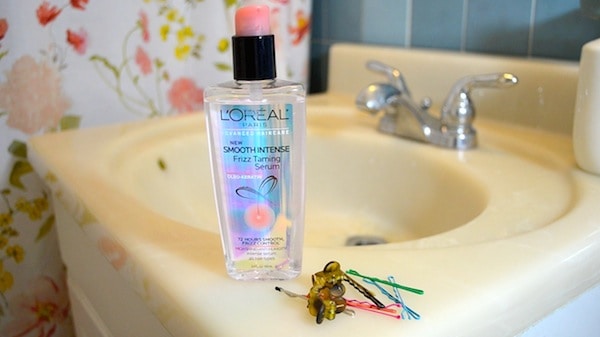
I think we all have a love/hate relationship with our hair. I know that I especially do during the colder months. My hair gets dull, dry and incredibly frizzy – and the weather does not help. Do not get me started on New York City’s weather! Sheesh it can get rough here. Well, say hello to the style that saves me whenever I’m in doubt: the double french braided bun. It took me a few tries to really get the hang of french braiding, but as the years have gone by it now comes easily to me. You’ll see how I do it in the video, but really all you need are some bobby pins and a smoothing serum or hairspray. My product of choice is L’Oreal Advanced Haircare Smooth Intense Frizz Taming Serum.
Whenever I don’t have time to heat style my hair, if the weather is nasty or if I just don’t want to deal with my hair down – this is what I wear. Since I get so many compliments on it, I’ve decided I’m going to try it out for a few holiday events this year. I normally wear my hair down for special occasions, but one of the perks of wearing your hair up is you really go bold with your makeup. For example: a dark smokey eye and a bold red lip 
We ladies know that not all locks are created equal, and so does L’Oréal Paris. With the Advanced Haircare line, Glam girls have the power to pick their shampoo, conditioner and treatment based on their specific strand needs, taking their tresses to luxurious levels. Beautiful hair has never been more personal.
Disclosure: Compensation was provided by L’Oreal’s Advanced Hair Care via Mode Media. The opinions expressed herein are those of the author and are not indicative of the opinions or positions of L’Oreal
The post Holiday Hair Tutorial | Double French Braided Bun appeared first on Katie's Bliss.
]]>
Believe it or not, the holidays are right around the corner. And you know what that means? Lots of picture taking! Thanks to Crest’s 3D white whitestrips luxe supreme flexfit, I was able to get a head start on whitening my smile. I explain my experience in the video above – but basically, I have super tiny teeth and I’ve found it hard to find a whitening treatment that works. As
The post Holiday Ready | How I Whitened My Smile in 2 Weeks appeared first on Katie's Bliss.
]]>
Believe it or not, the holidays are right around the corner. And you know what that means? Lots of picture taking! Thanks to Crest’s 3D white whitestrips luxe supreme flexfit, I was able to get a head start on whitening my smile. I explain my experience in the video above – but basically, I have super tiny teeth and I’ve found it hard to find a whitening treatment that works. As you’ll see, these strips work perfectly for me and I was easily and affordable able to brighten my smile at home.
To maximize my white smile, I also included a quick tutorial using my new favorite lipstick. I find that wearing cool-toned colors make the teeth appear whiter. NARS Audacious Lipstick in Michiyo is perfect – the blue-magenta hue complements any smile.
Check out the video to hear more about my experience with Crest and see the lip tutorial! Don’t forget to subscribe to my YouTube channel too
Big thank you to Crest for sponsoring this post.
The post Holiday Ready | How I Whitened My Smile in 2 Weeks appeared first on Katie's Bliss.
]]>